Examples of deployments through MDM solutions
VMware WorkspaceONE (for Android devices)
Prerequisites
In order to deploy the Kadiska Android application from the VMware WorkspaceONE MDM platform, it is assumed your organization already manages Android devices for other purposes.
Adding the Kadiska application in the MDM platform
The Kadiska Android application can be found on the Google Play Store. However, you can also search for it directly from your MDM platform.
Go to [Resources] > Apps > Native and then select the tab Public.
Click on (+) to add an application and search for "Kadiska".
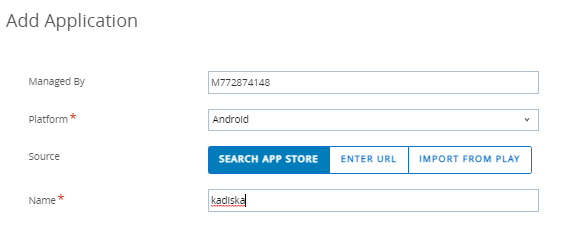
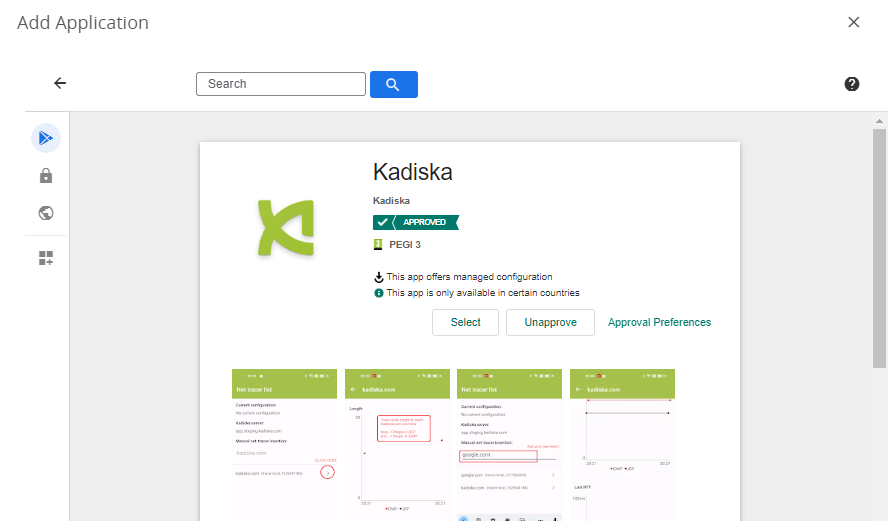
Follow the instructions (and accept all steps) up until the tab "Assignment".
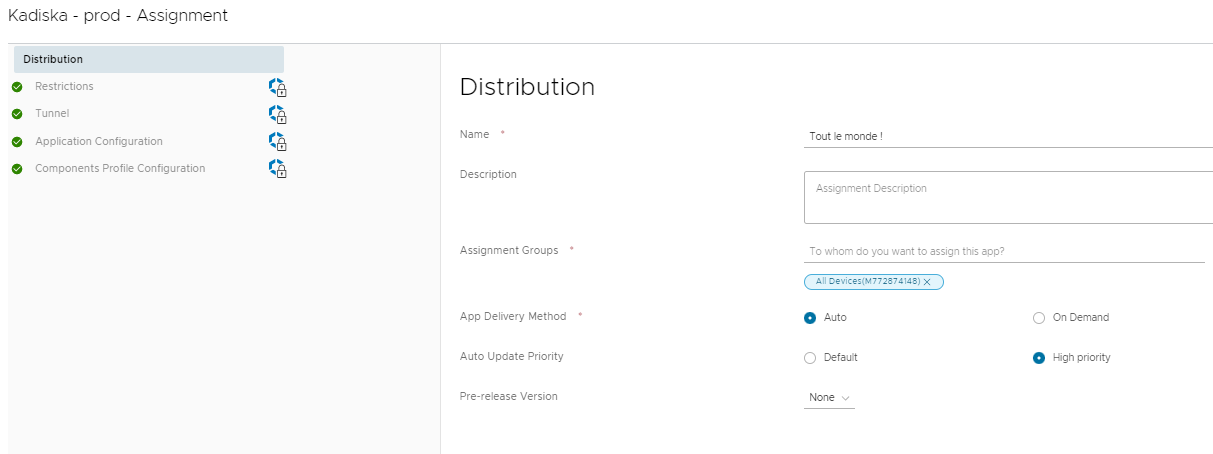
Select the (groups of) users to assign the application to.
In the "Application configuration" part, activate the option "Send configuration" in order to specify the Android Fleet API key.
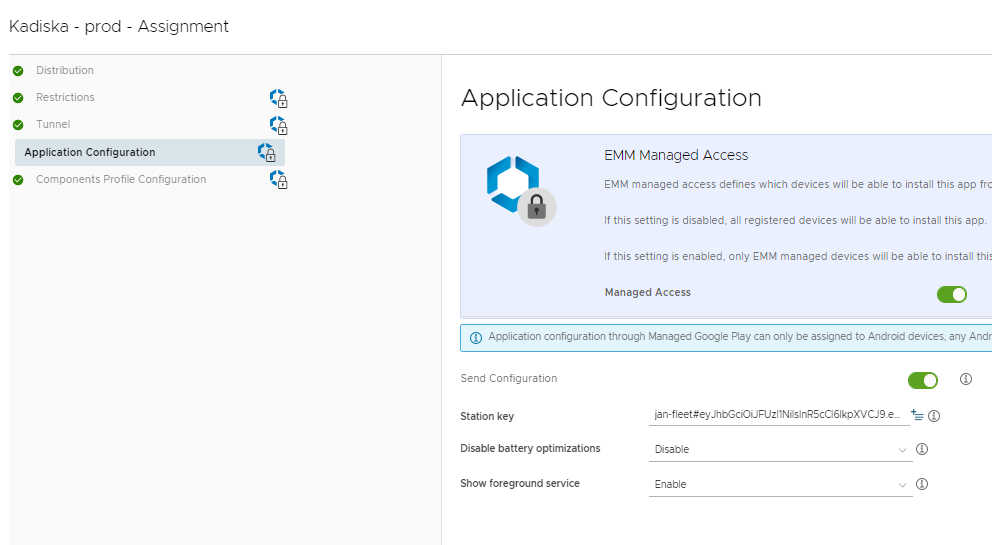
Continue the process until "Publish" to finalize the configuration.
Configuring background run
In order to ensure the application stays constantly active, you can make use of the "VMware Hub" built-in application. This will send a recurring "intent" to all Android devices to keep the Kadiska application running.
For this to work, you need to create:
- an "Event Actions" component
- a product that will embed this component
The "Event Actions" component
Go to the [Devices] > Provisioning > Components > Event Action menu.
Click on "Add Event Action".
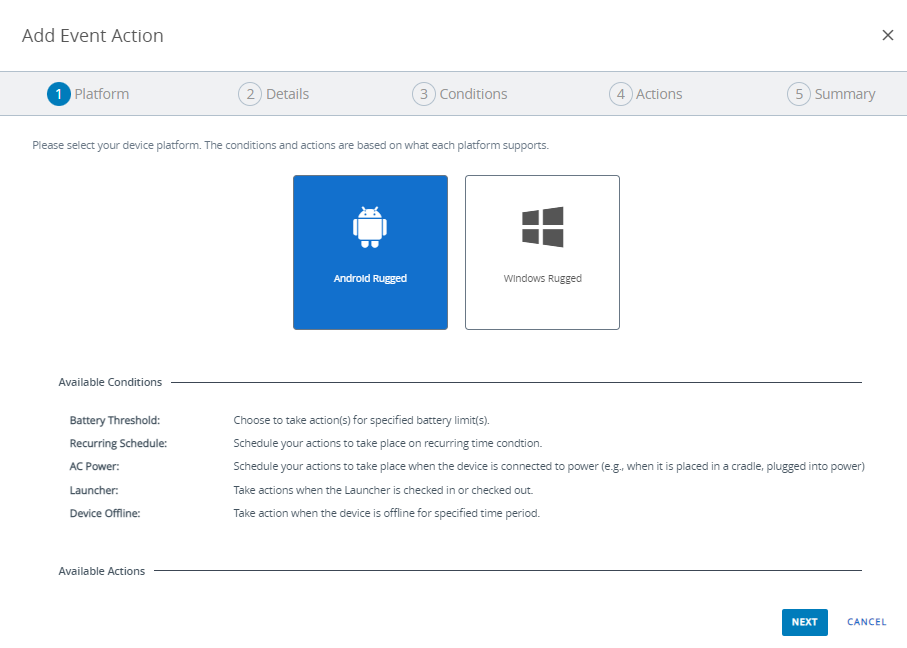
(1) Select the "Android Rugged" platform and click on "Next".
(2) Give it a name, for example "Regularly wake up Kadiska".
(3) Select "Condition" and "Create Condition":
- Give it a name (for example "Recurring every hours")
- Select the type "Recurring Schedule" and "every hours"
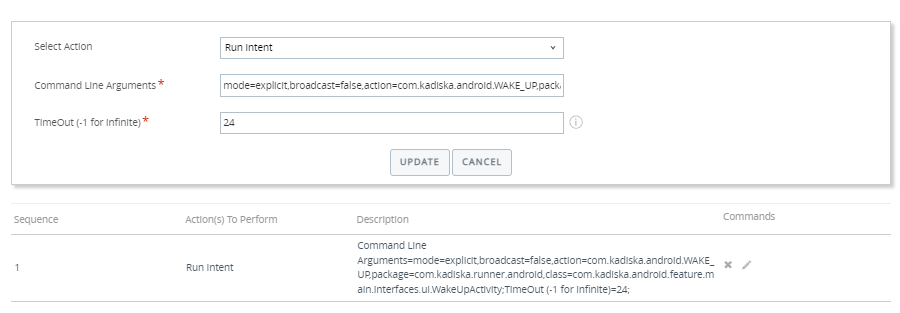
(4) Select Action “Run Intent” with the following command line:
mode=explicit,broadcast=false,action=com.kadiska.android.WAKE_UP,package=com.kadiska.runner.android,class=com.kadiska.android.feature.main.interfaces.ui.WakeUpActivity
The "Run intent" syntax is available here
The product
Go to the menu [Devices] > Provisioning > Product List View.
Click on "Add Product" and select "Android".
In the "Manifest" tab, click on "ADD" in order to install the component created in the previous step:
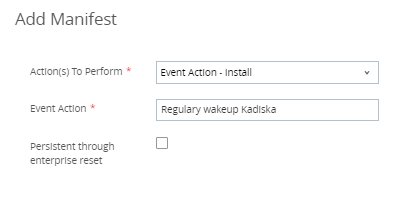
In the "General" tab:
- Enter a name, for example "Wake up Kadiska regularly is installed"
- Select "Smart Groups" for the assignment
- Click on "Add Rules"
Click on "(+) Add Application Rule":
- As application name, select "Enter manually" and write
com.kadiska.runner.android - Select the "LIKE" operator
- Select "$" as value (meaning 0, 1 or multiple characters, so any Kadiska application version)
Known limitations
According to the deployment model used, running the Kadiska application in the background and automatically enforcing permissions may not be possible through the VMware WorkspaceONE platform:
| BYOD with work profile | Managed devices with work profile | Fully managed devices | |
|---|---|---|---|
| Background run | Not supported | Not supported | Supported |
| Permissions enforcement | Supported | Not supported | Supported |
Google Unified Endpoint Management (for Chromebooks)
Kadiska application deployment
The Kadiska Android application can be easily deployed on Chromebooks through the Google administration console:
- Login to your account (Administrative privileges required) at https://admin.google.com
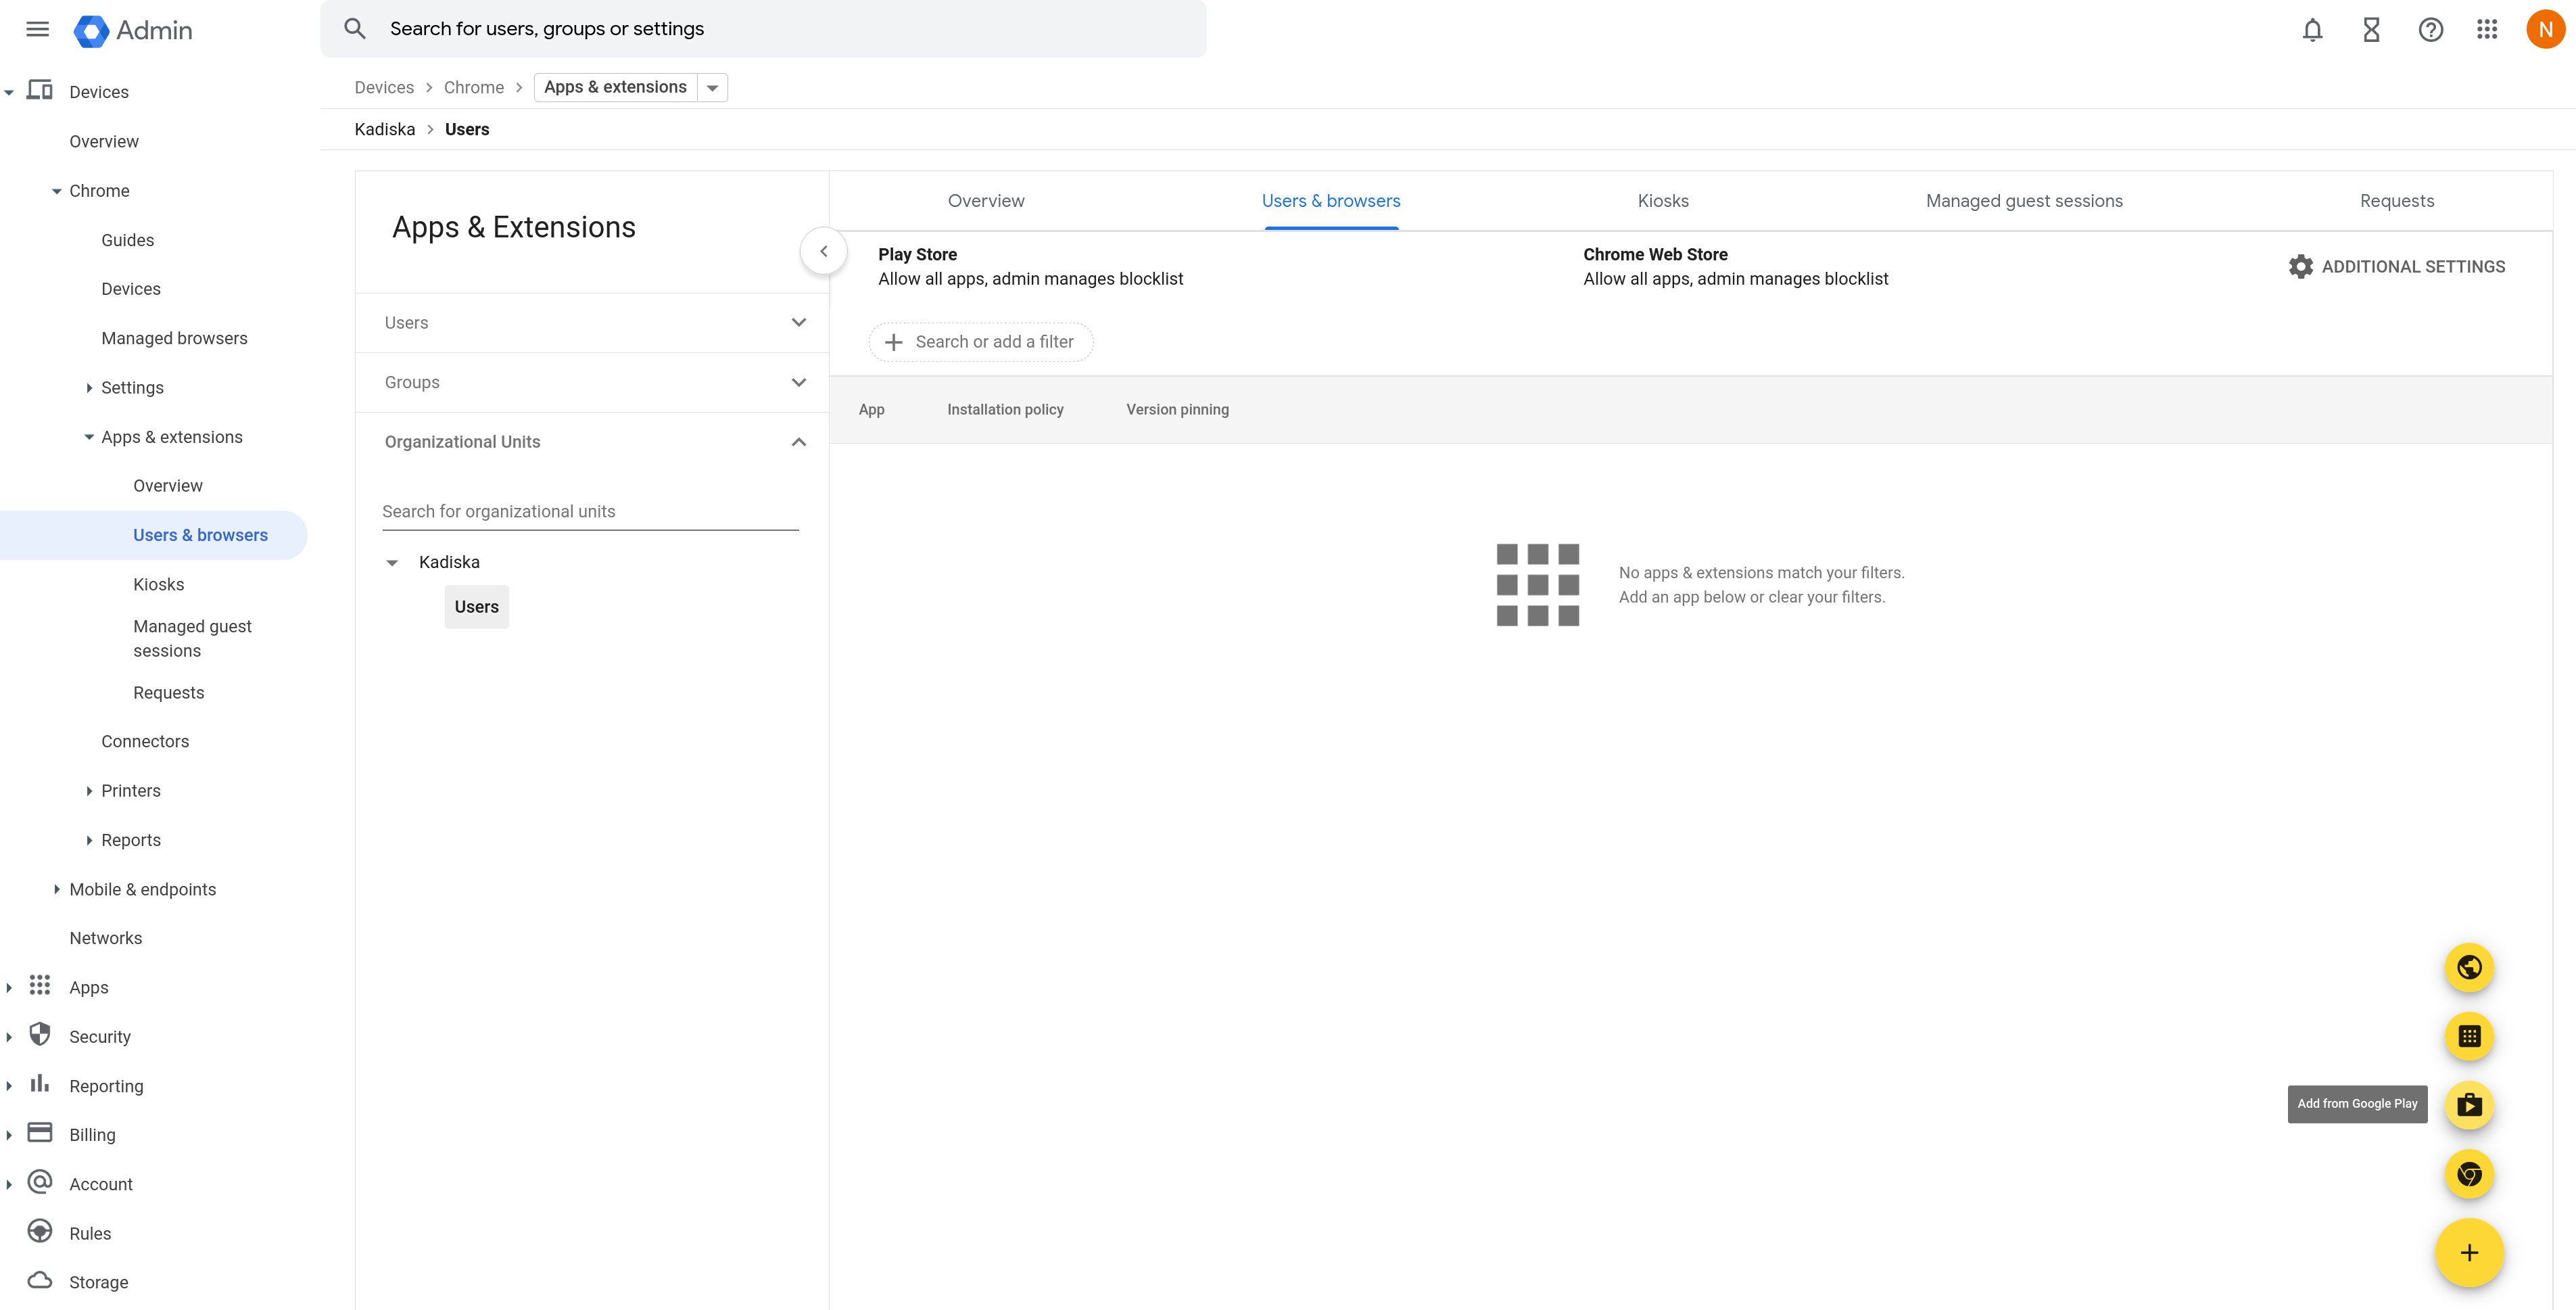
- Go to: Devices -> Chrome -> Apps & Extensions -> Users & Browsers
- Mouseover rounded yellow "+" and click on "Add from Google Play"
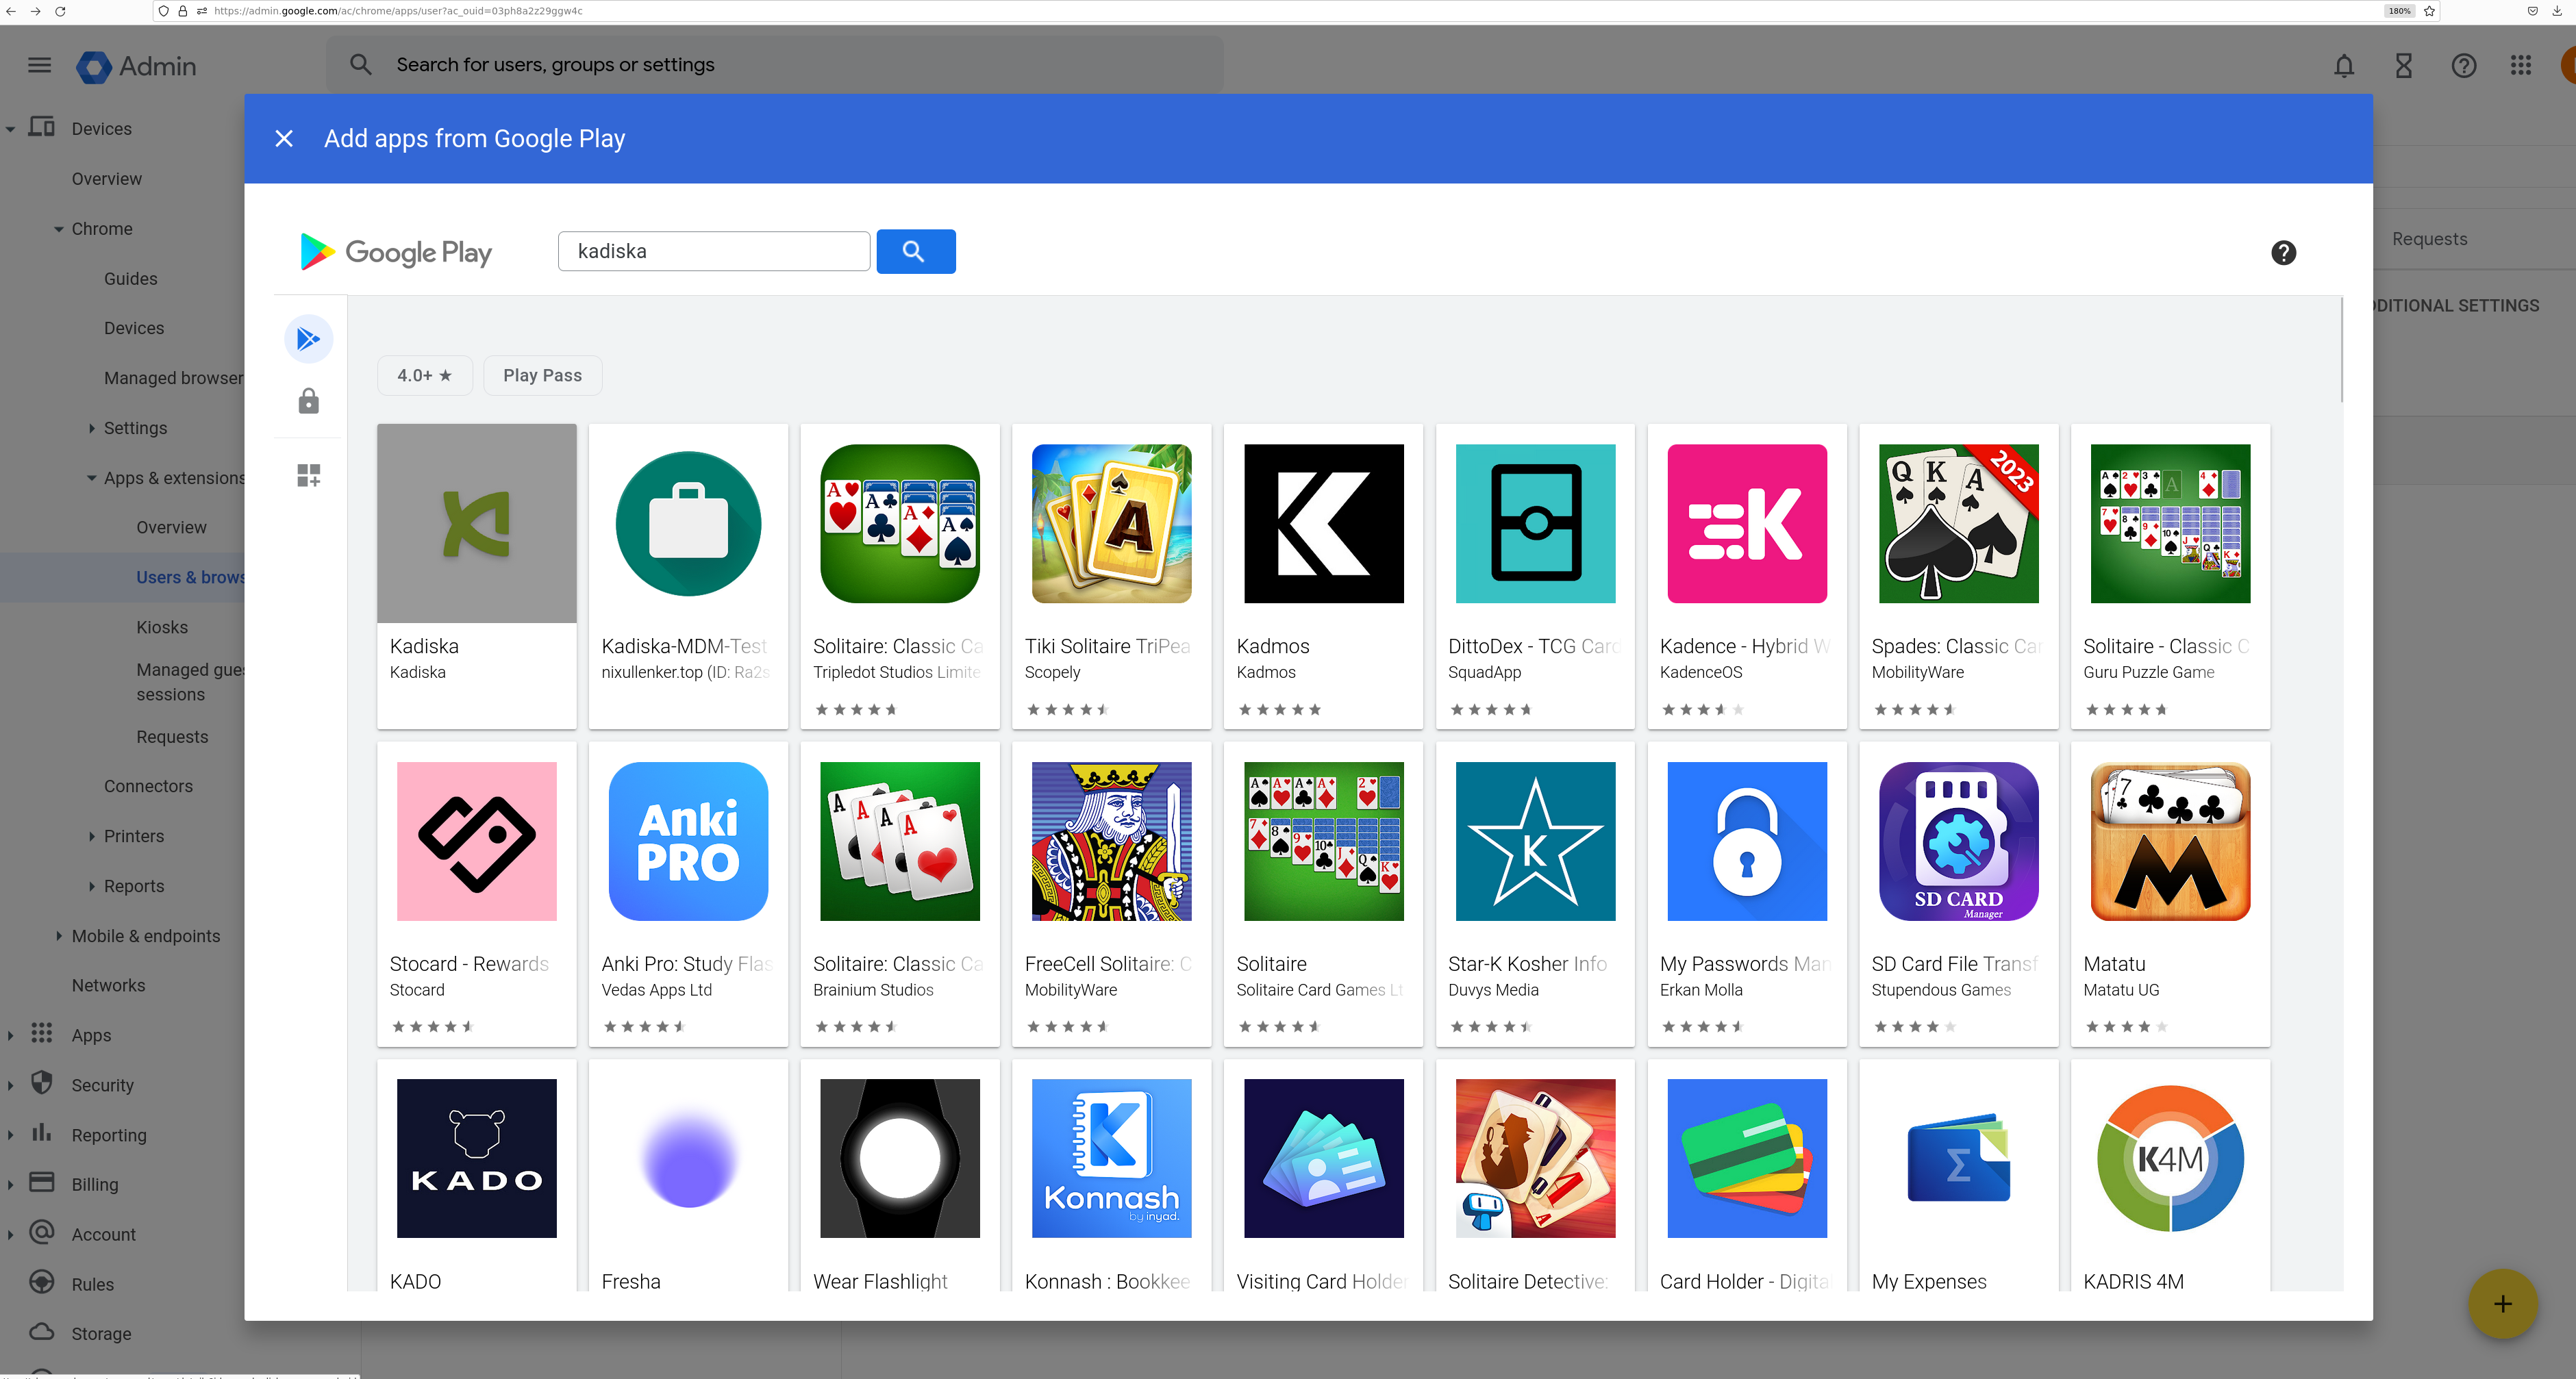
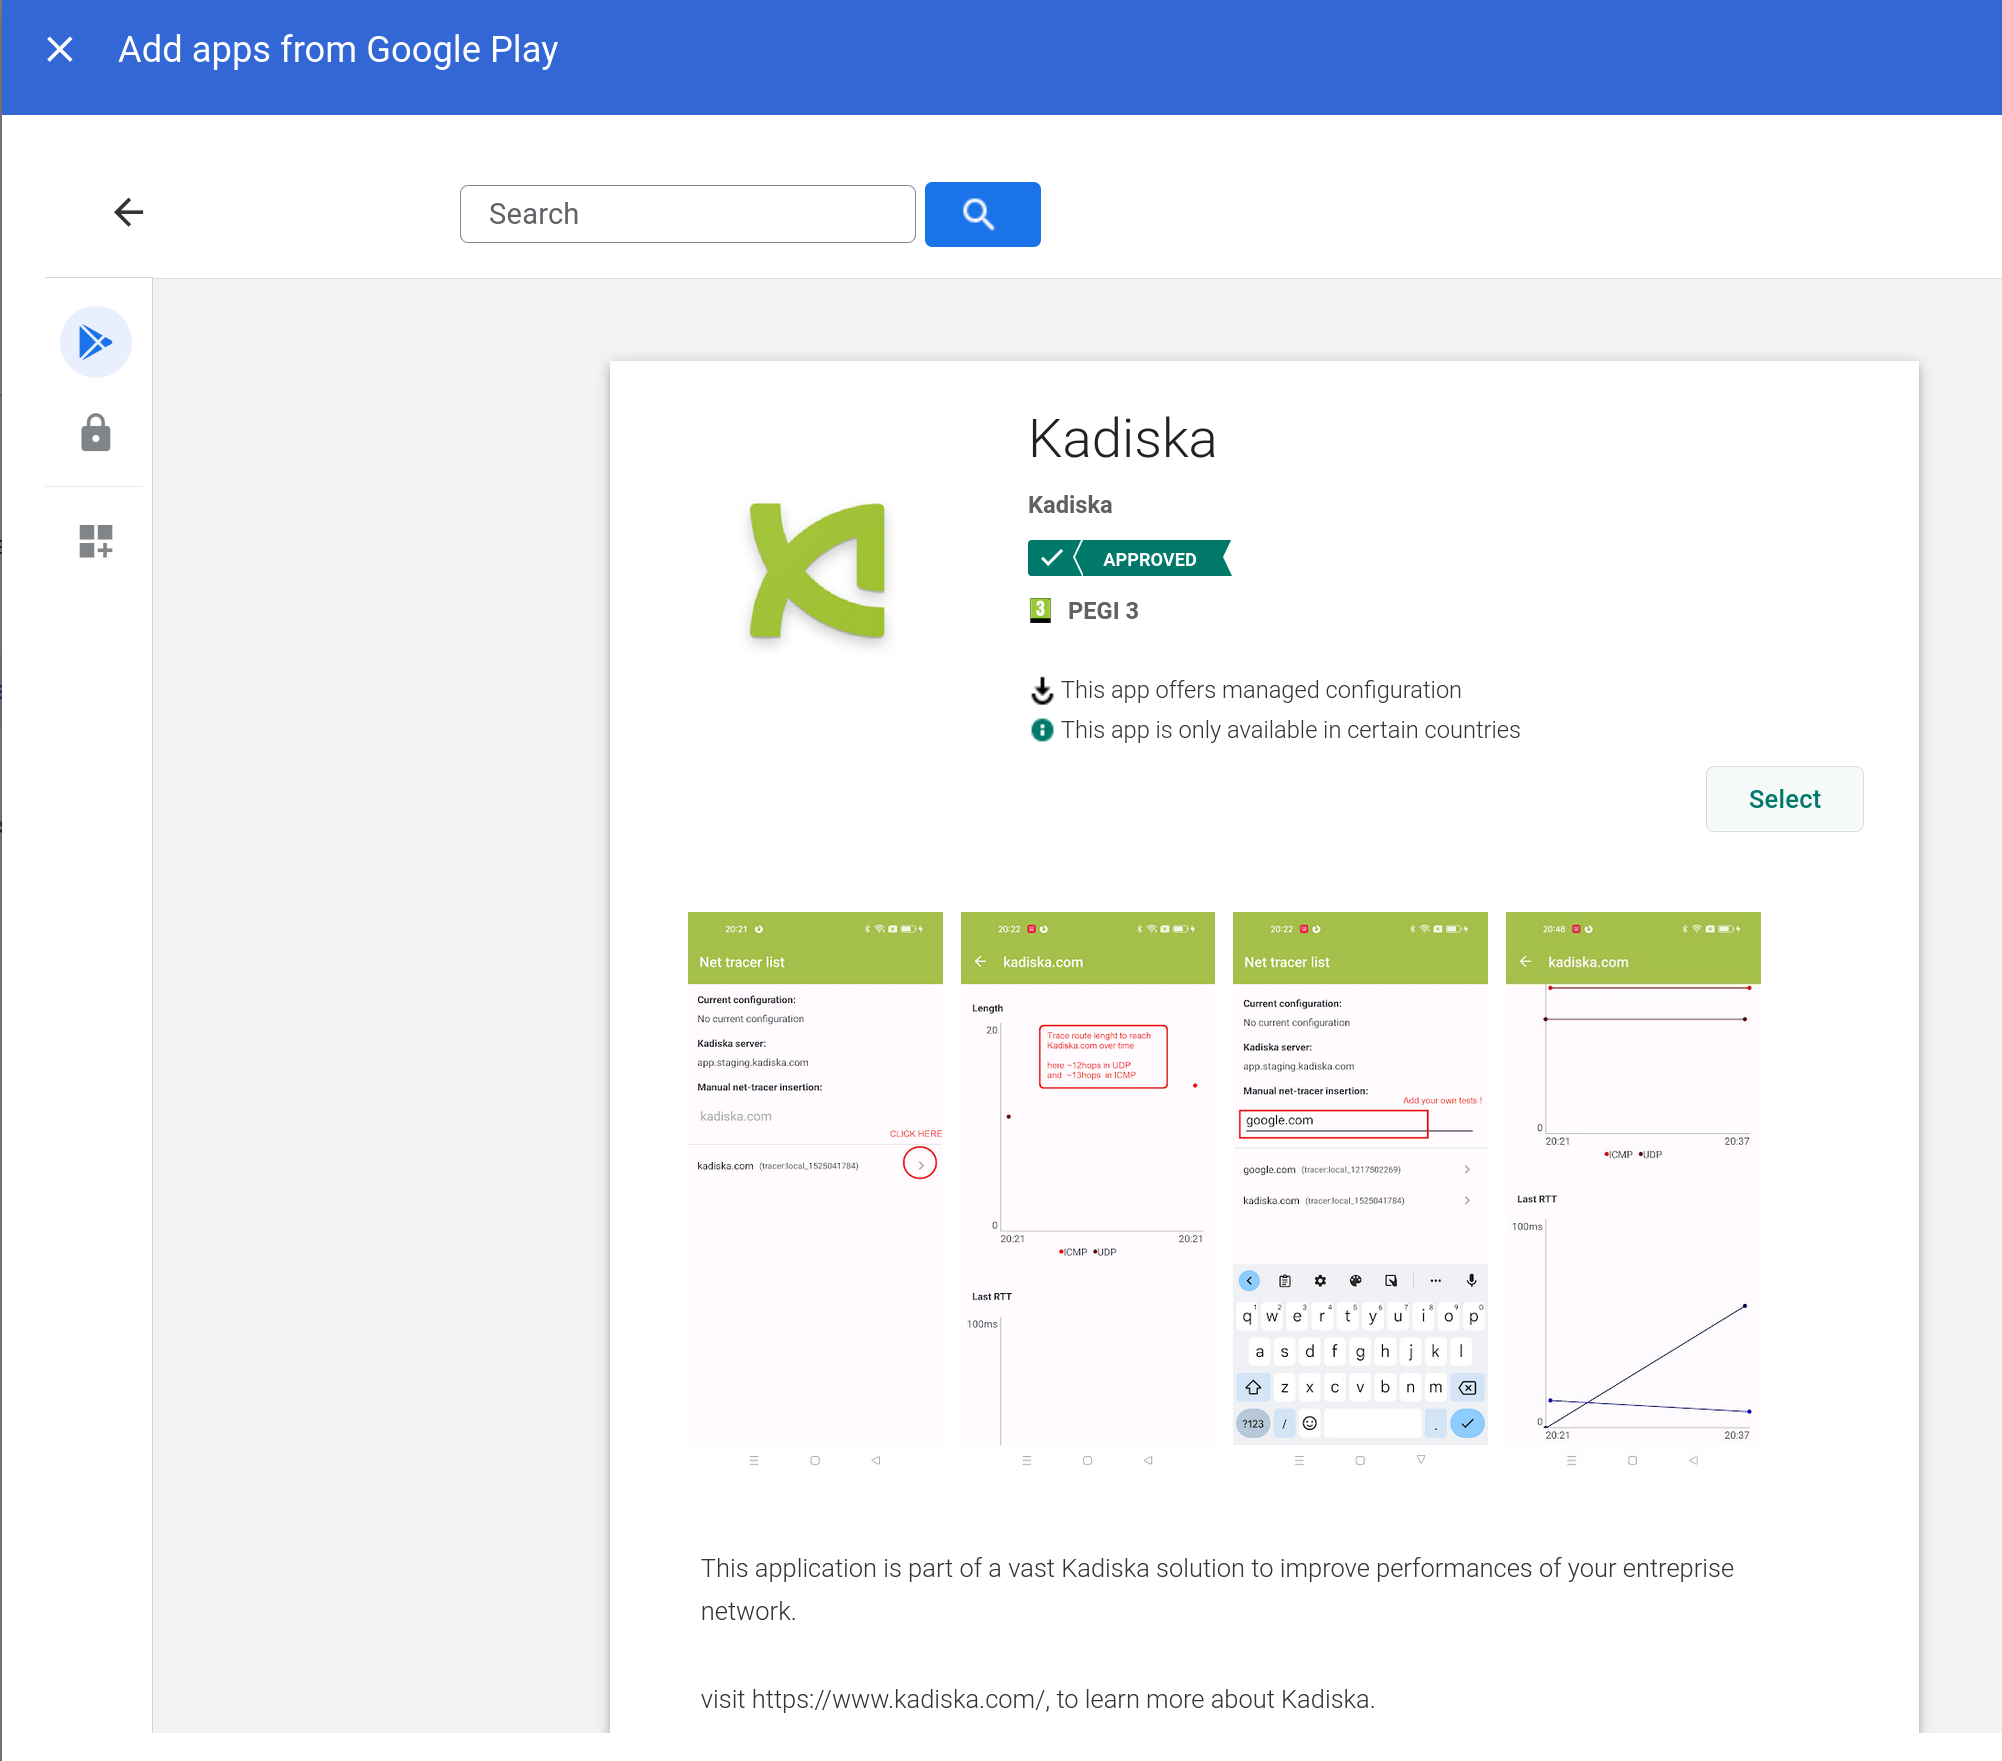
- Search for "Kadiska", click on the application and click on "Select":
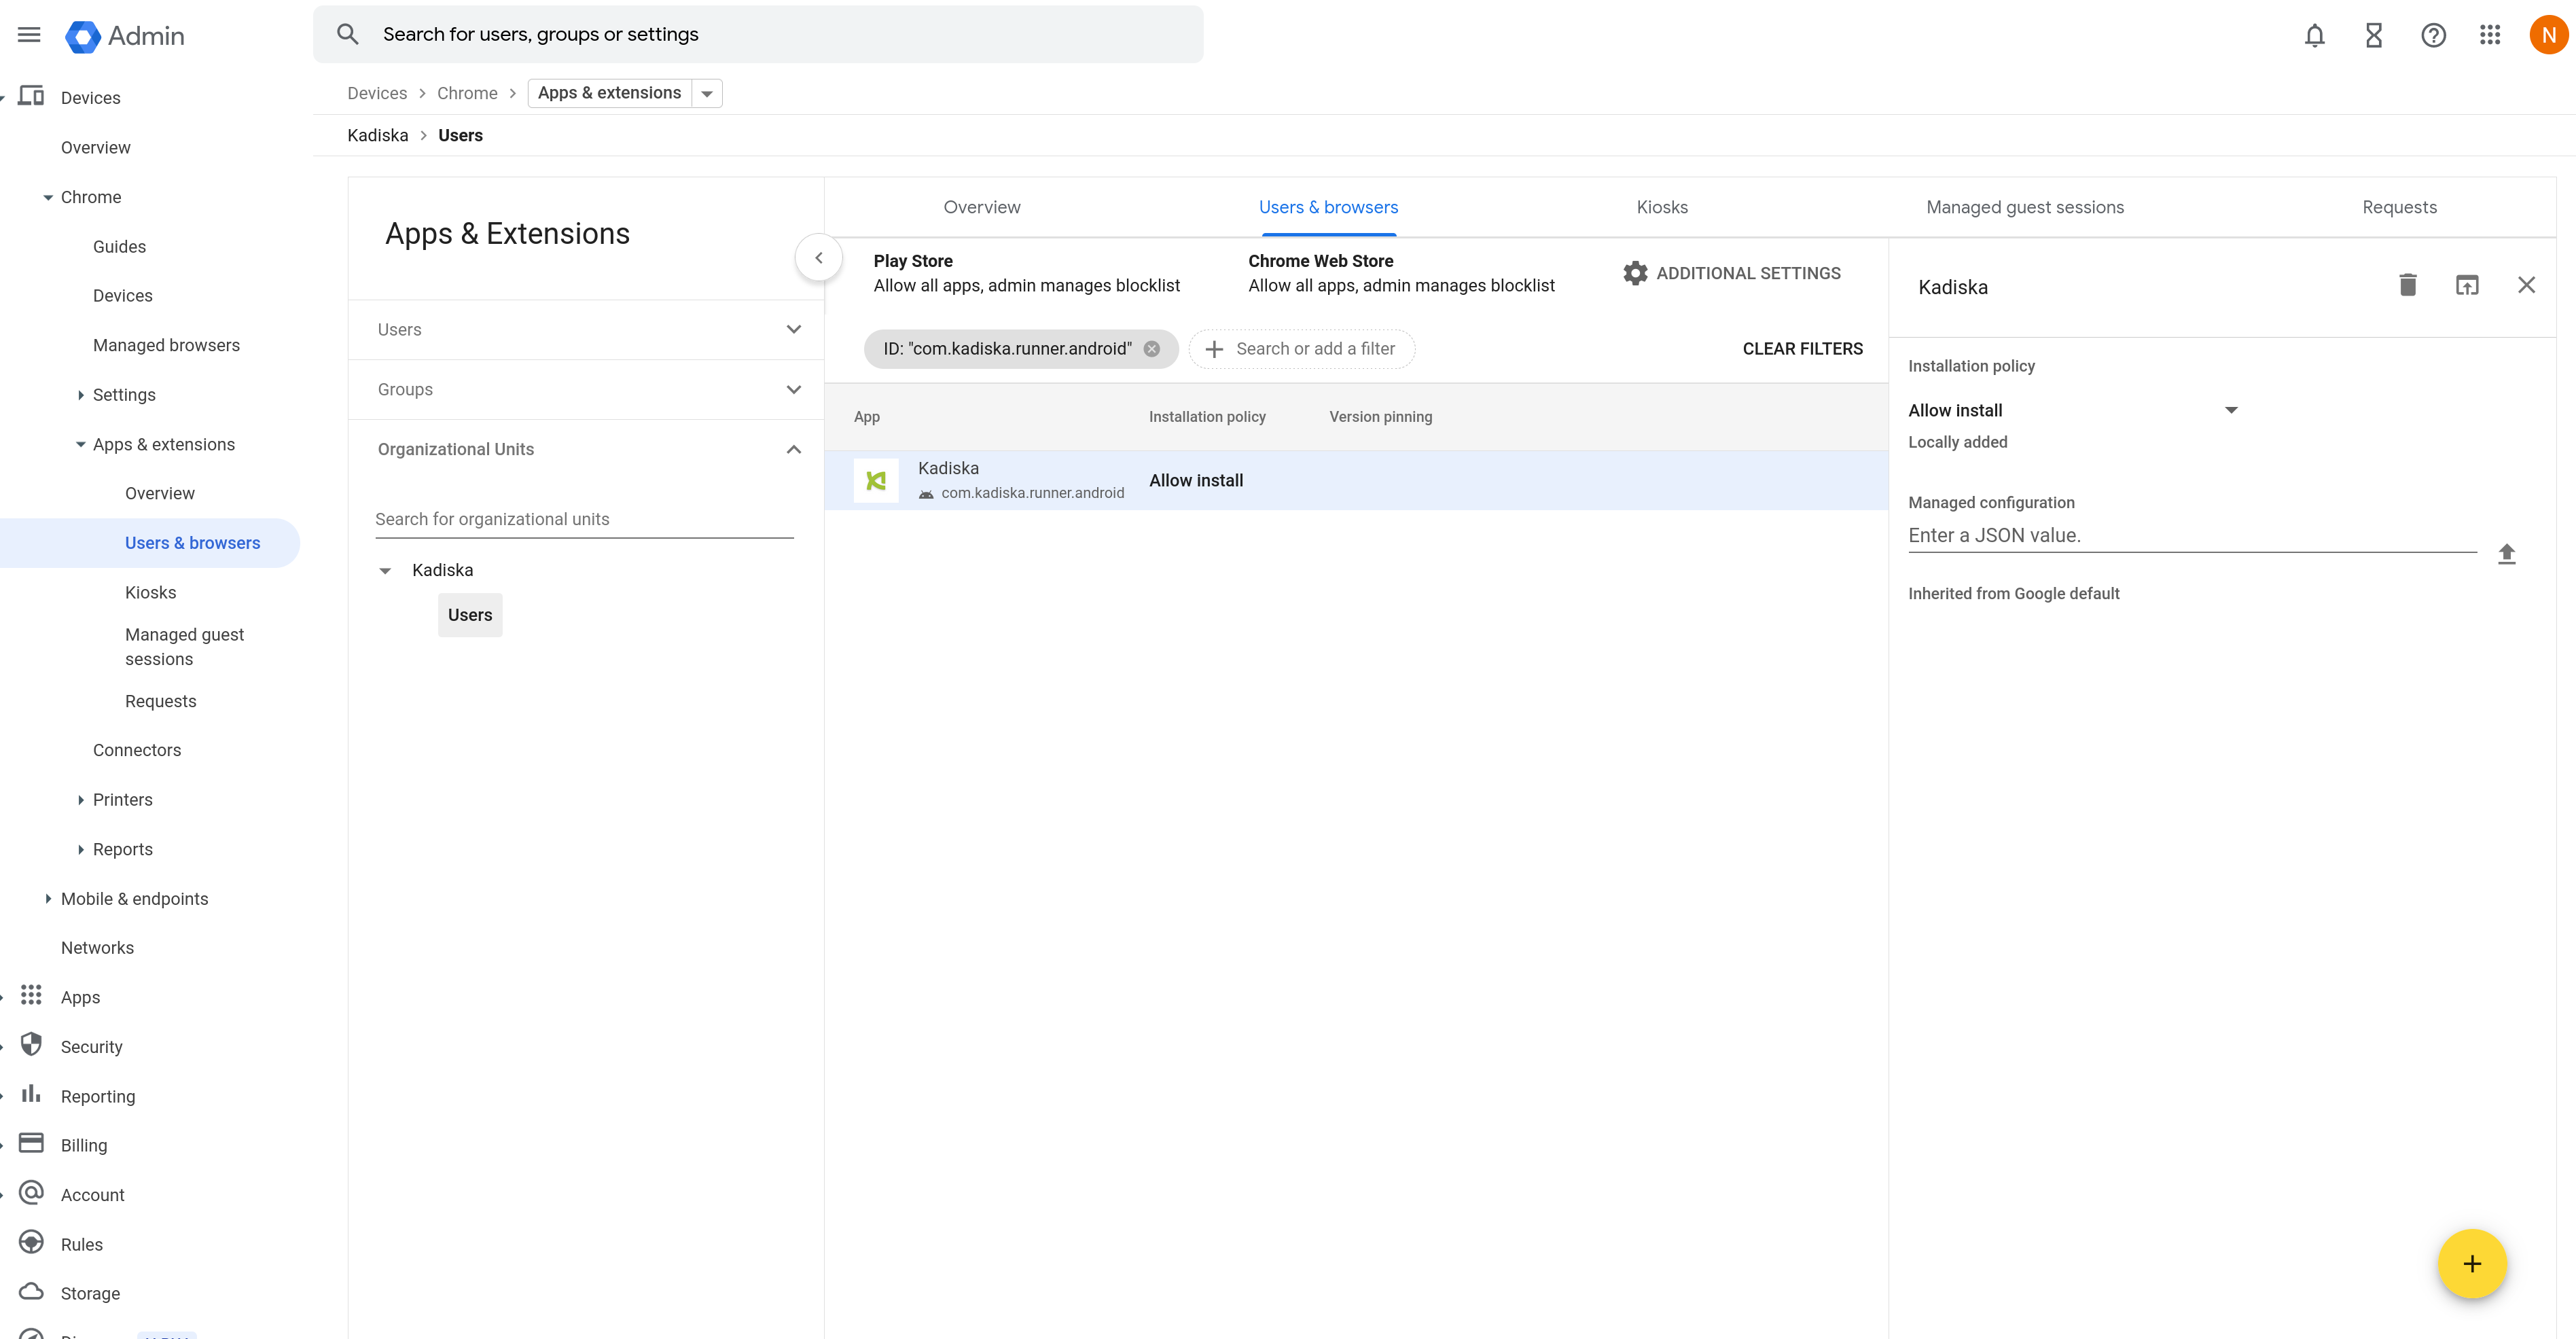
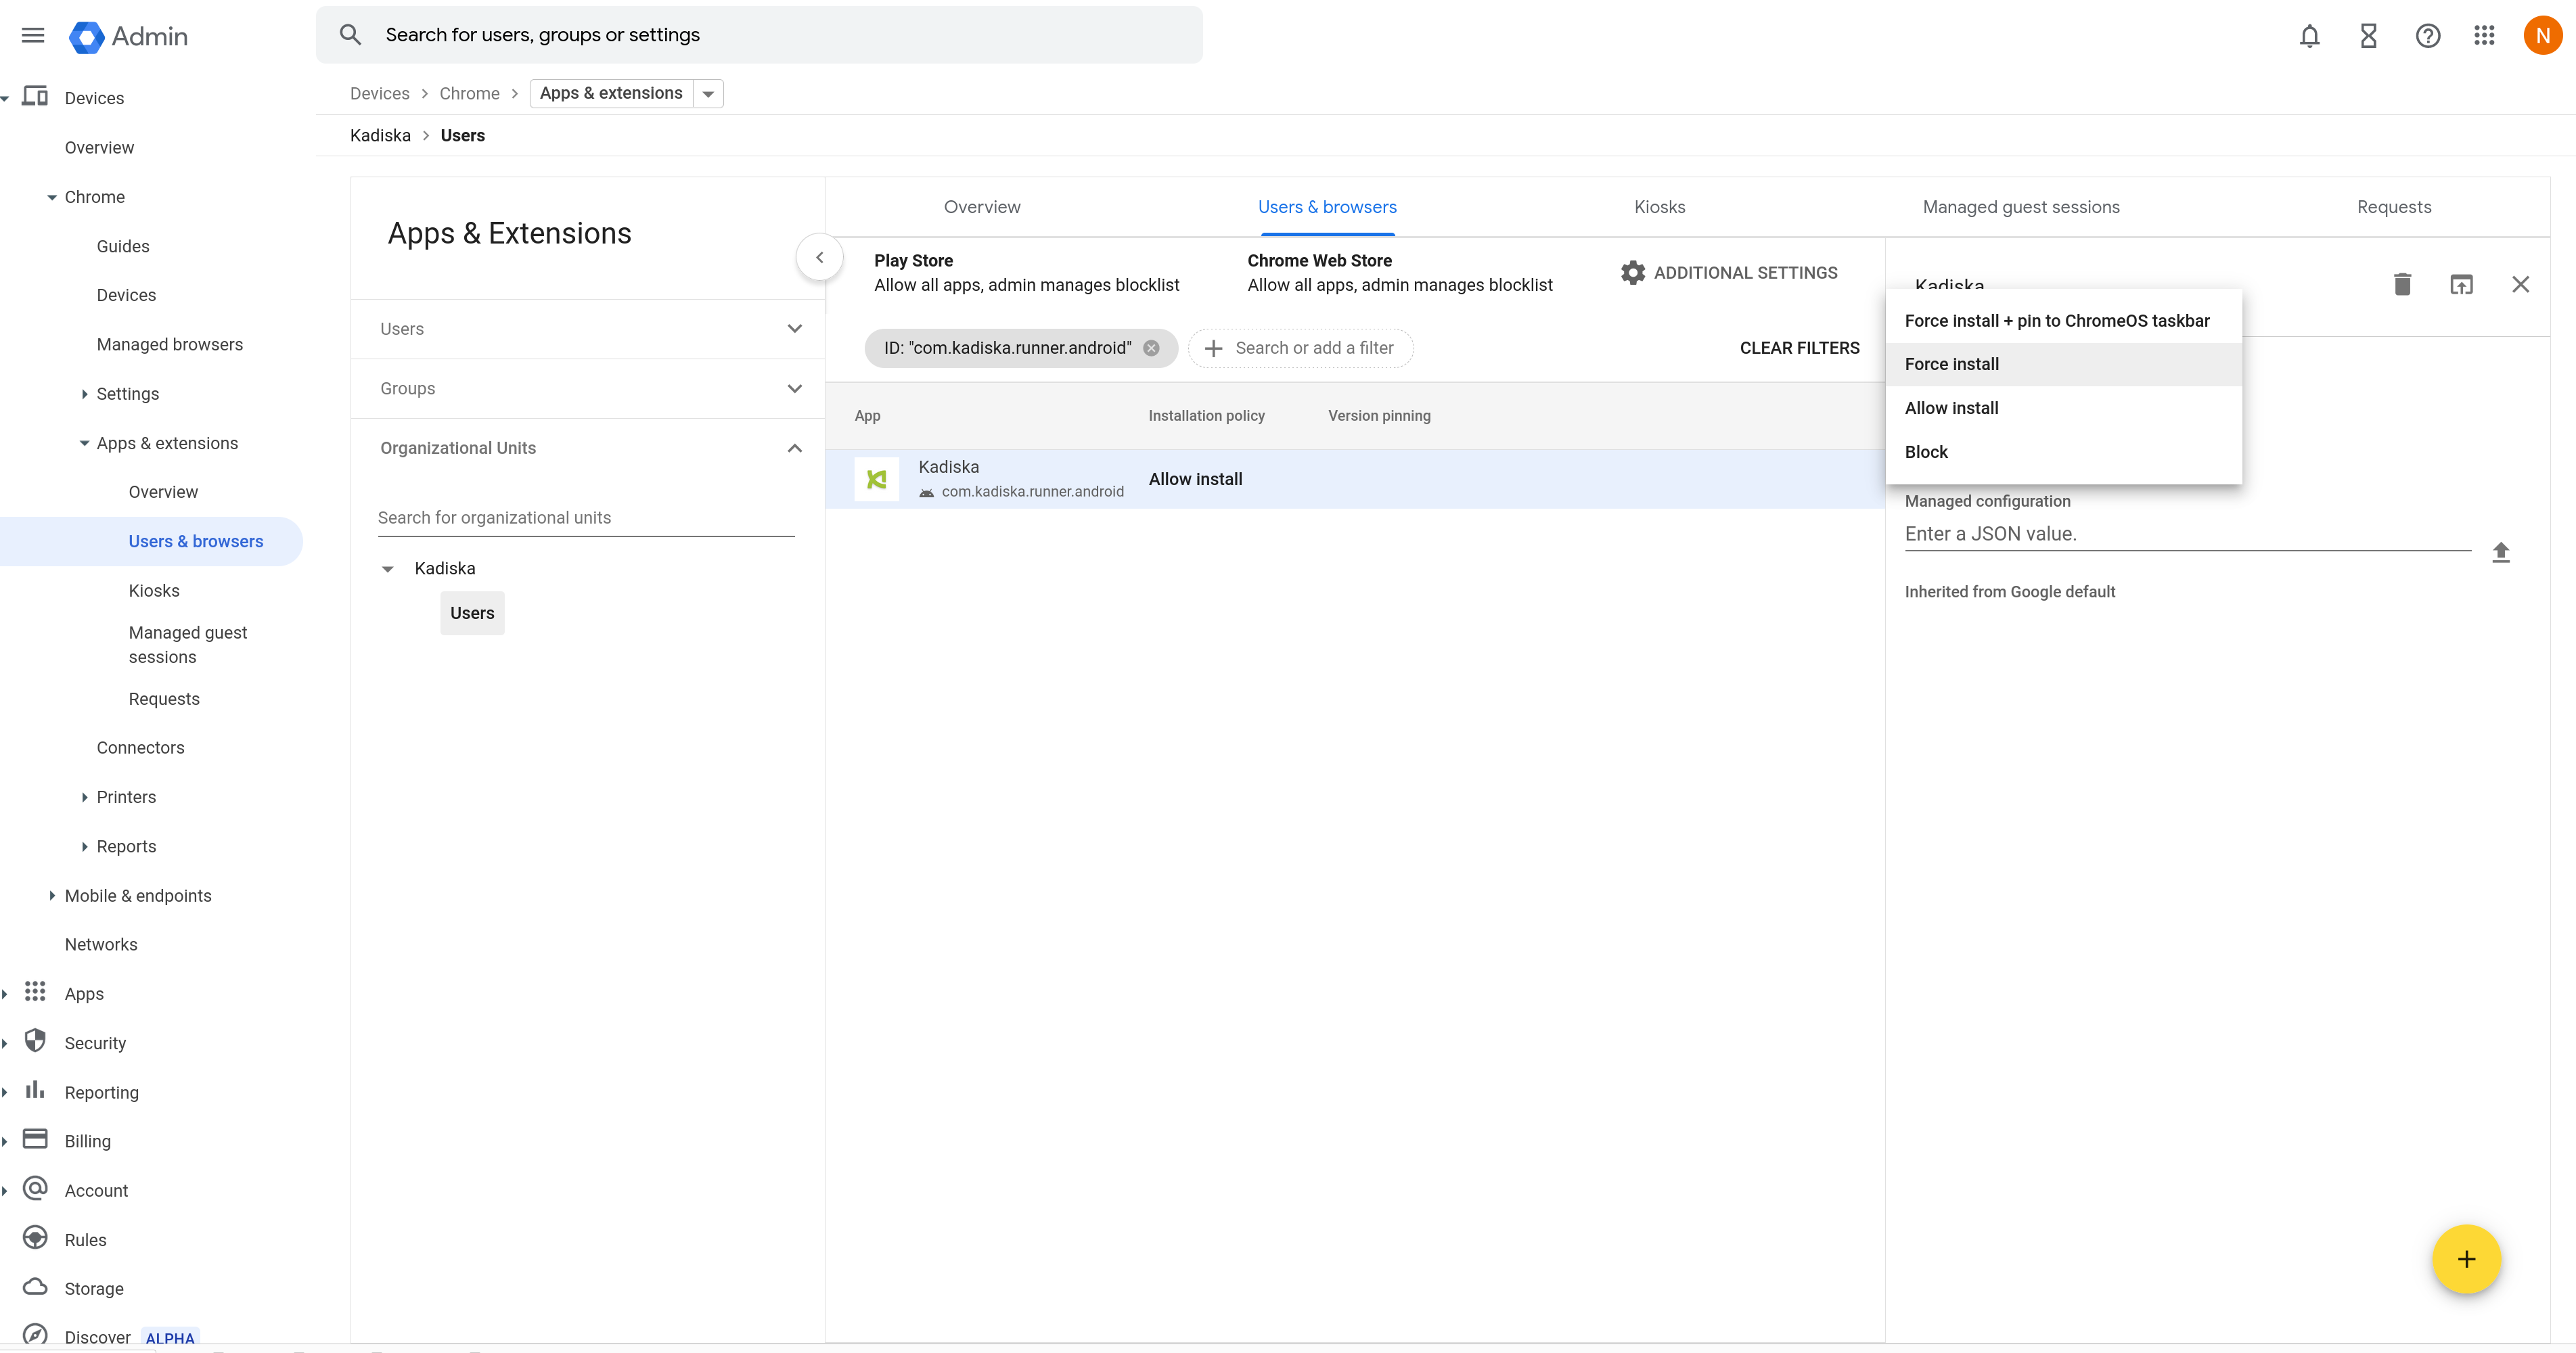
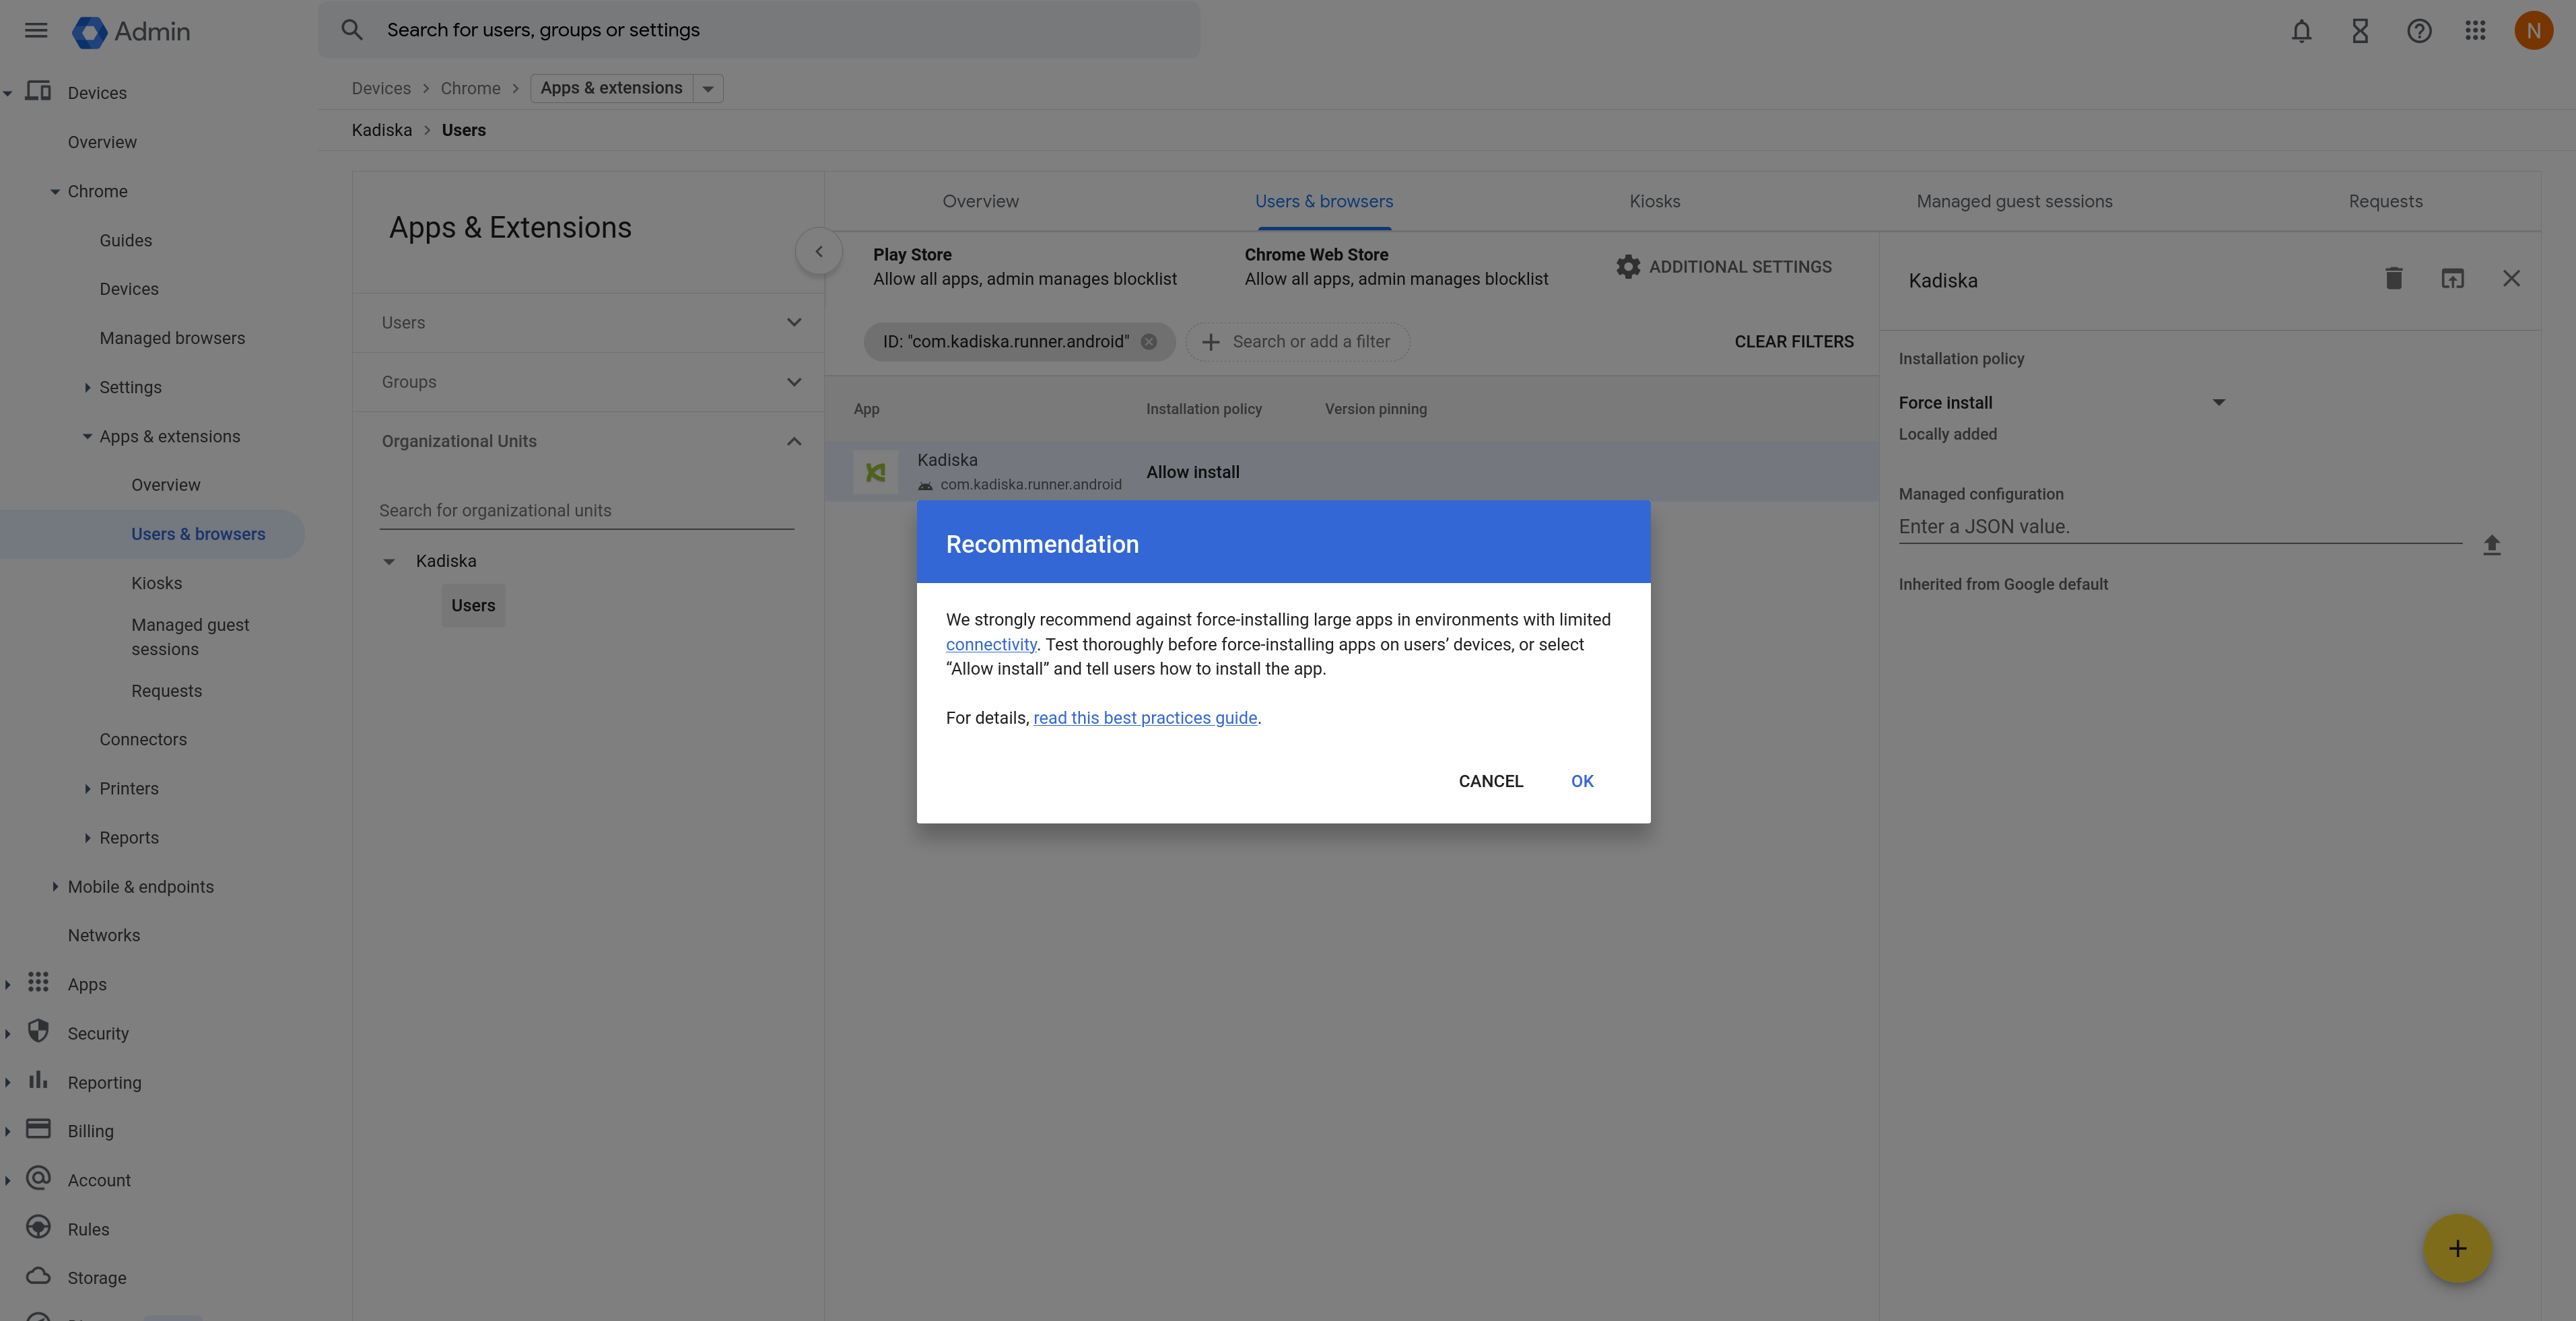
- On the right panel, click on "Allow Install" and then on "Force Install", then click "OK":
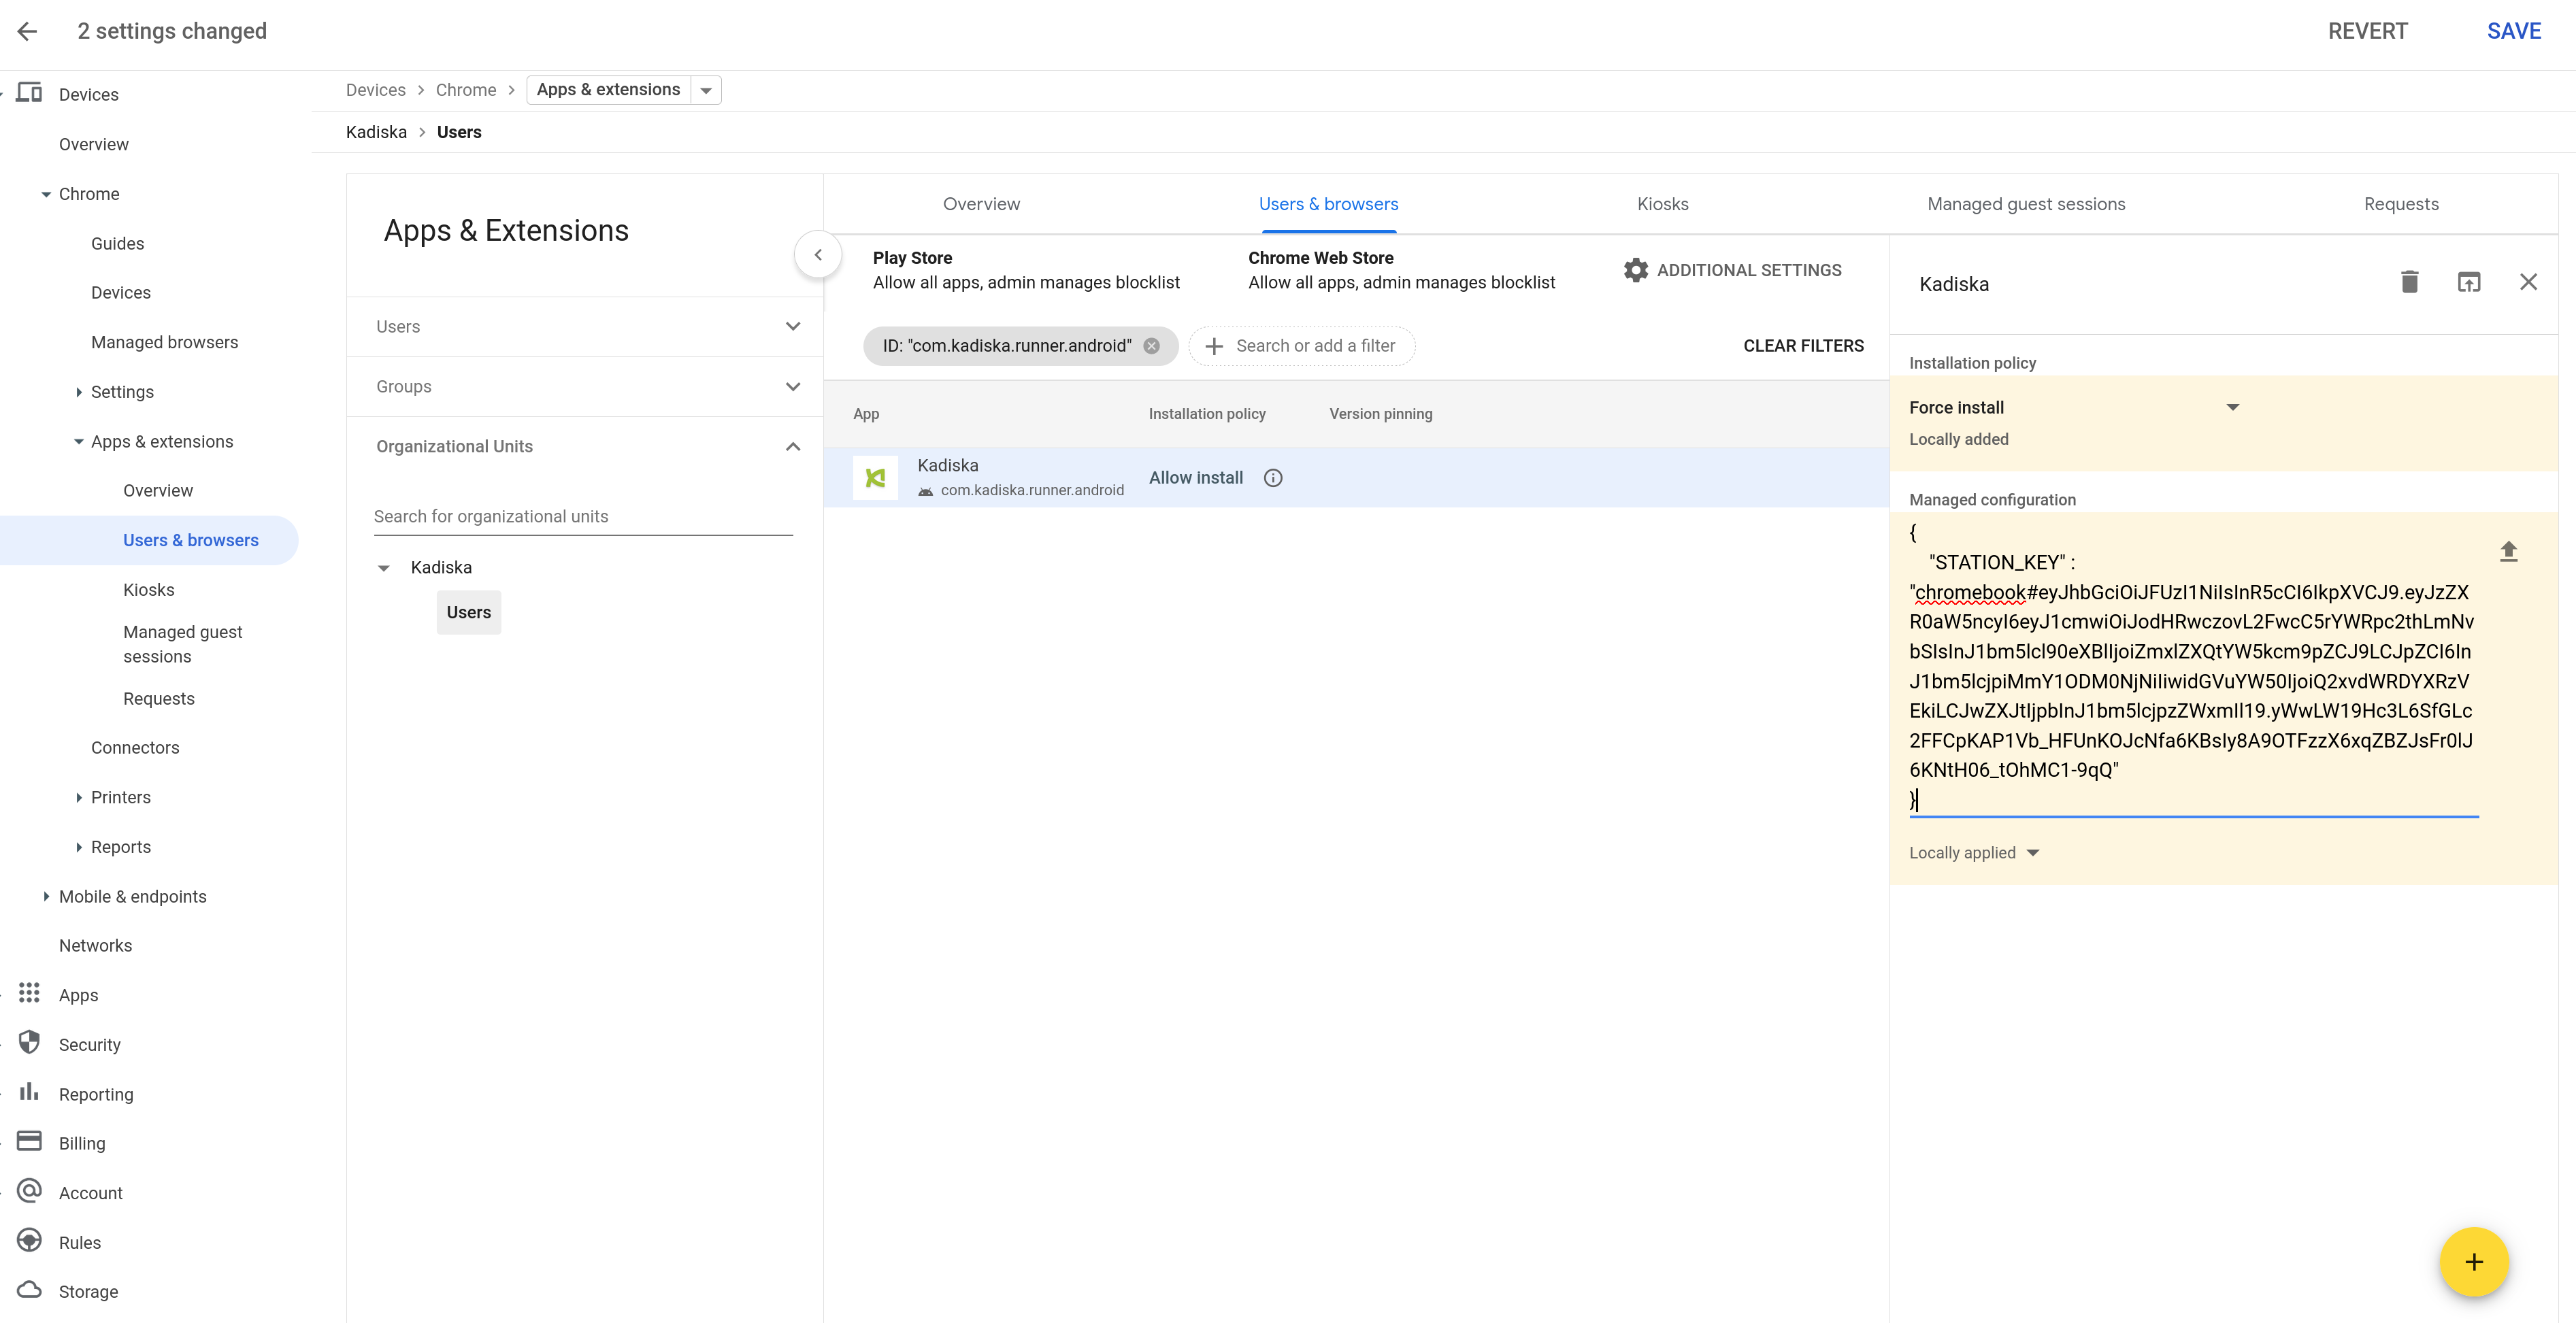
- In the management configuration section, paste the following JSON data (replace the value by your own Kadiska fleet API key):
Example:
{
    "STATION_KEY" : "chromebook#eyJhbGciOiJFUzI1NiIsInR5cCI6IkpXVCJ9.eyJzZXR0aW5ncyI6eyJ1cmwiOiJodHRwczovL2FwcC5rYWRpc2thLmNvbSIsInJ1bm5lcl90eXBlIjoiZmxlZXQtYW5kcm9pZCJ9LCJpZCI6InJ1bm5lcjpiMmY1ODM0NjNiIiwidGVaabG0IjoiQ2xvdWRDYXRzVEkiLrtBghJtIjpbInJ1bm5lcjpzZWxmIl19.yWwLW19Hc3L6SfGLc2FFCpKAP1Vb_HFUnKOJcNfa6KBsIy8A9OOFzzX6xqZBZJsFr0lJ6KNtH06_tOhMC1-9qQ"
}
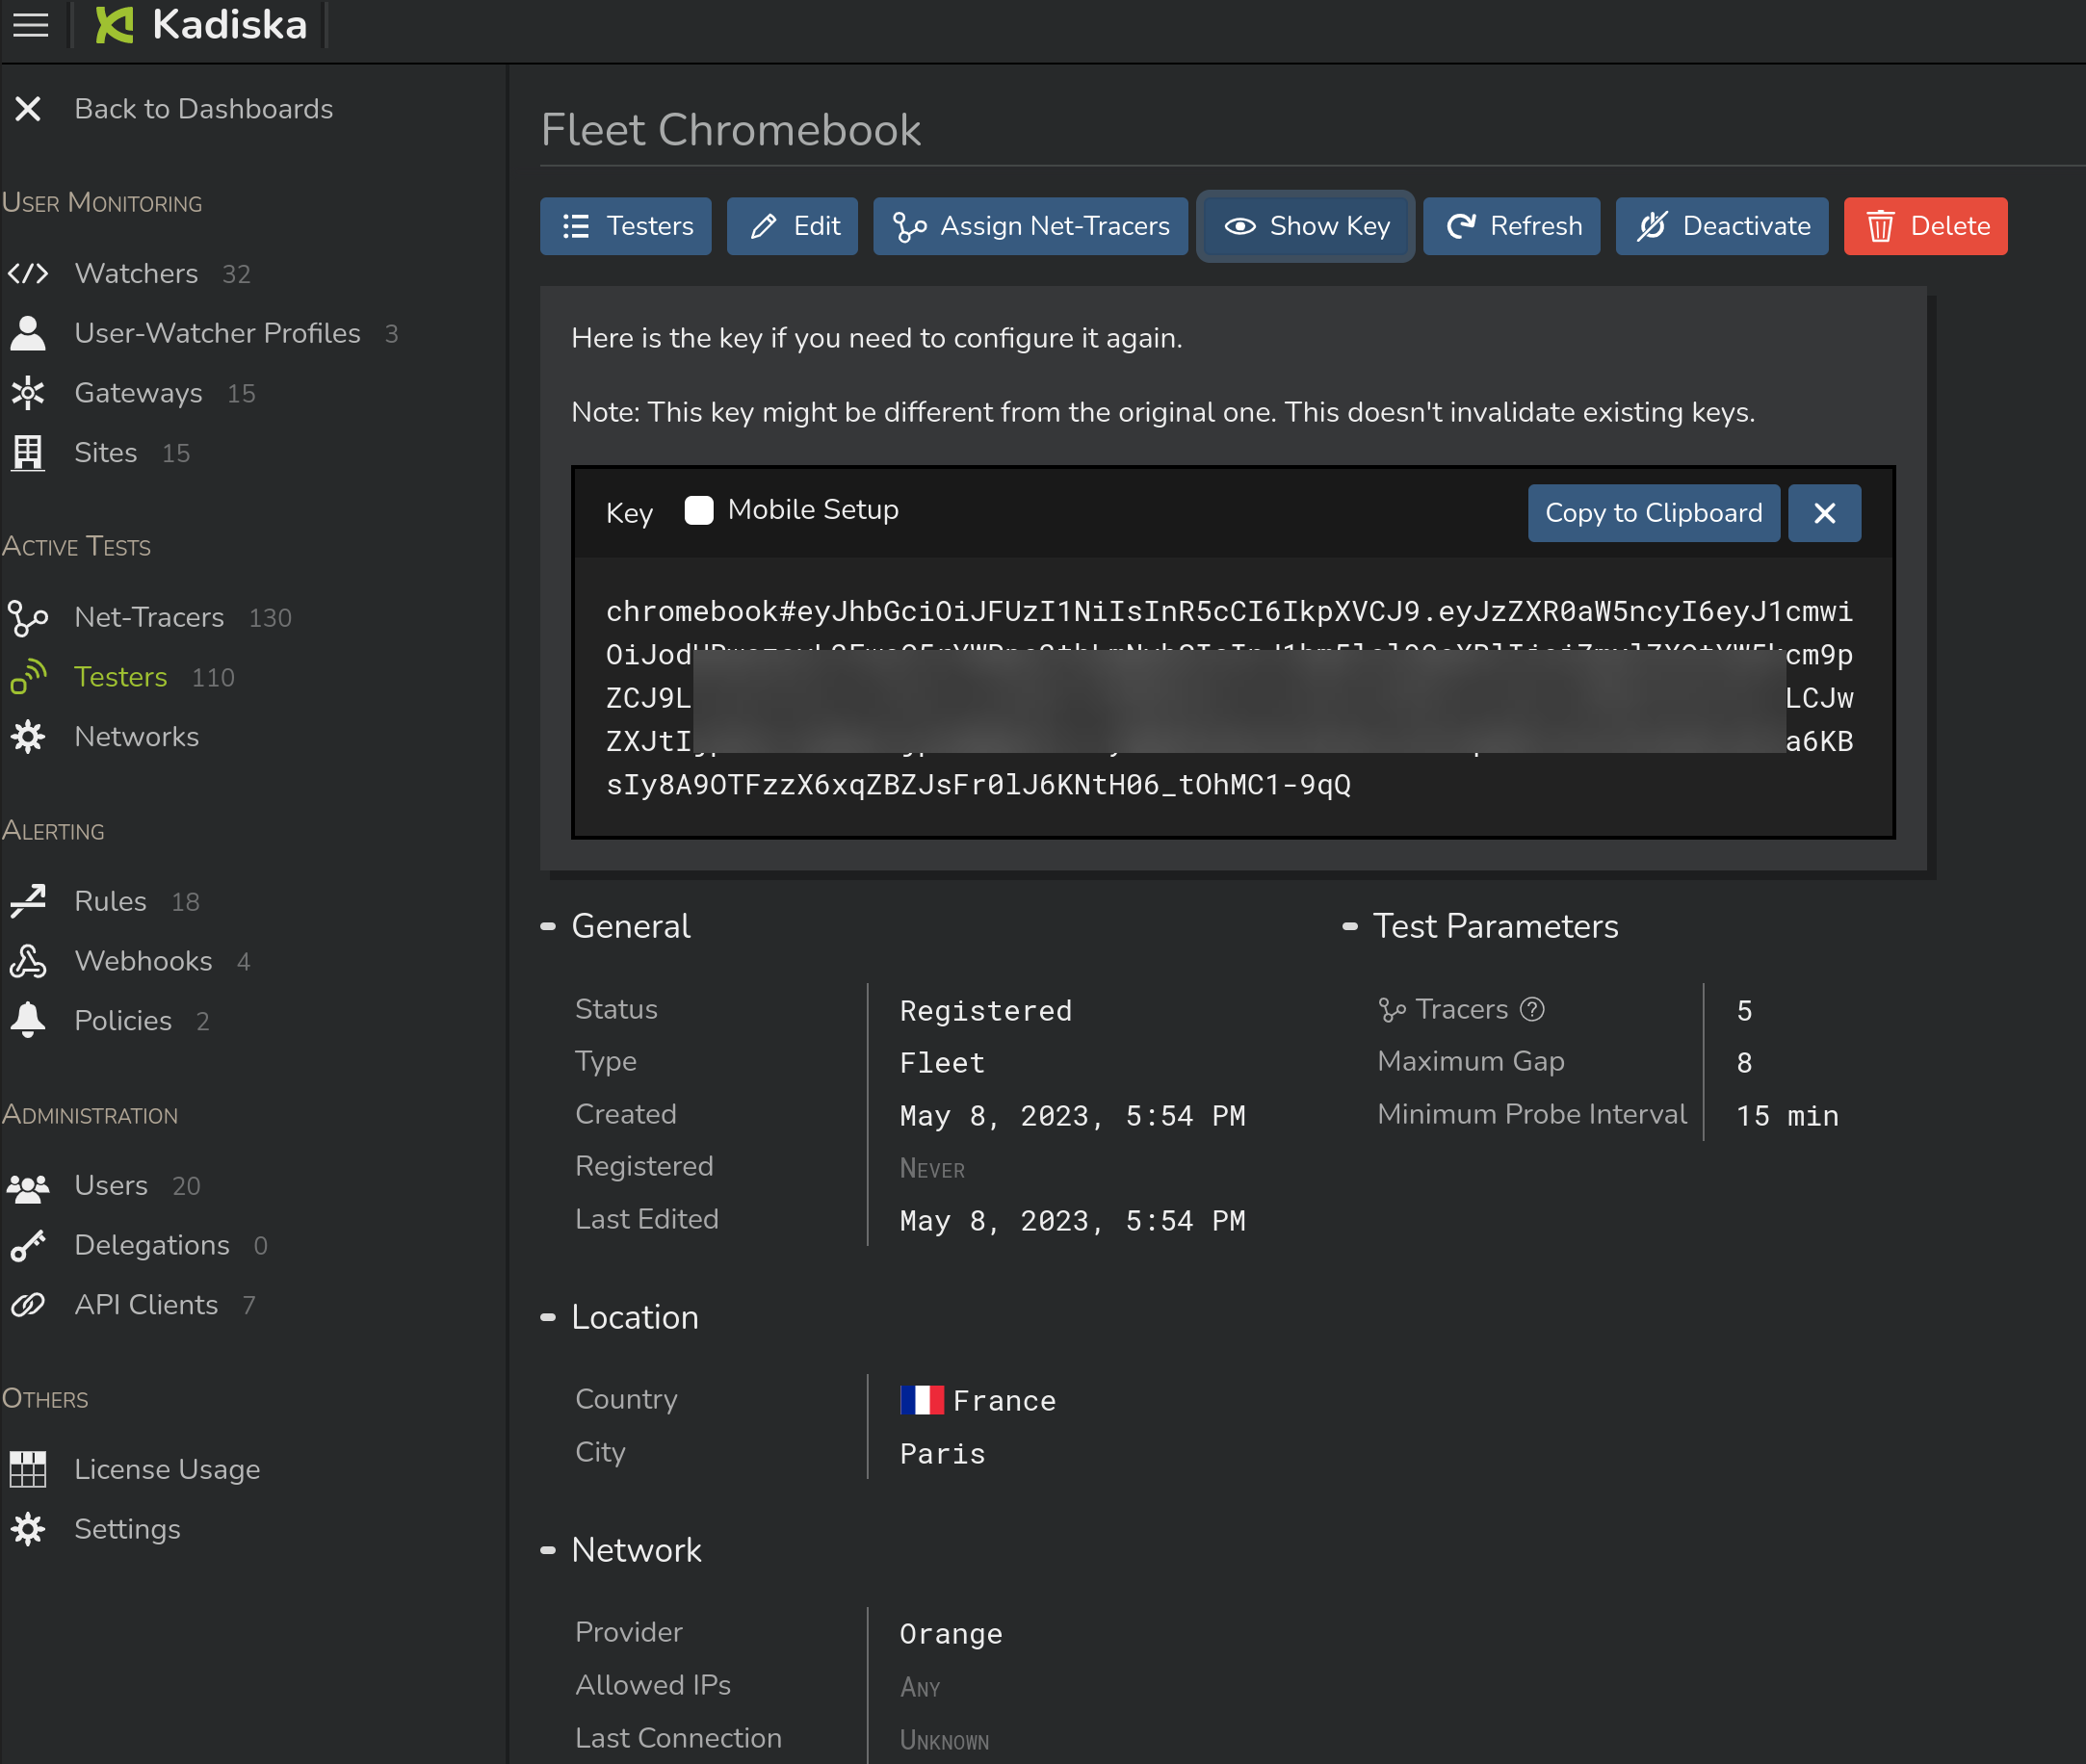
You retrieve the fleet API key by clicking on the "Show Key" button in the fleet configuration menu:
Once this is all done, click "Save".
The Kadiska application will be automatically deployed and configured on all devices:
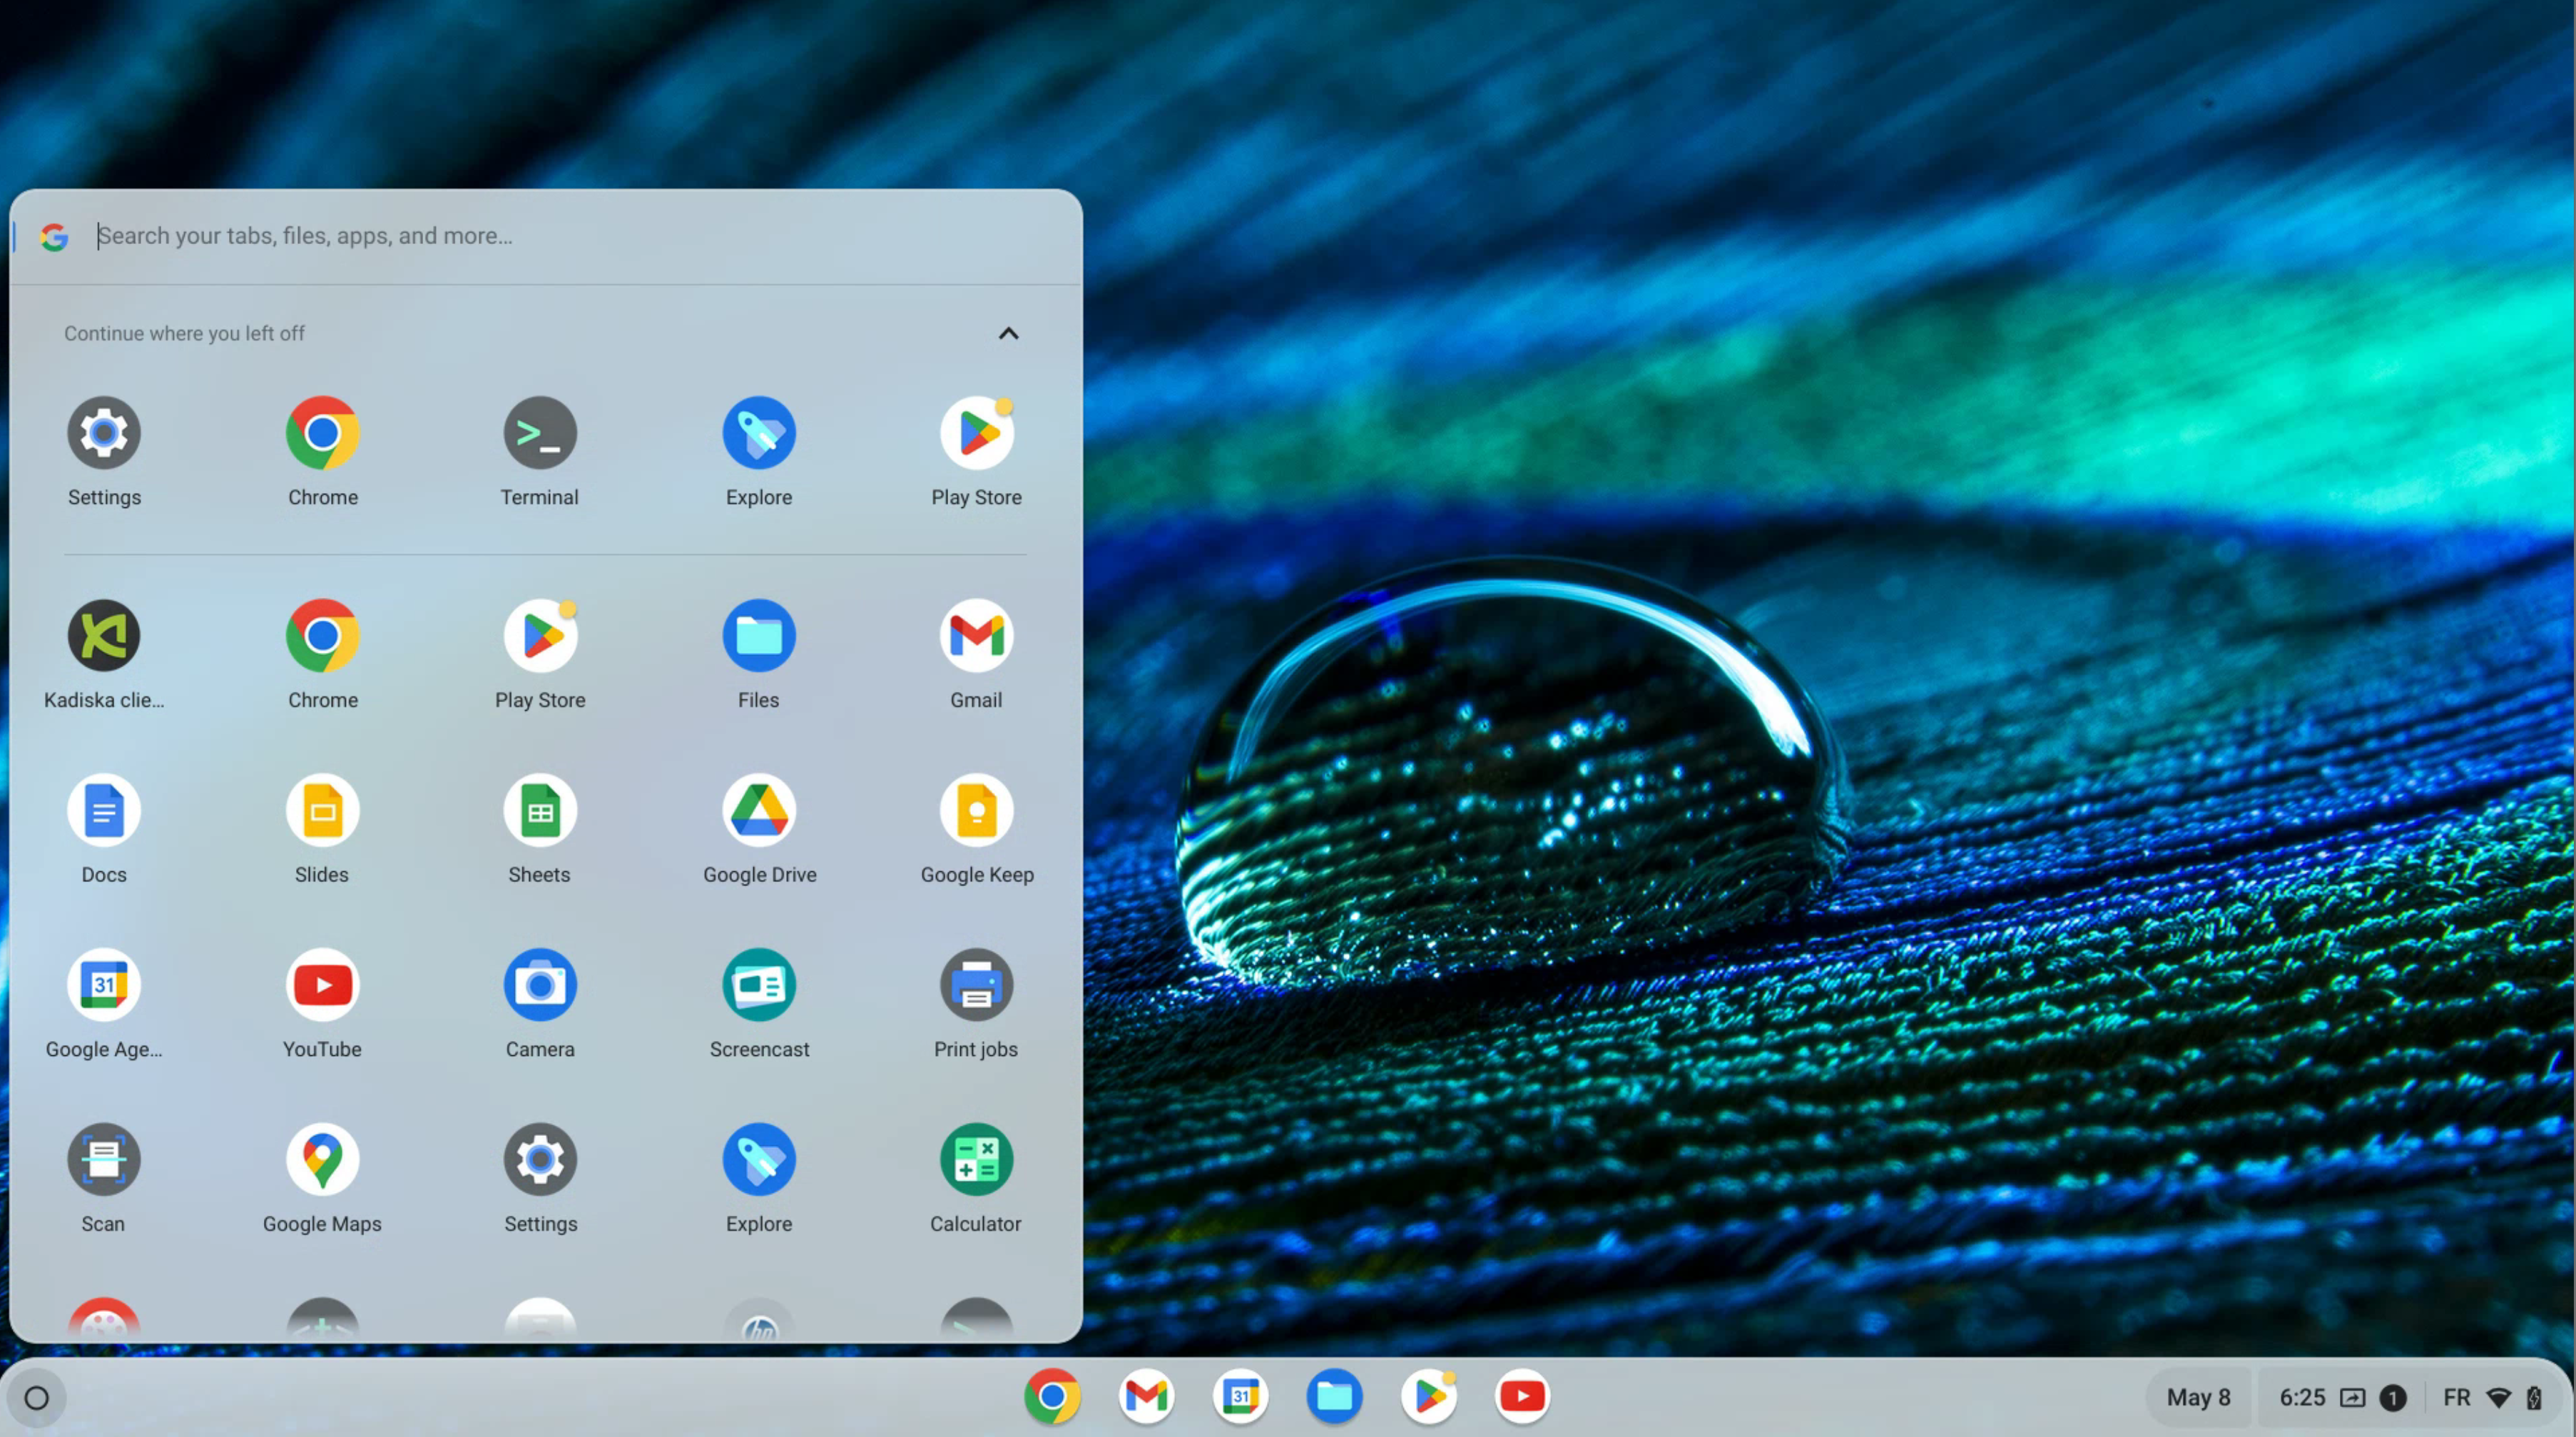
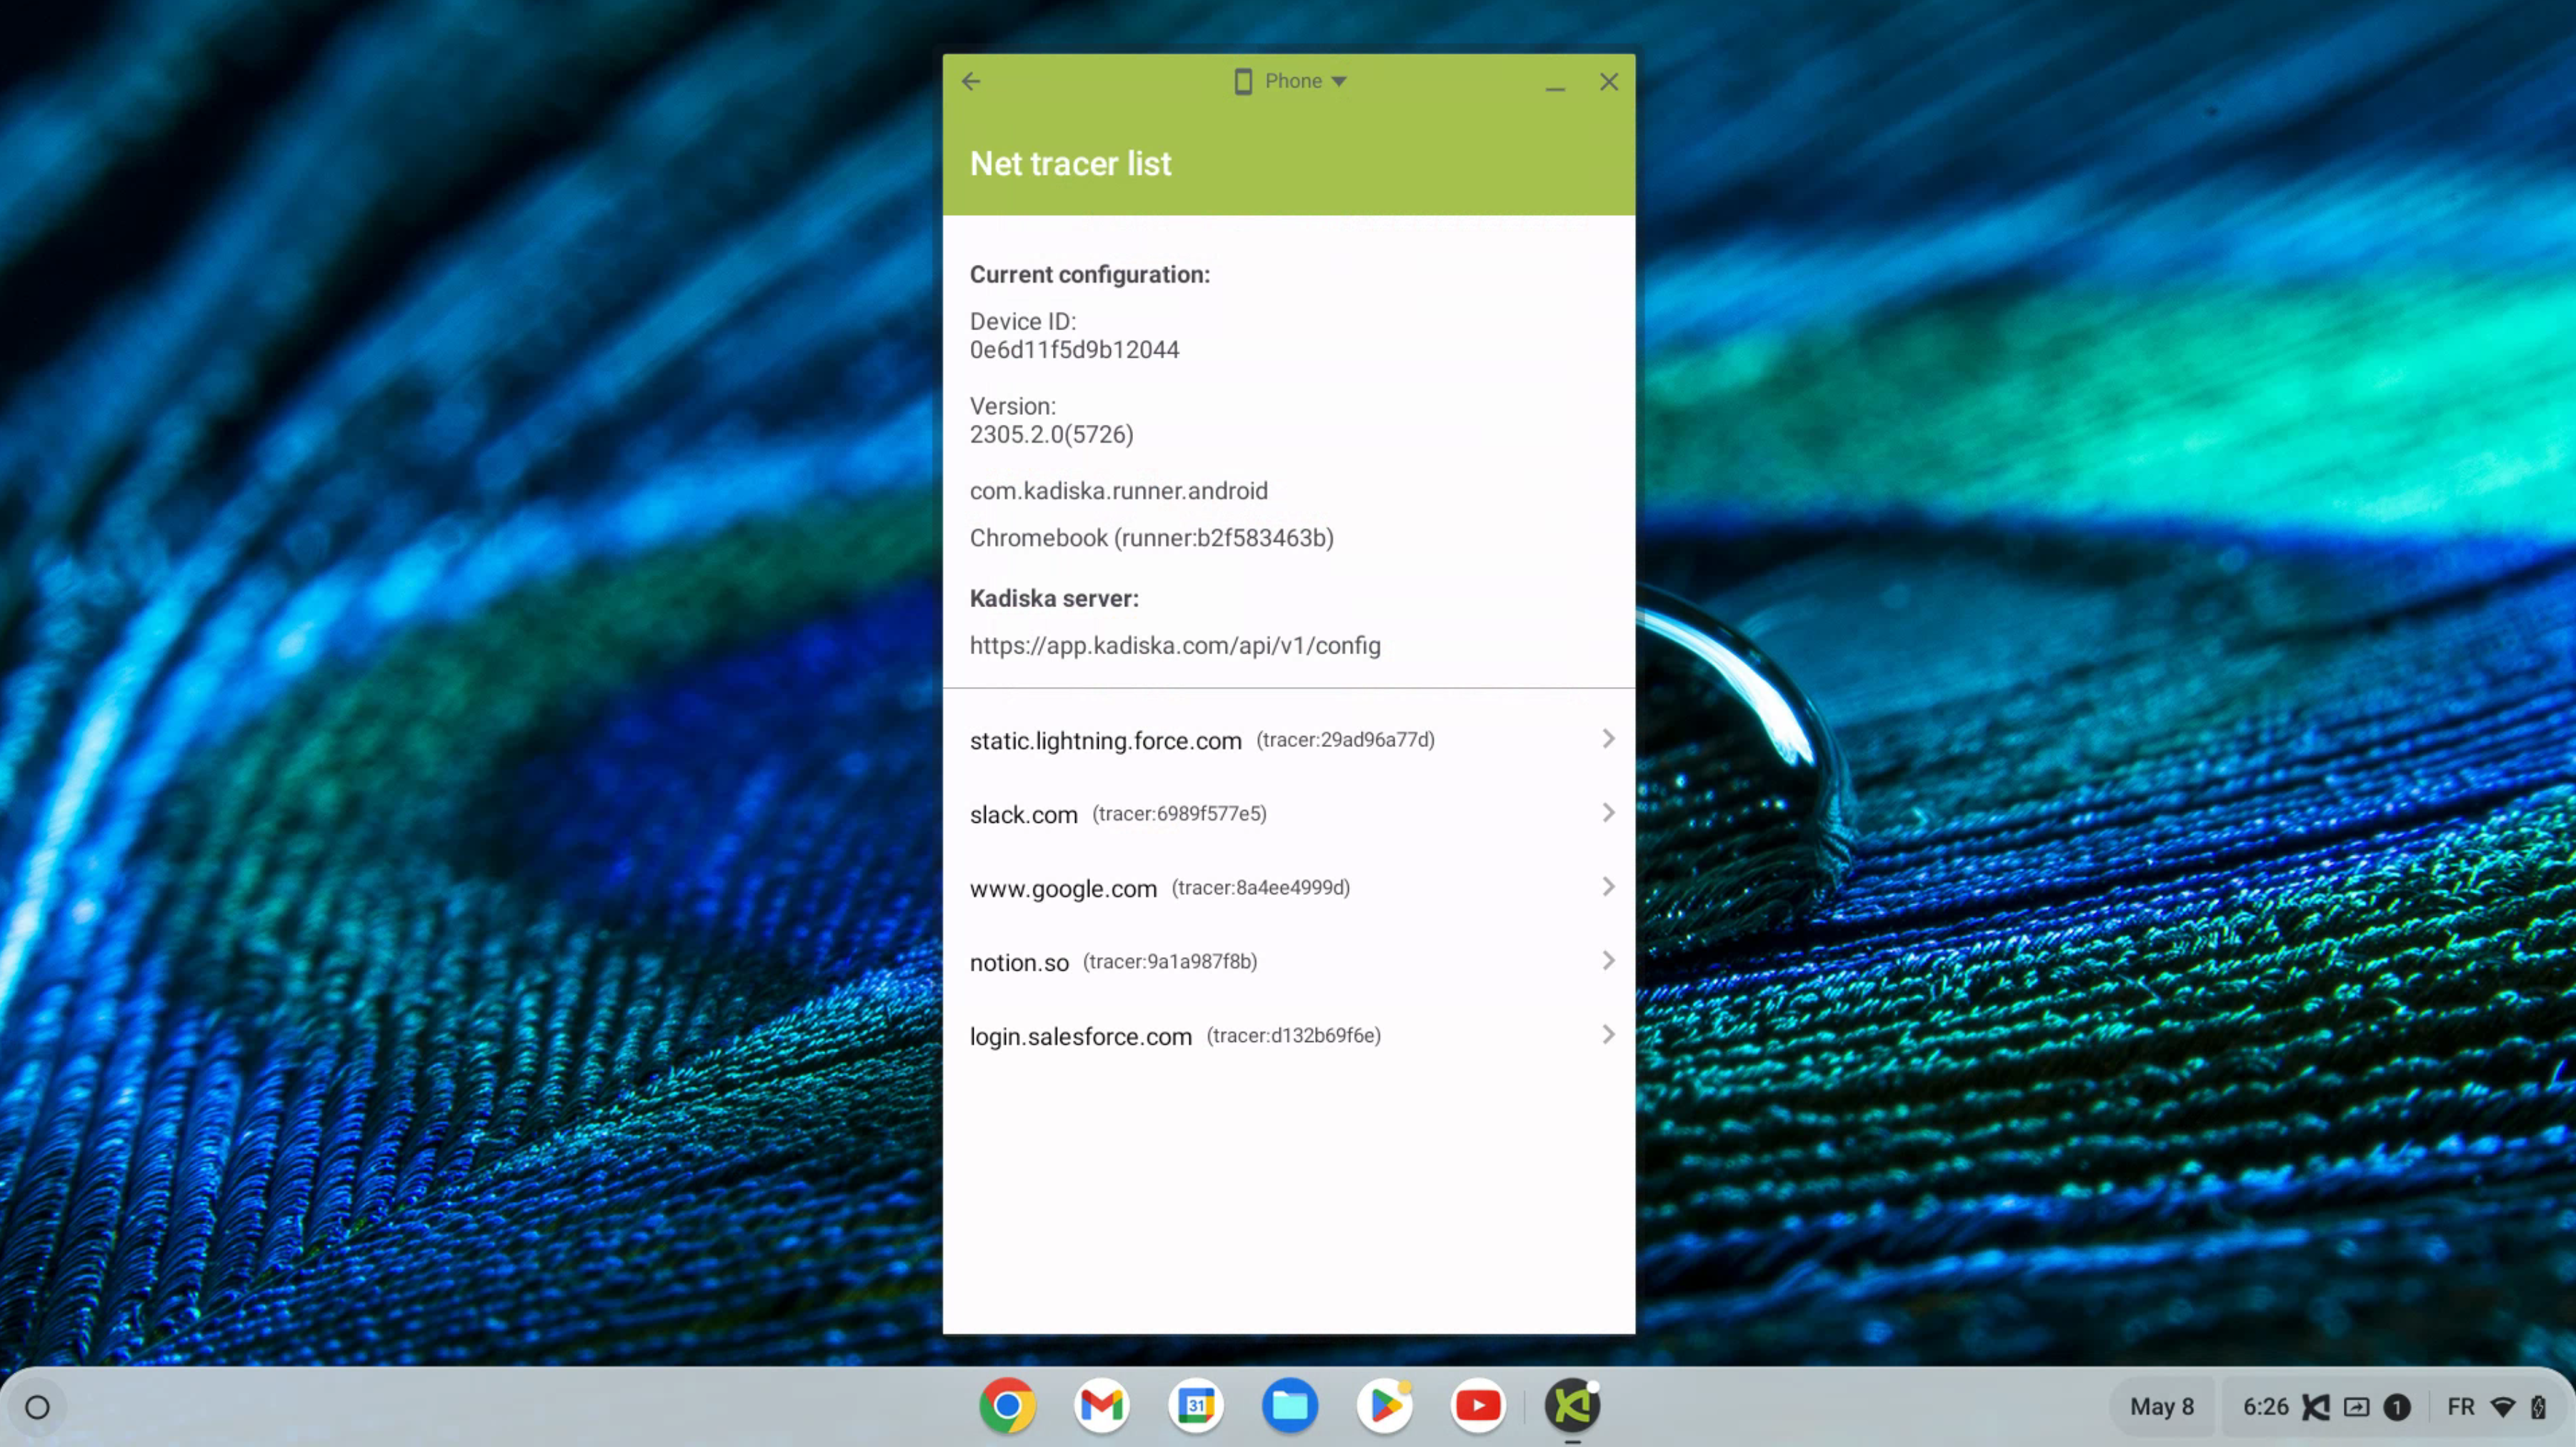
Activation of Localization on ChromeOS
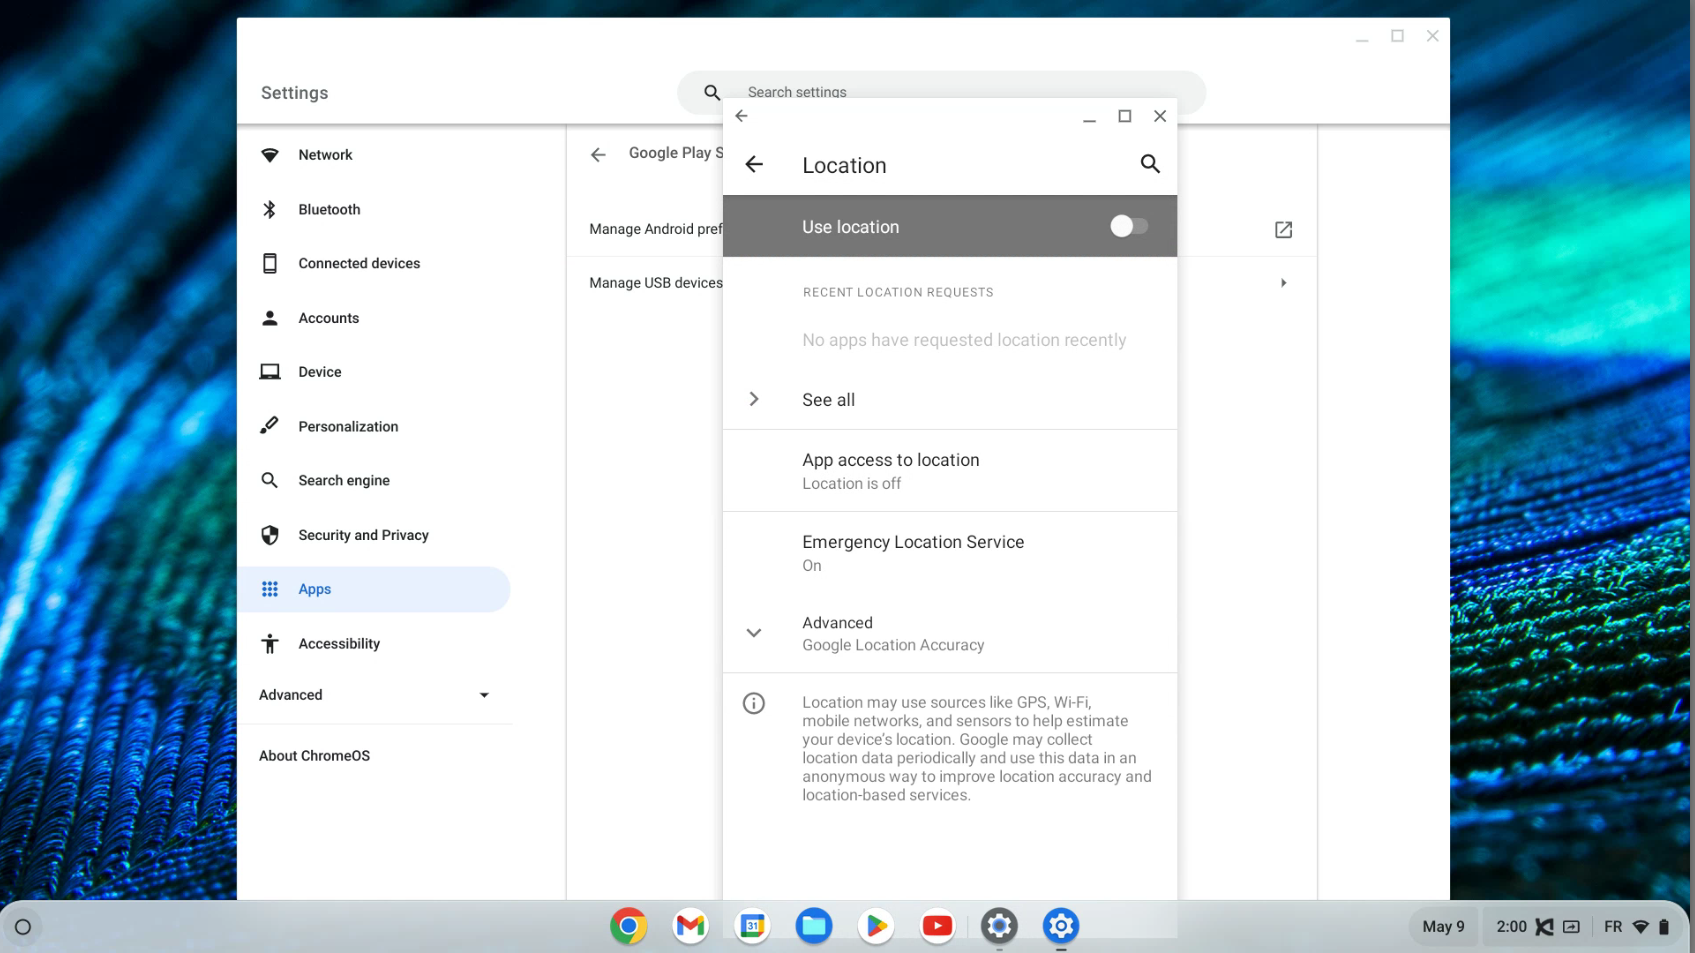
Identifying Wi-Fi networks and Access Points in the Kadiska platform requires the use of the ChromeOS device localization feature.
This can be activated from the device itself.
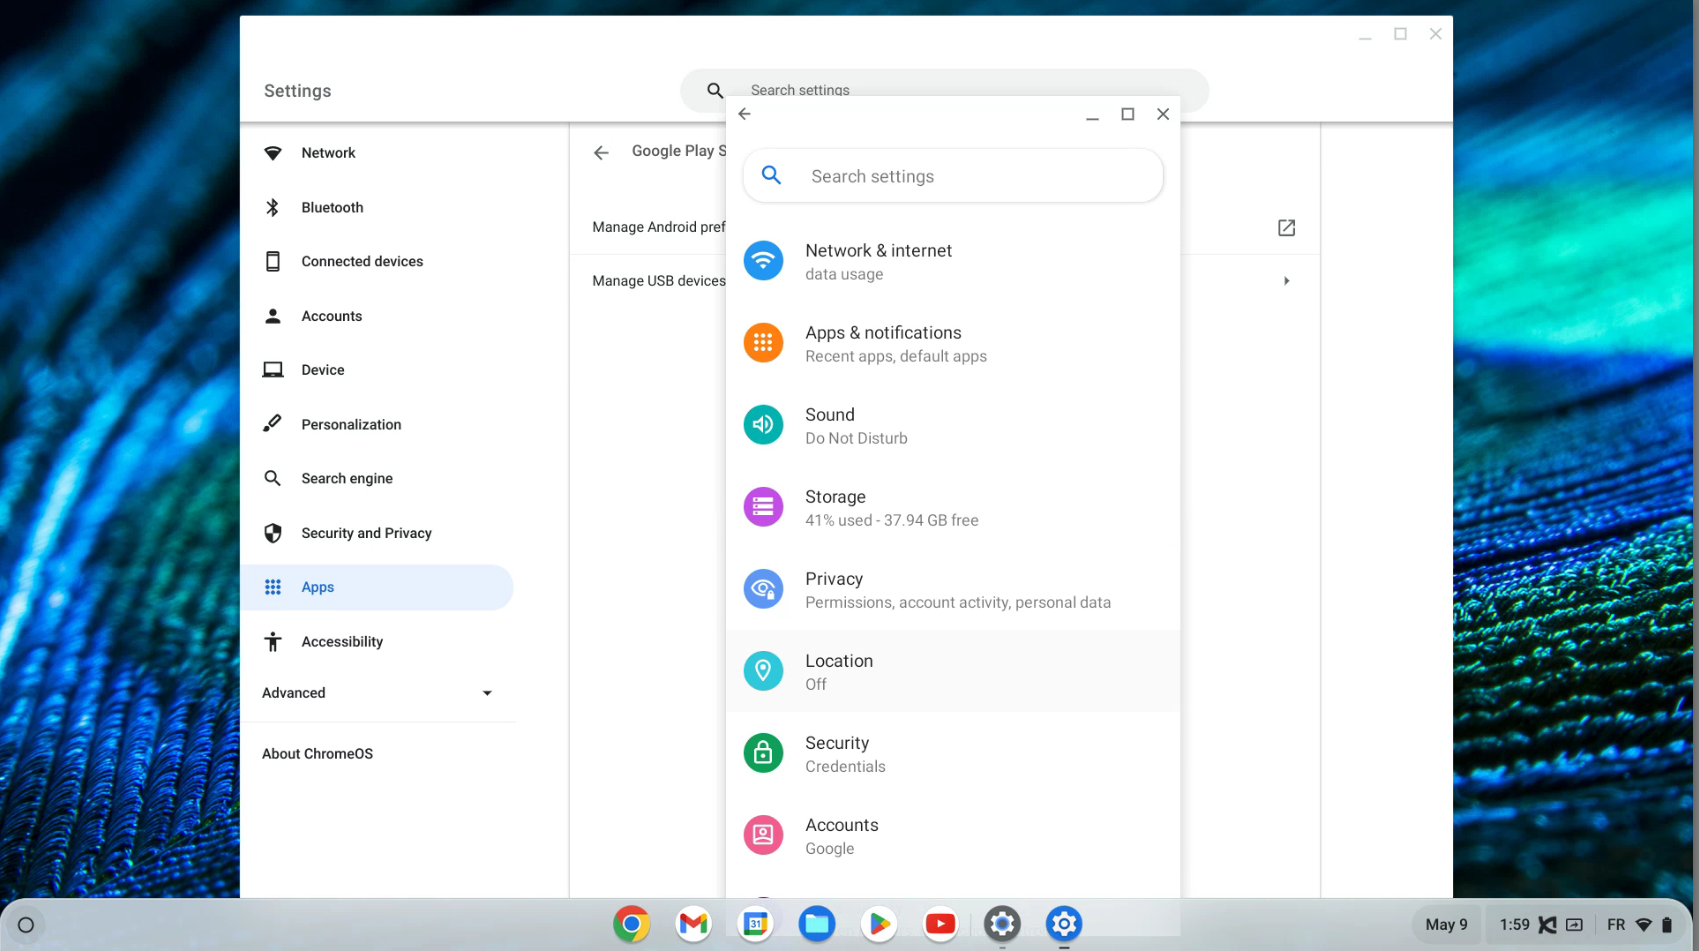
- Go to the "Search" field and type "android"
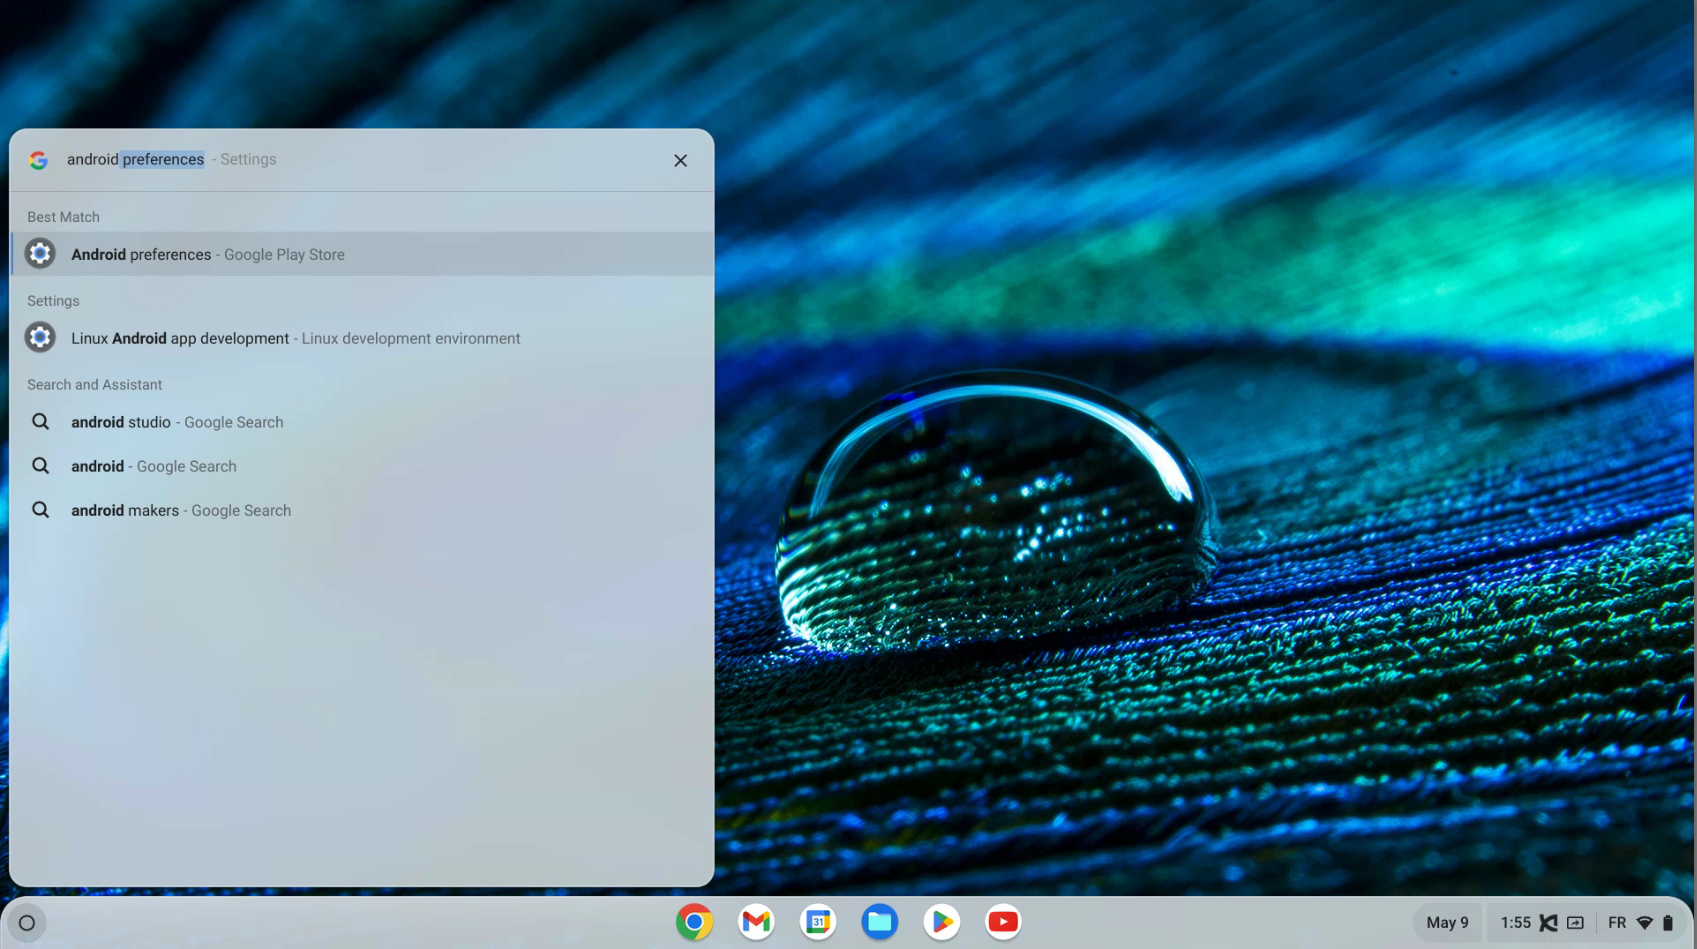
- Go to "Android preferences", then to "Manage Android preferences"
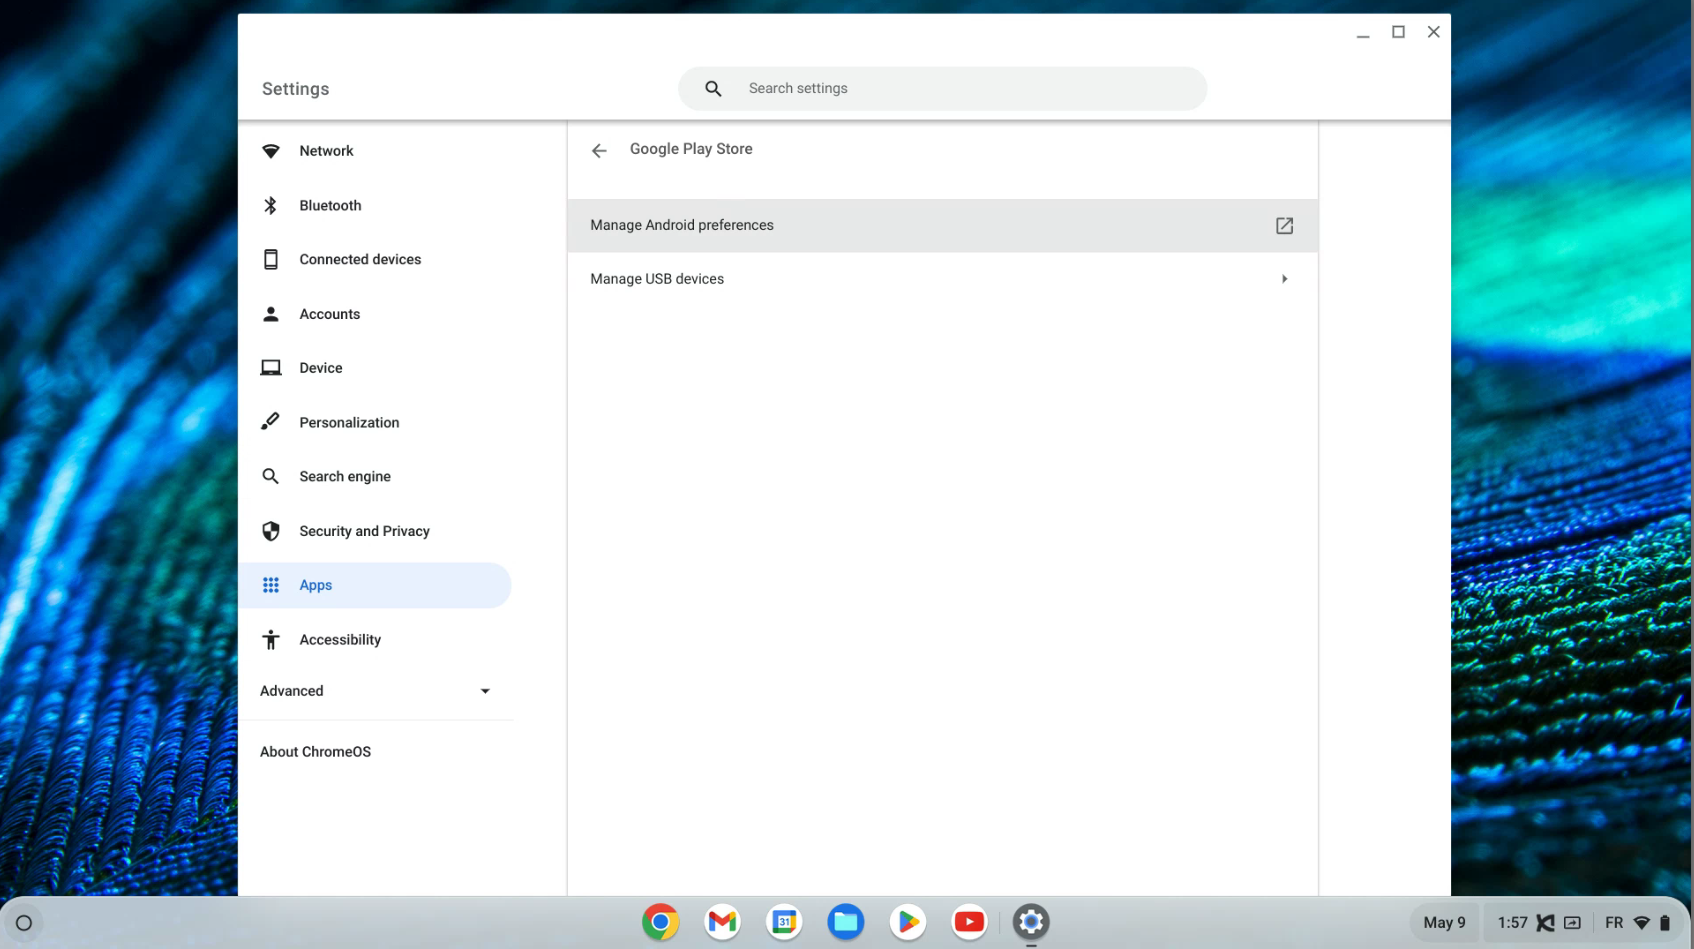
- Click on "Location"
- Switch on "Use location"
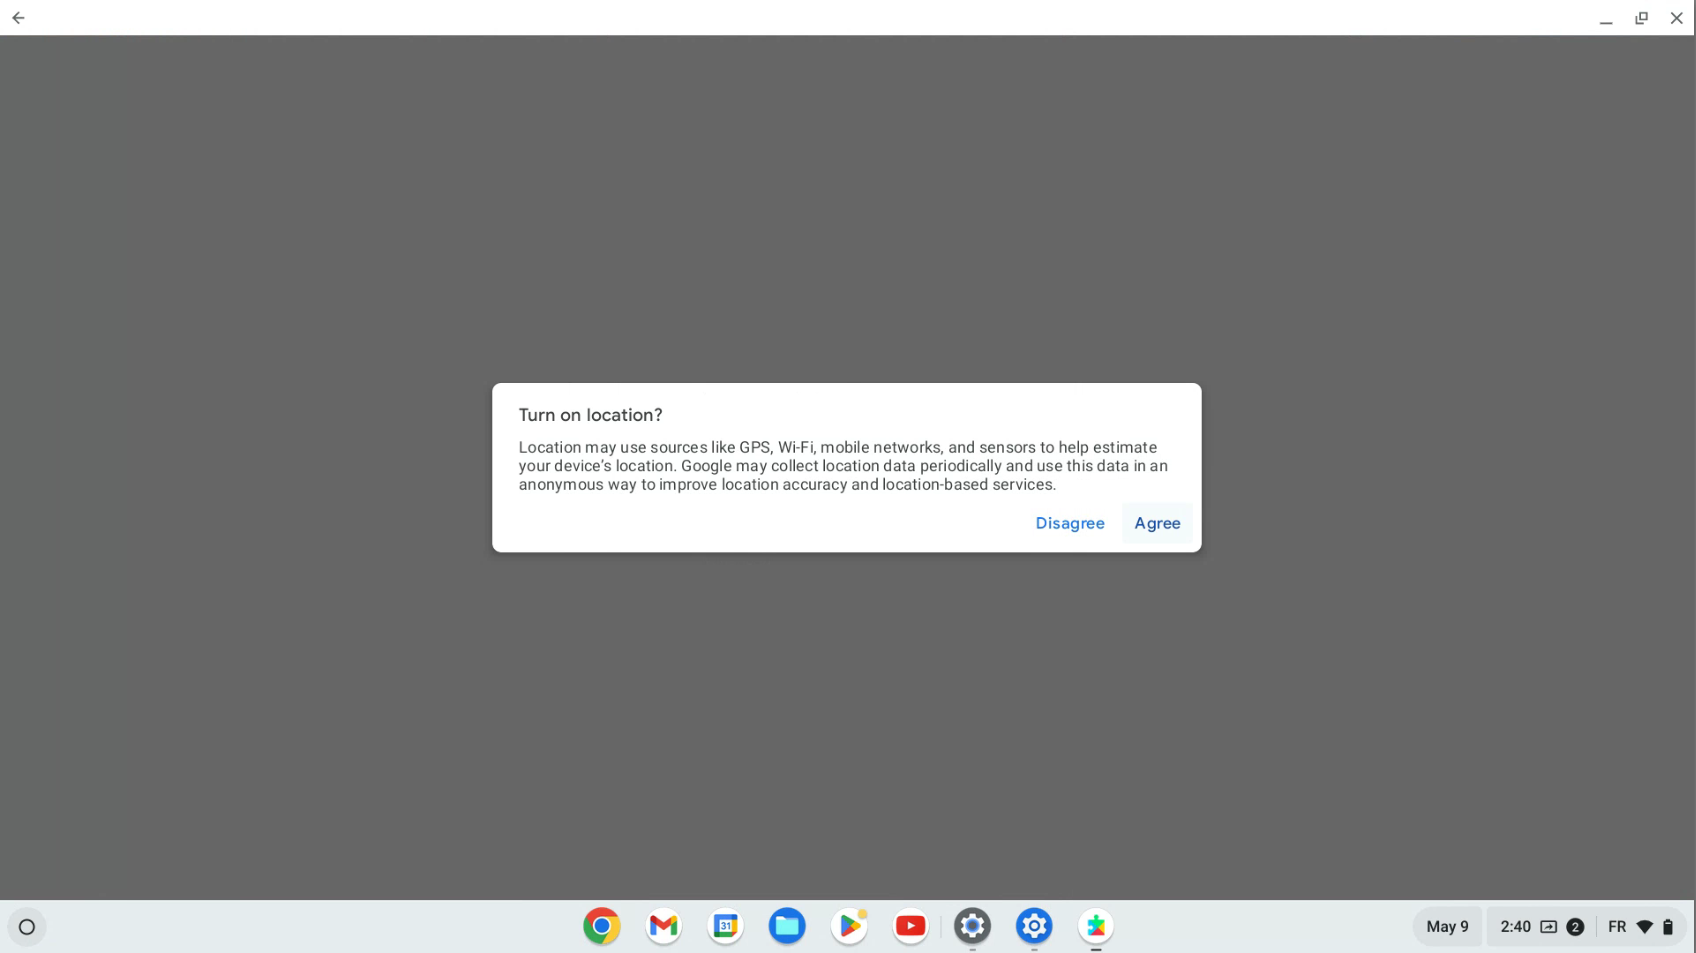
- Click on "Agree"
