Tenant creation and administration
Step 1: Sign-up and Tenant creation
The first step in your Kadiska journey consists of creating your organization's tenant so that you have access to the Kadiska platform. First, login to the platform: https://app.kadiska.com
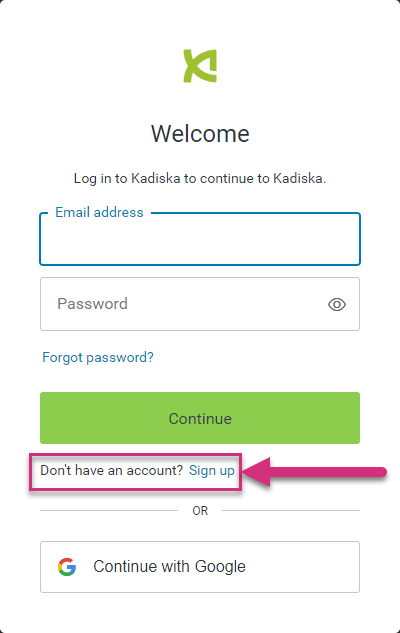
As you do not have an account yet, click on "Sign up":
Fill in your professional email address followed by your chosen password. This latter should :
- Be at least 8 characters long
- Contain at least one lower case letter
- Contain at least one upper case letter
- Contain at least one number
As an alternative, you can also use an existing Google account.
Once this is done, you should see the following message:

Go to your email inbox. You should have received the following email (click on "Verify Your Account"):

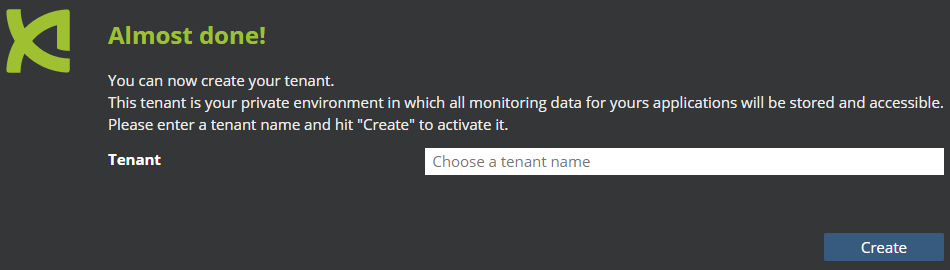
You are then automatically directed to the Kadiska platform and ready for the next step. This consists of creating your unique organization's tenant. Give it a name and hit "Create":
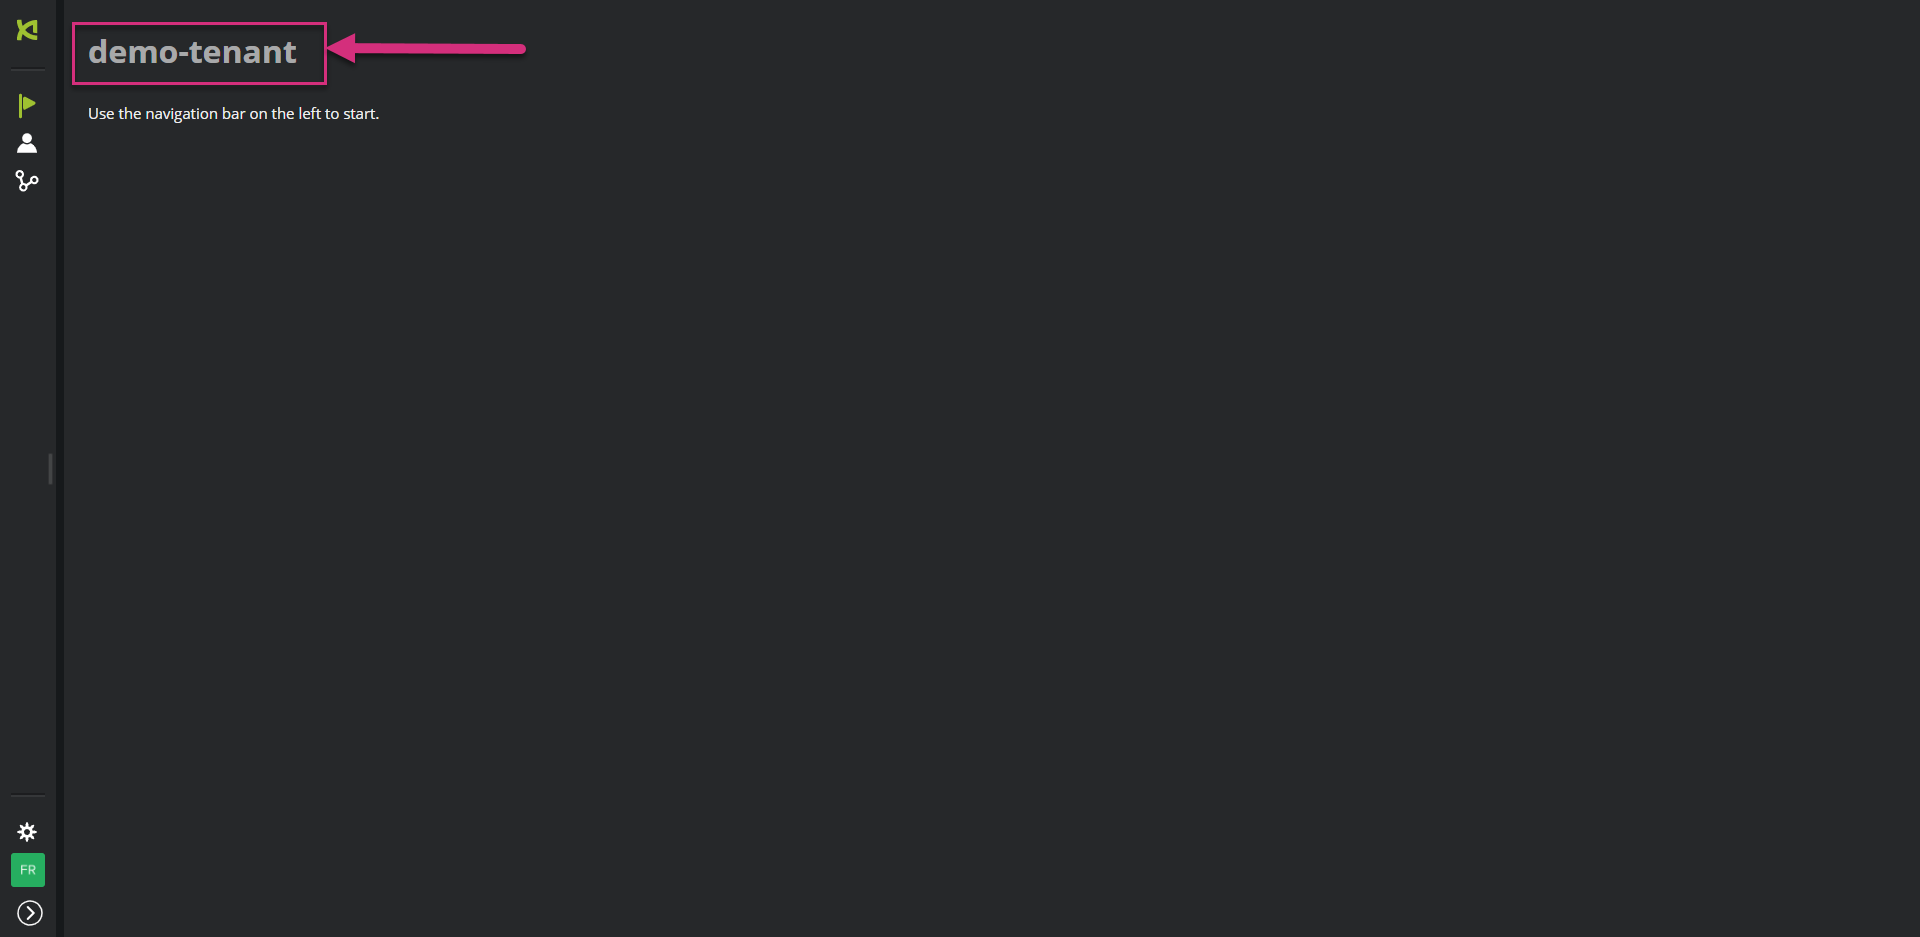
Your tenant is now created.
Step 2: Users management
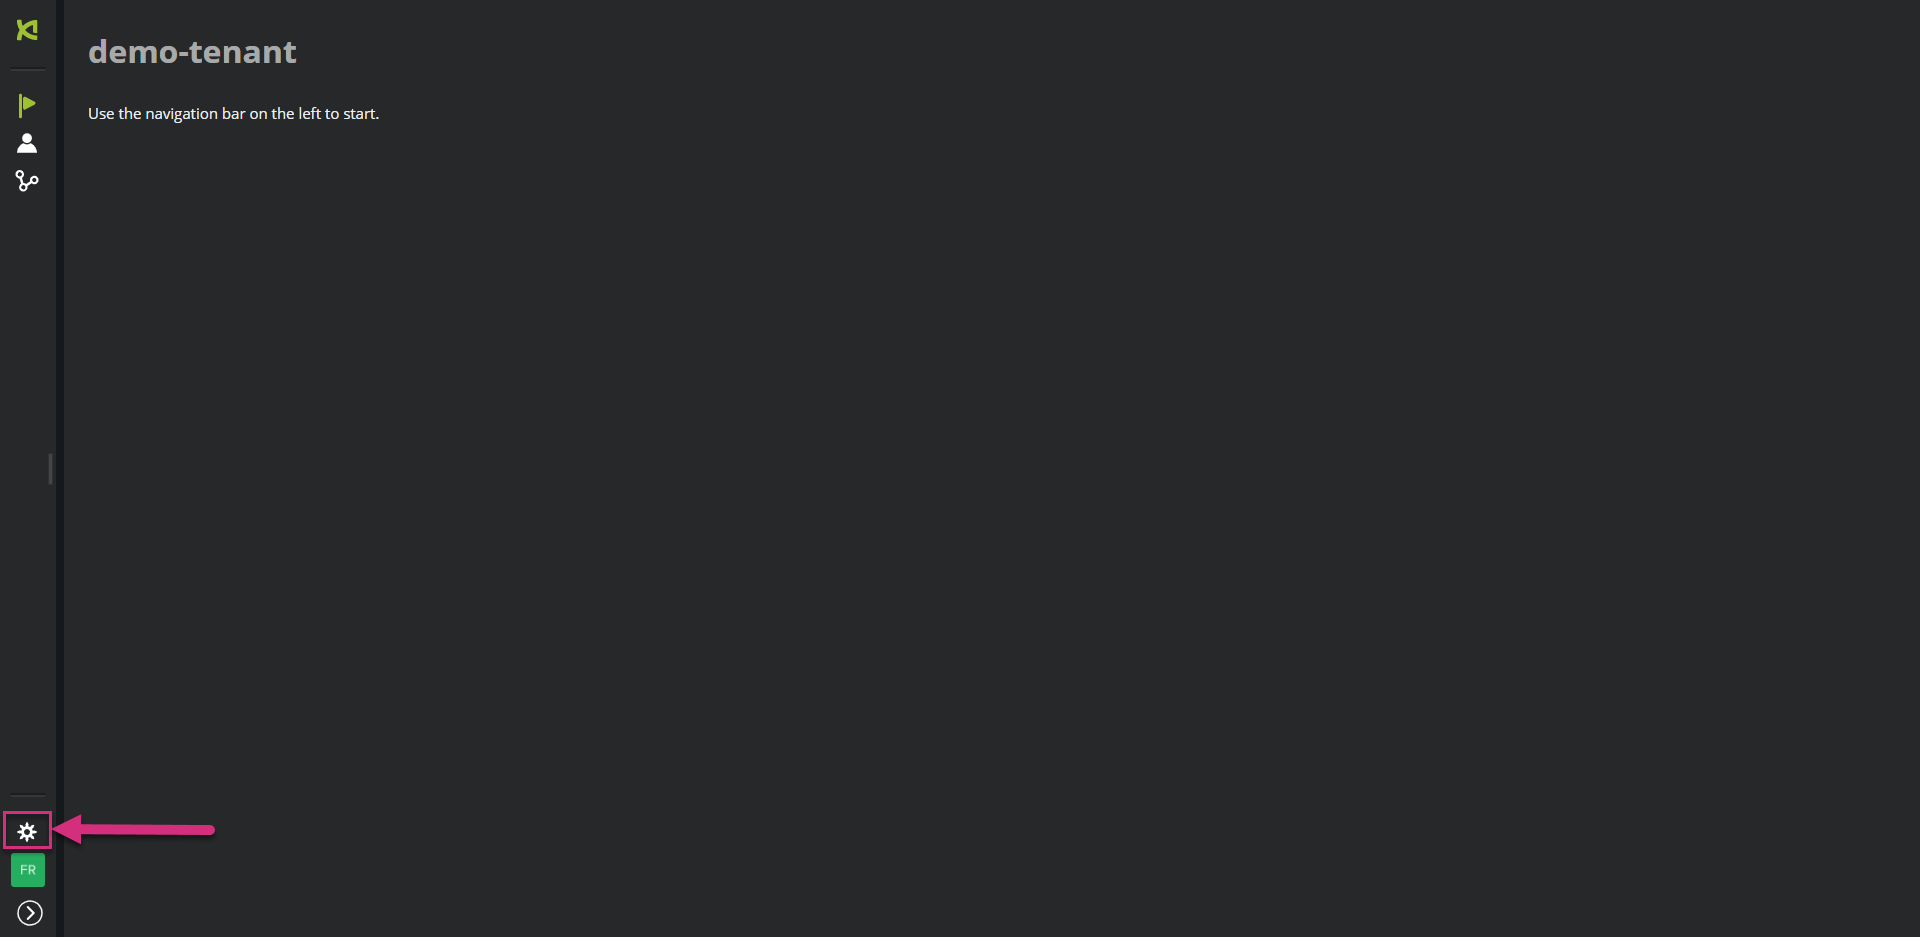
So far, you are the only one within your organization to have access to the Kadiska platform. You may want to invite some colleagues. In order to do so, first click on the configuration icon:
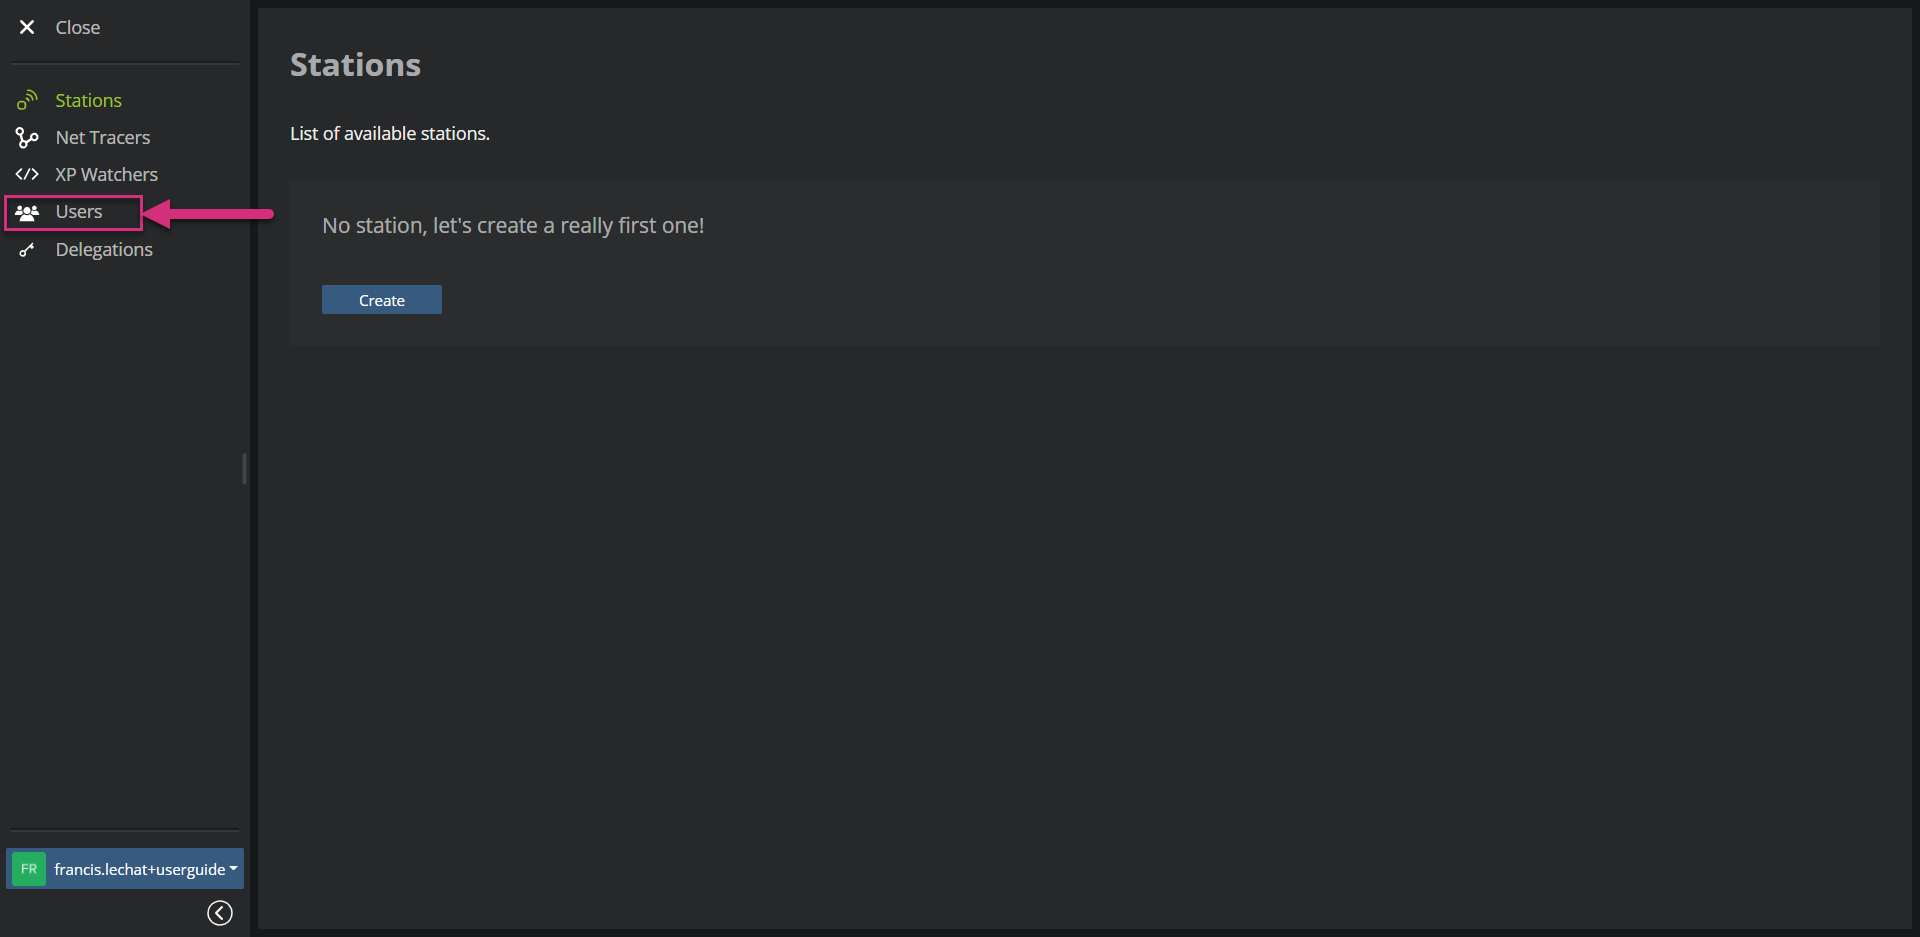
Go to the "Users" menu:
In the list of users, you can see your email address and corresponding status (active):
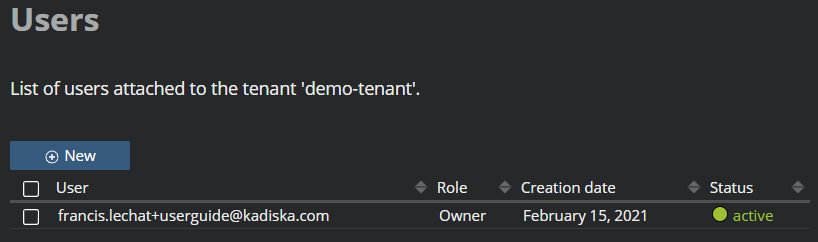
Hit "New" to invite a colleague.
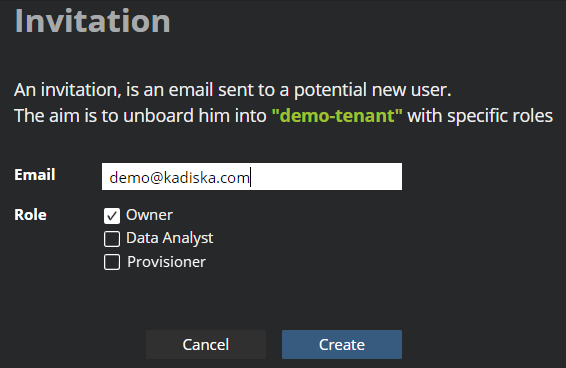
You can invite internal users (within your own domain) or/and external users. Three roles can be granted to a user. Multiple roles can be granted according to your specific organization's requirements:
- Owner: the owner is the master user and has access to all data and configuration/administration capabilities of the Kadiska platform
- Data Analyst: the data analyst has only access to reported data. He/she does not have access to any configuration or administrative capability
- Provisioner: the provisioner can only configure Kadiska Stations, Net-Tracers and Watchers. He/she does not have access to neither collected data nor tenant/user/delegation management
So, in summary:
| Users administration | Configuration | Data visualization | |
|---|---|---|---|
| Owner | Yes | Yes | Yes |
| Data Analyst | No | No | Yes |
| Provisioner | No | Yes | No |
Please note that at least one Owner is required. So if your tenant only has one owner, you cannot delete it.
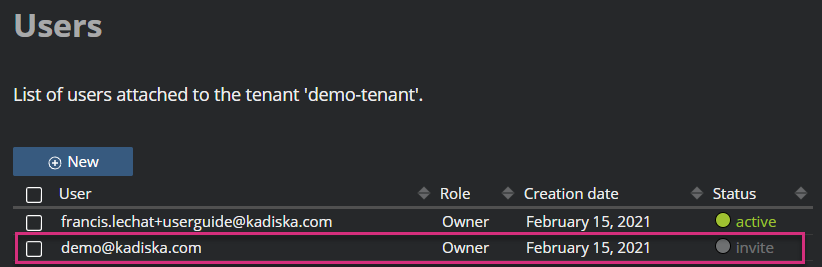
The user is now created. He/she will receive an invitation email. In the meantime, the status is "invite". As soon as the user accepts the invitation, the corresponding status will change to "active".
Step 3: Tenant delegation
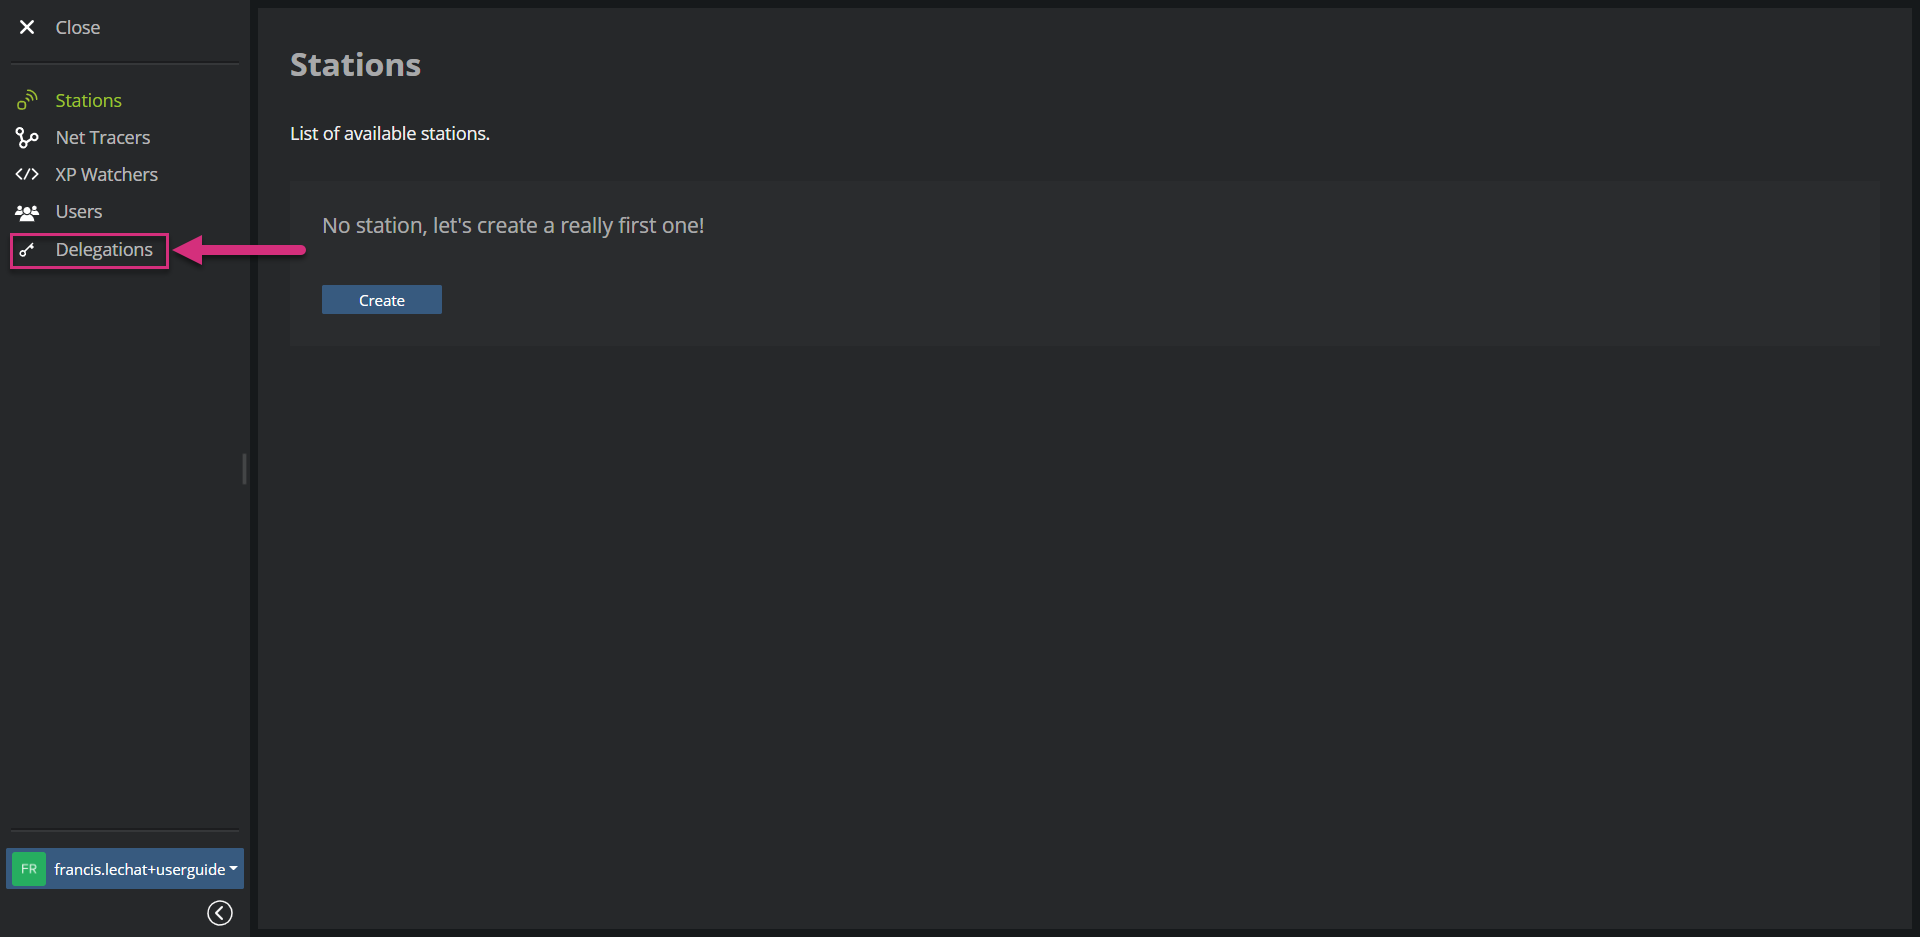
A delegation grants rights to another tenant (and as a consequence to some of its users) to access your own tenant (in accordance with their roles). In the current release, you can only delegate your tenant to Kadiska. To do so, first navigate to the "Delegations" menu of the "configuration" section.
Hit "Create":

As you can see, there is no delegation configured by default. So if you want the Kadiska's team to help you with analysing collected data or with any administrative task, you have to grant us access.
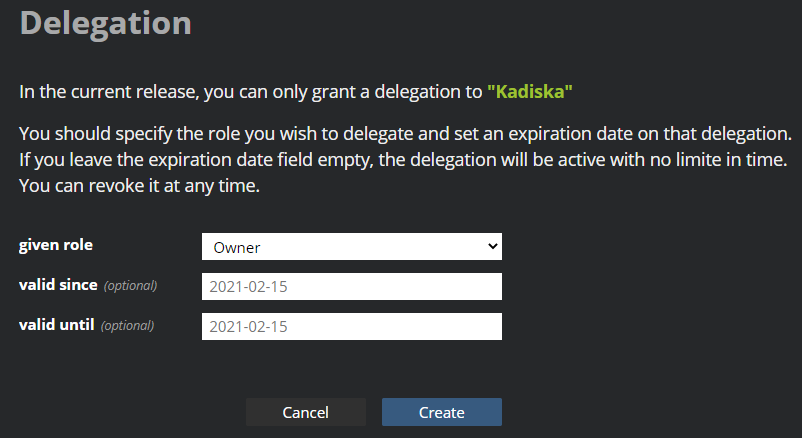
You can grant Kadiska with the same roles as you would with your users. Please also note that you may include a validity period for this delegation (optional).
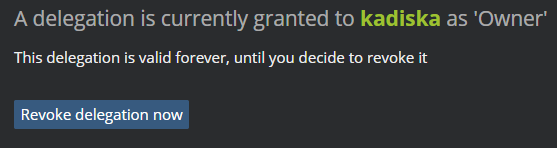
That's it! Your tenant is now delegated to Kadiska.
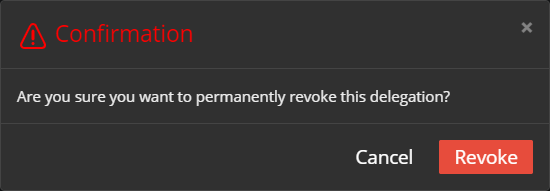
You can revoke this delegation at any time by clicking on the "Revoke delegation now" button. Confirm this revocation by clicking on "Revoke".