Kadiska Tester deployment on ChromeOS
Technical requirements
The ChromeOS devices must support Android applications. The requirements related to the Android OS are described here.
Manual installation
Before assigning a Fleet configuration to a ChromeOS device, make sure you have created Tracers and have assigned them to the newly created Fleet. Please refer to this section for more details. This will prevent you from having to wait for a first ChromeOS device configuration update when Tracers are created and applied after the Kadiska Tester deployment. This automatic update is scheduled every hour.
Installing the Kadiska Tester
Manually installing the Kadiska Tester is a straightforward process.
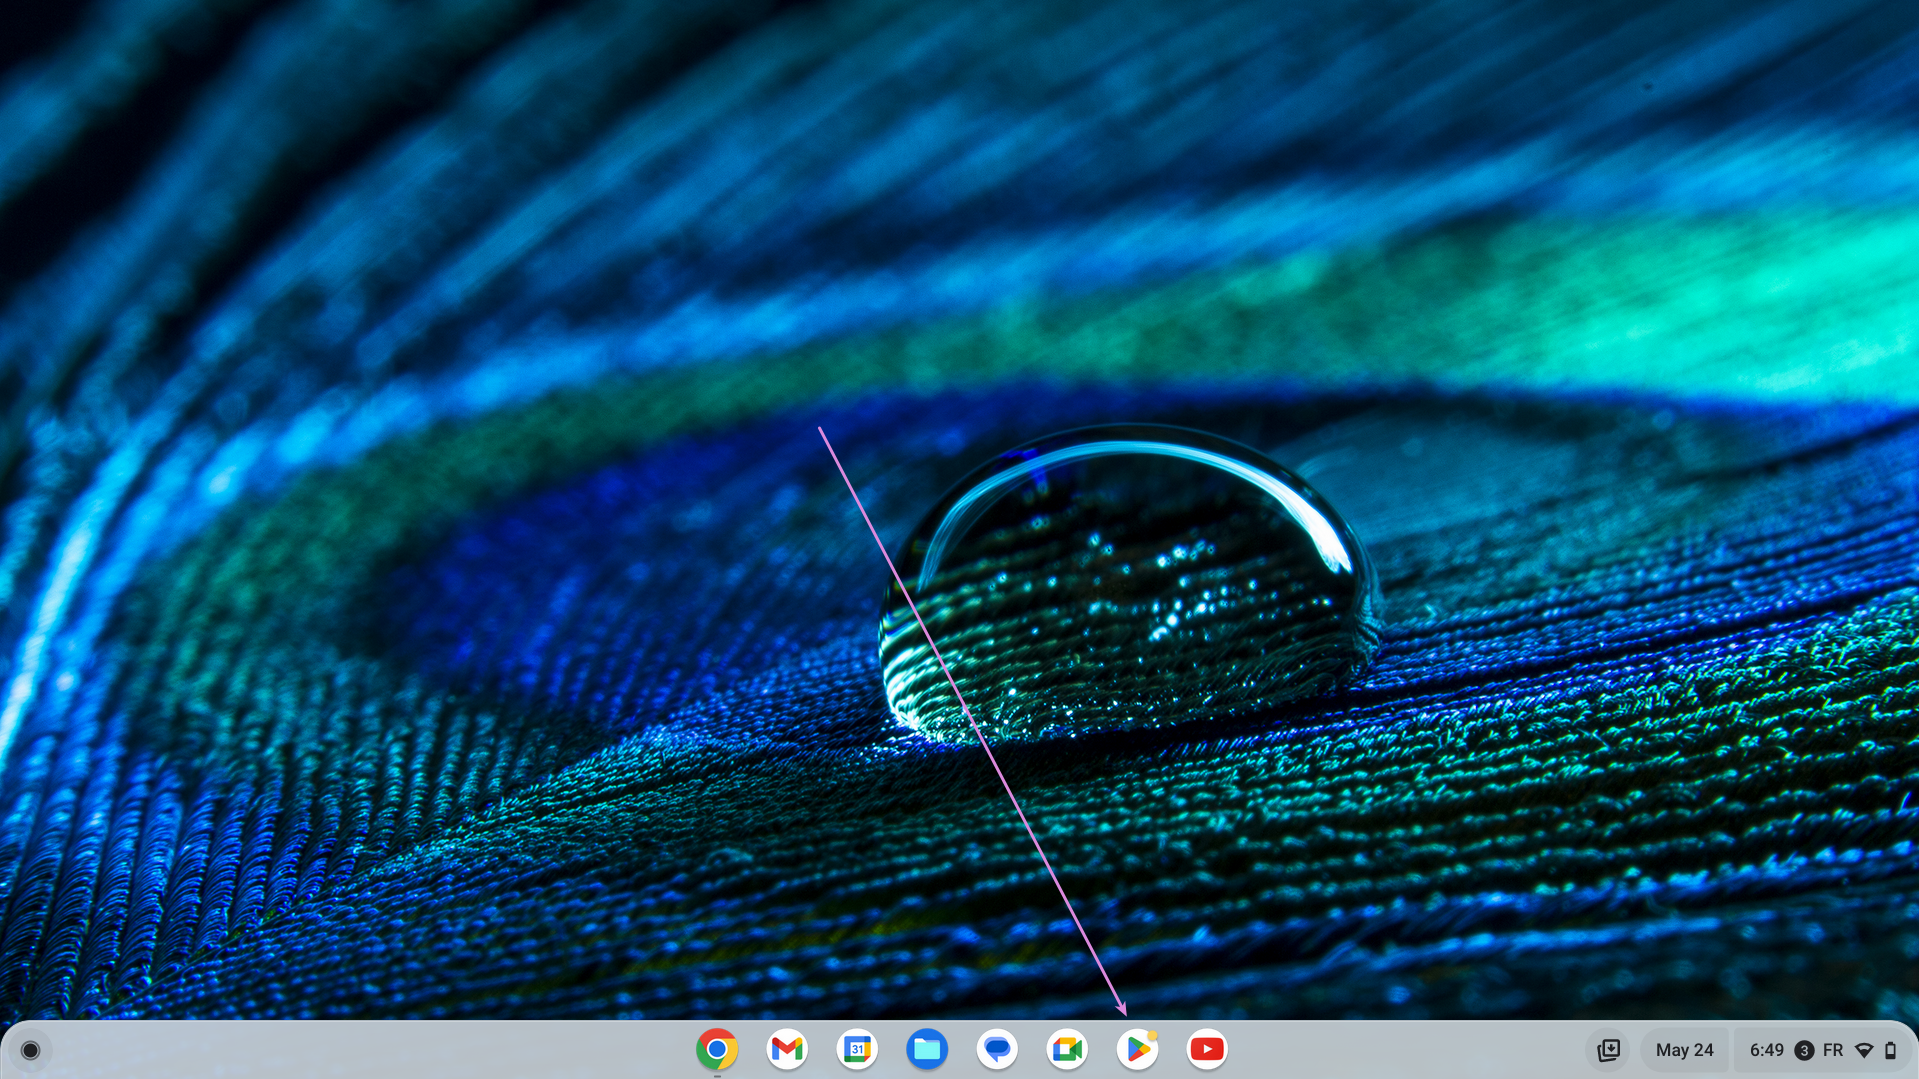
First, launch the "Play Store" by clicking on the corresponding icon and look for "Play Store" application:
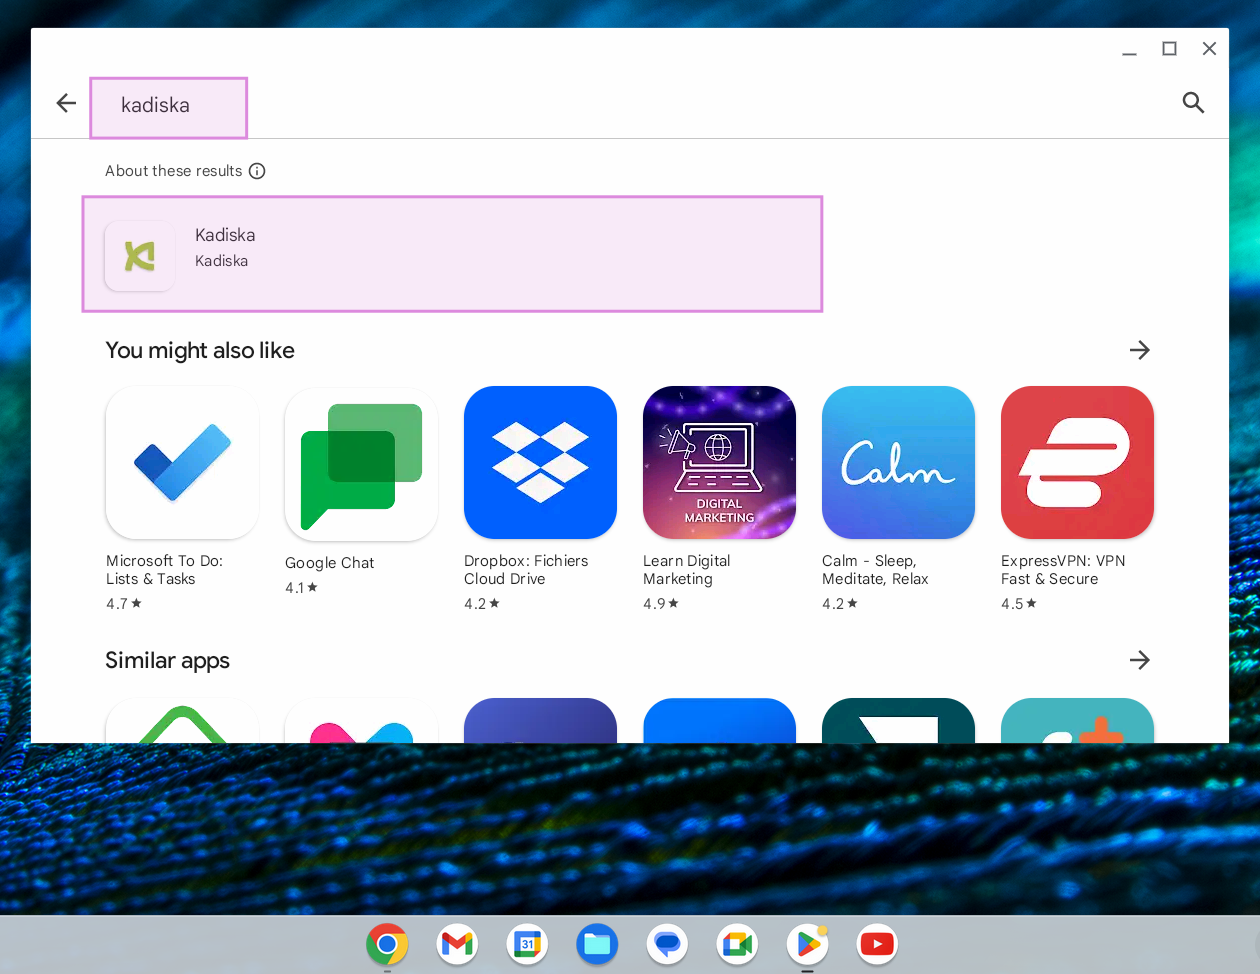
Search for "Kadiska":
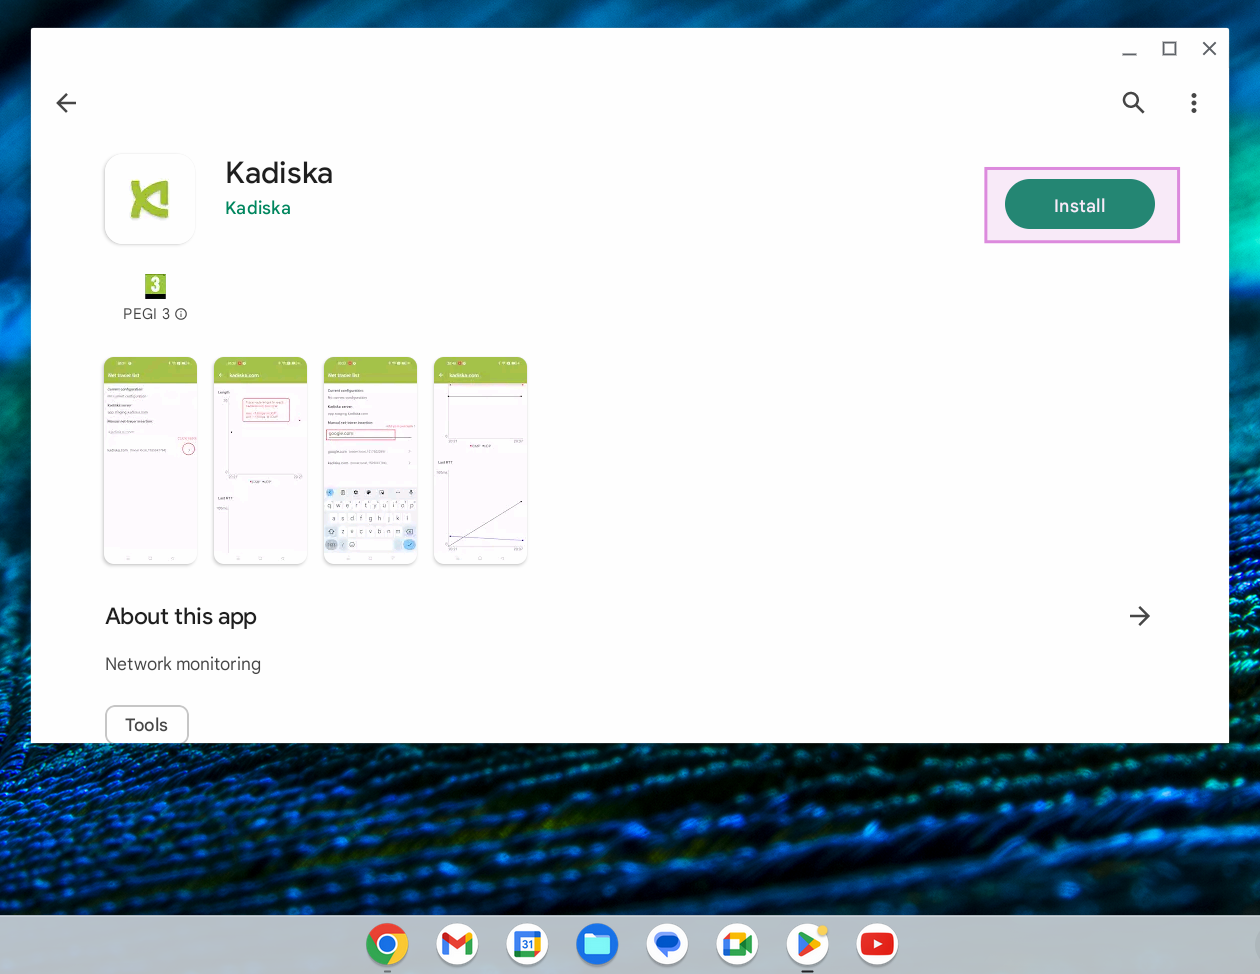
Click on the "Kadiska" application and then on "Install":
You can now close the "Play Store".
Applying the Fleet configuration
Once the Kadiska Tester is installed, you have to apply the Fleet configuration created. Please refer to the Creation & Configuration part for more details about how to create a Fleet.
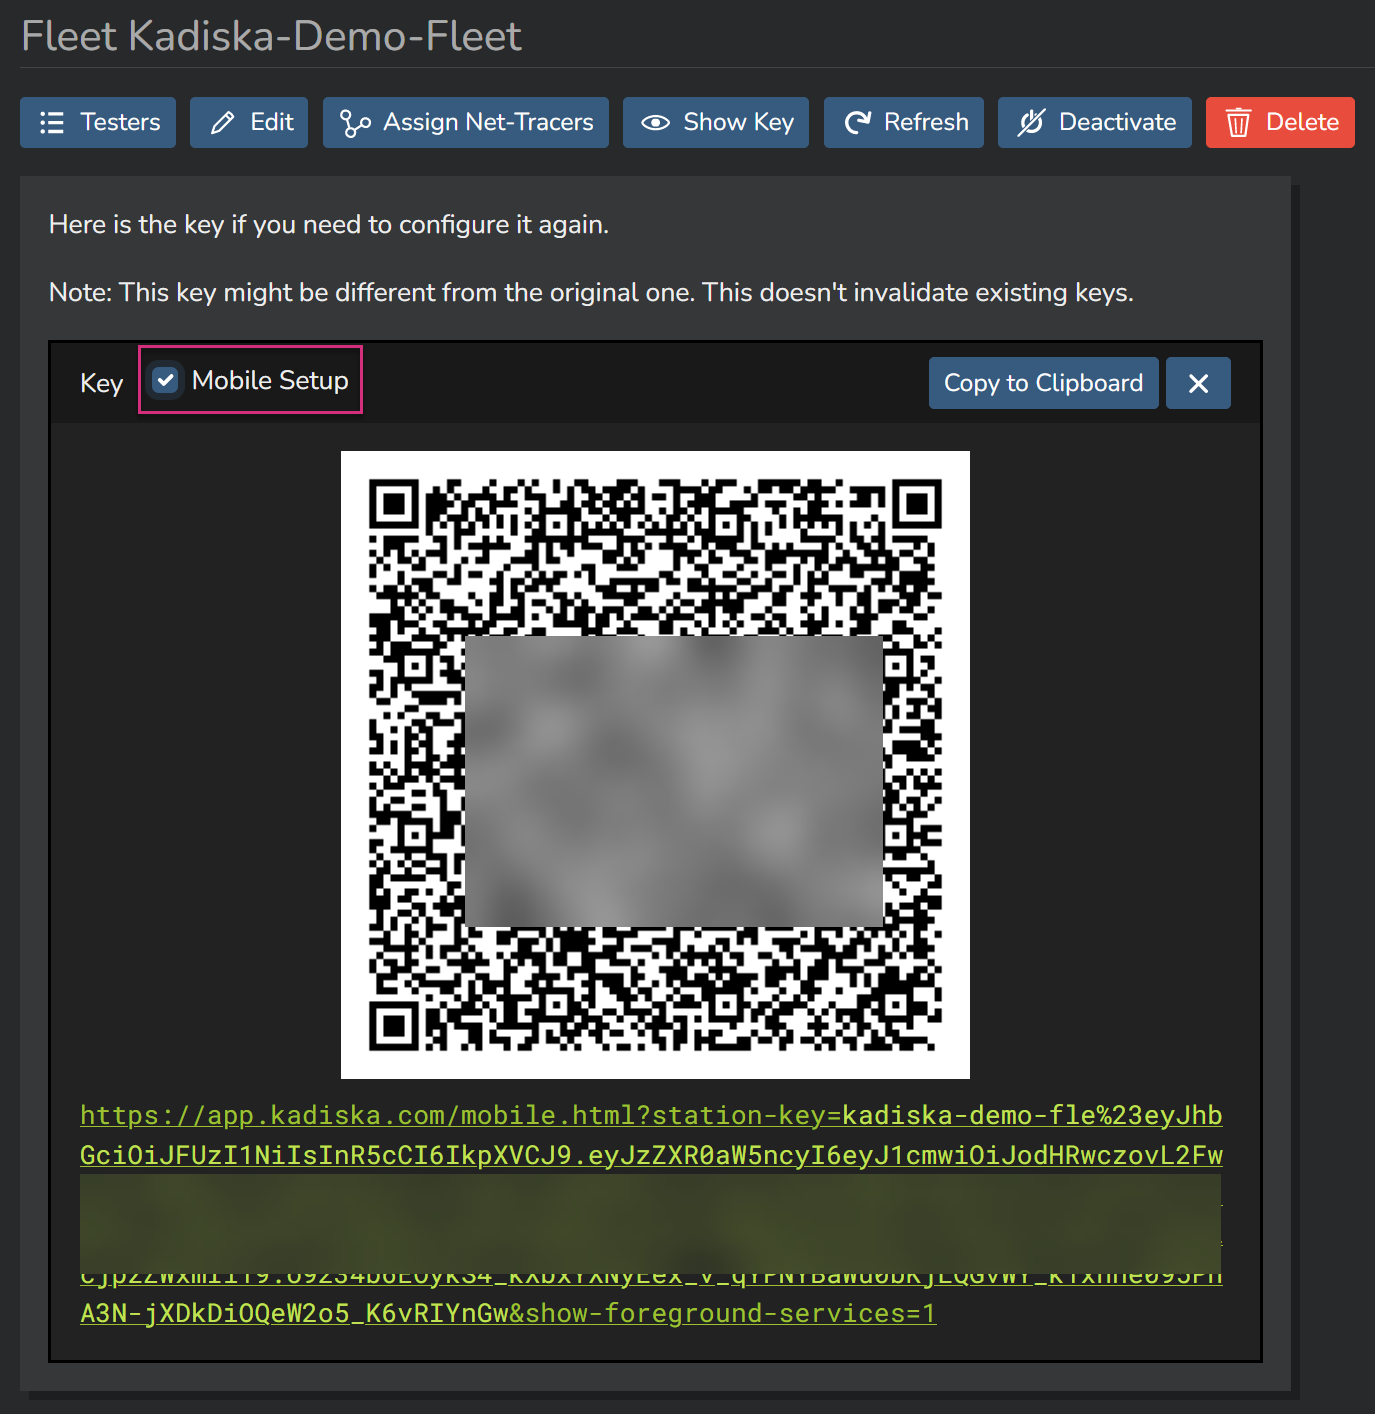
The Fleet configuration can be applied to the device by either reading a QR-code or using an activation URL.
Both are available from the Kadiska Fleet configuration view.
If the ChromeOS device can read the QR-code, click on "Mobile setup" to see it and scan it with your device.
If the device cannot read QR-code, then you have to use the URL.
On the ChromeOS device, search for the Kadiska Tester in the search bar. Then right click, or two-finger click (on trackpad), or long press (on touch screen), on the Kadiska application, then select "App info":
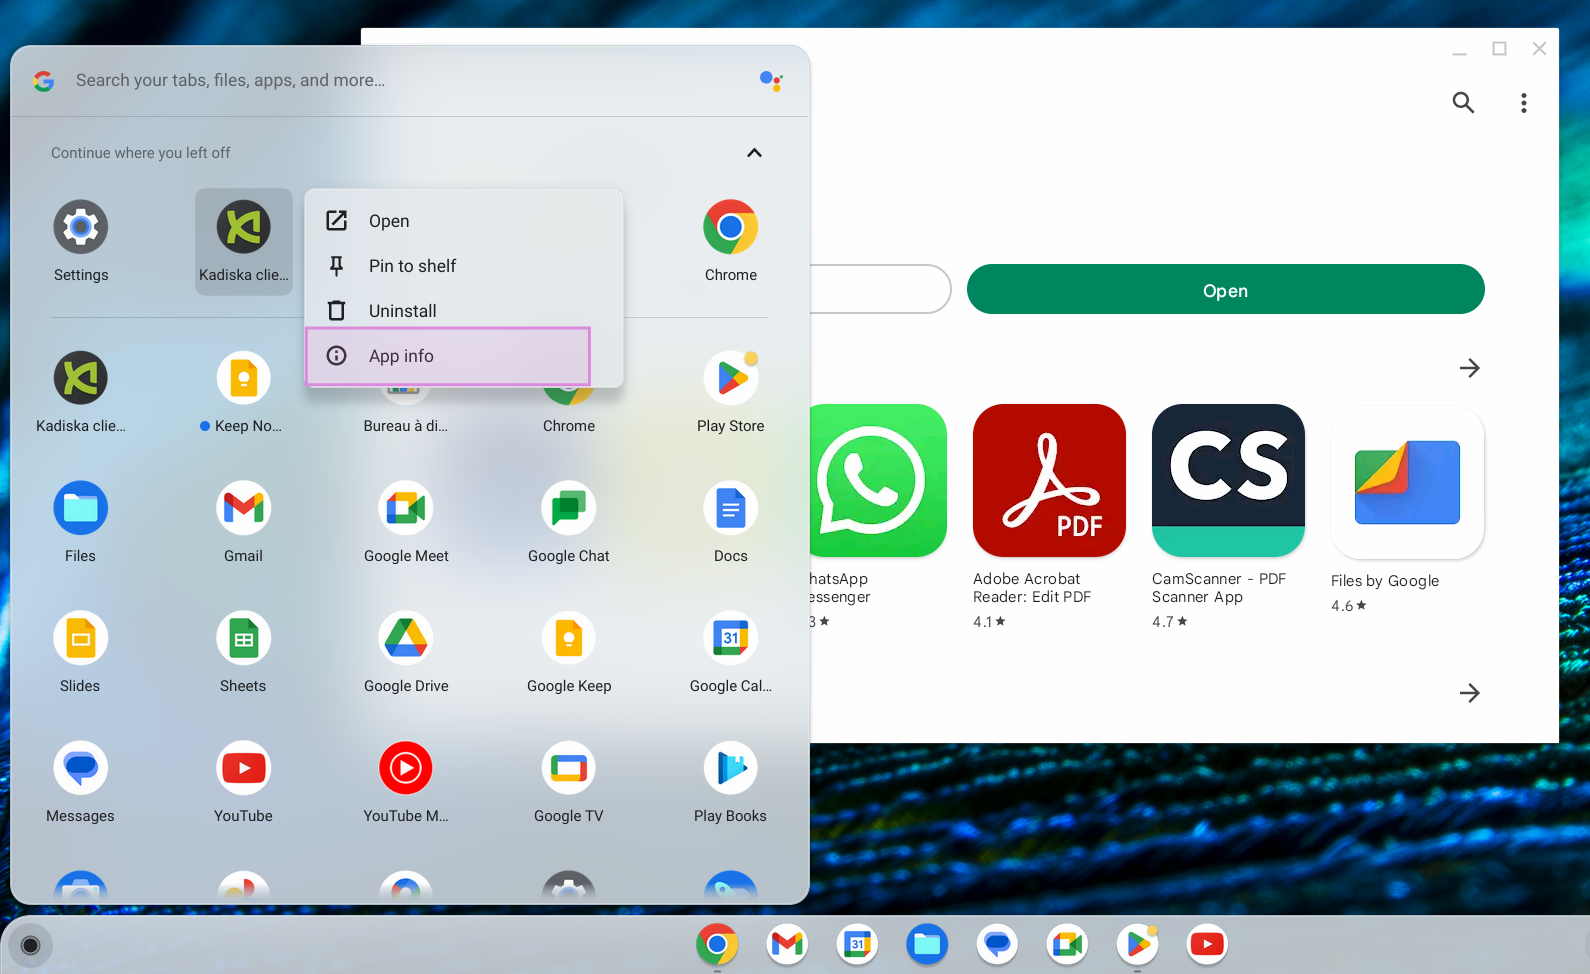
In the "Open supported links" section, select the option "Open in Kadiska client":

You can close the settings window.
If the device can access the Kadiska platform, you can navigate to the Fleet configuration view and directly click on the URL link.
If not, you can copy and paste the URL to any tool that the ChromeOS device has access to.
Here is an example in which the link is pasted to a Google Keep note:
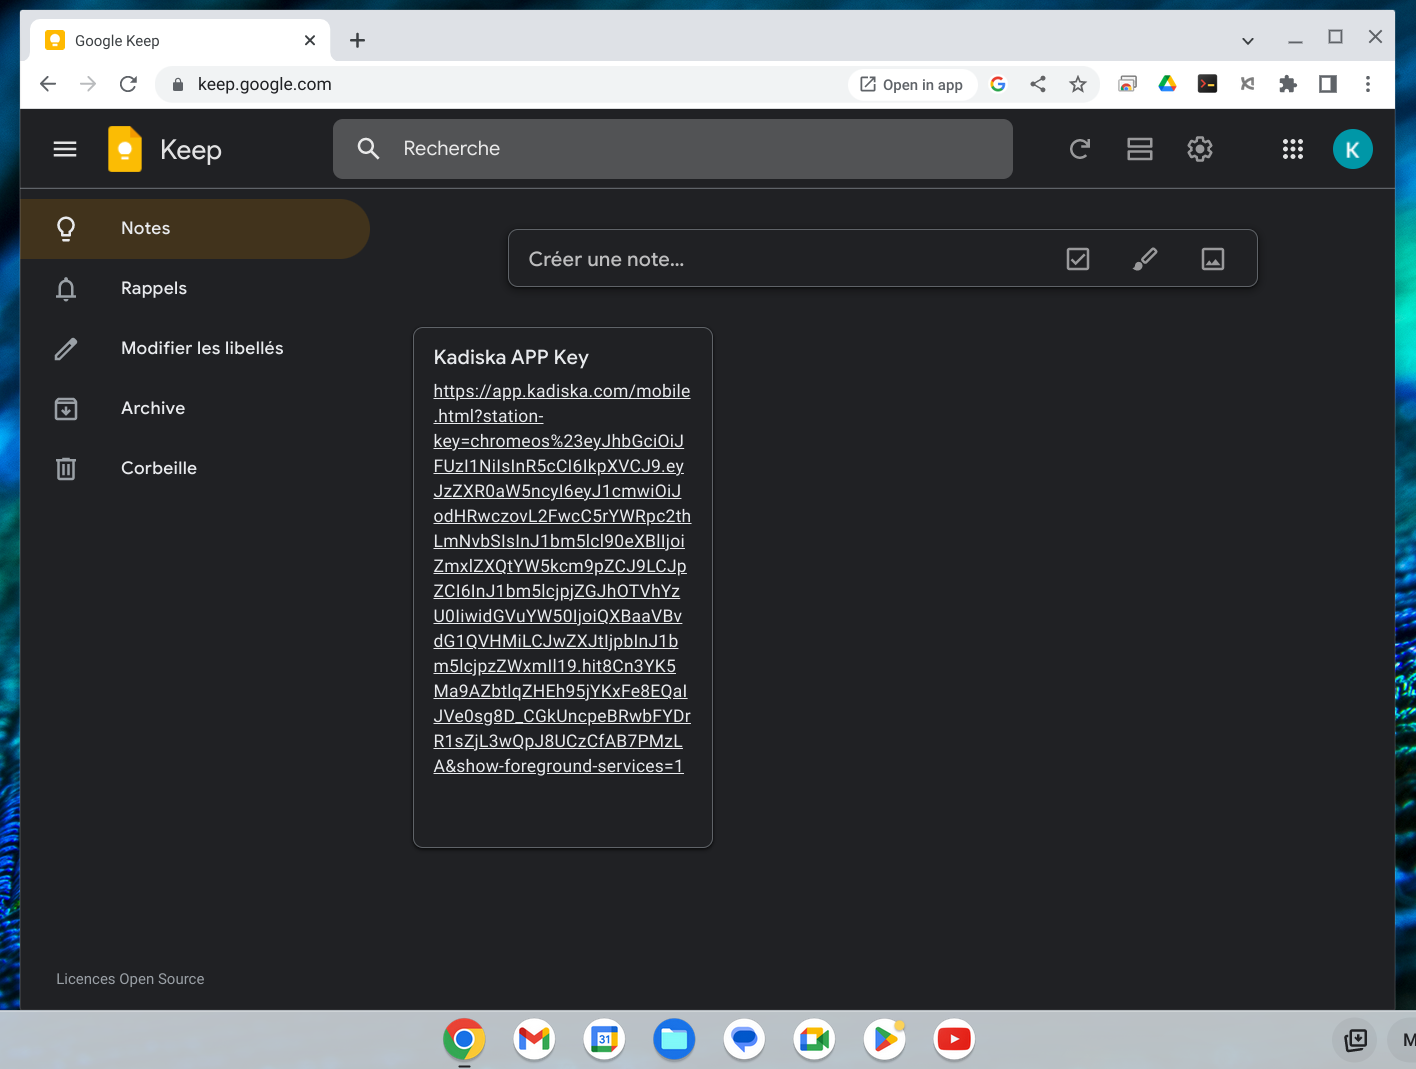
Click on the link from this tool and the Kadiska Tester will apply the corresponding configuration automatically.
Applying required permissions
Identifying Wi-Fi networks and Access Points in the Kadiska platform requires the use of the ChromeOS device localization feature.
This can be activated from the device itself.
The Kadiska Tester does not use the device's location service to geolocate the user at any point. It only uses the service to identify the network name (SSID) and access point (BSSID) to which the device is connected.
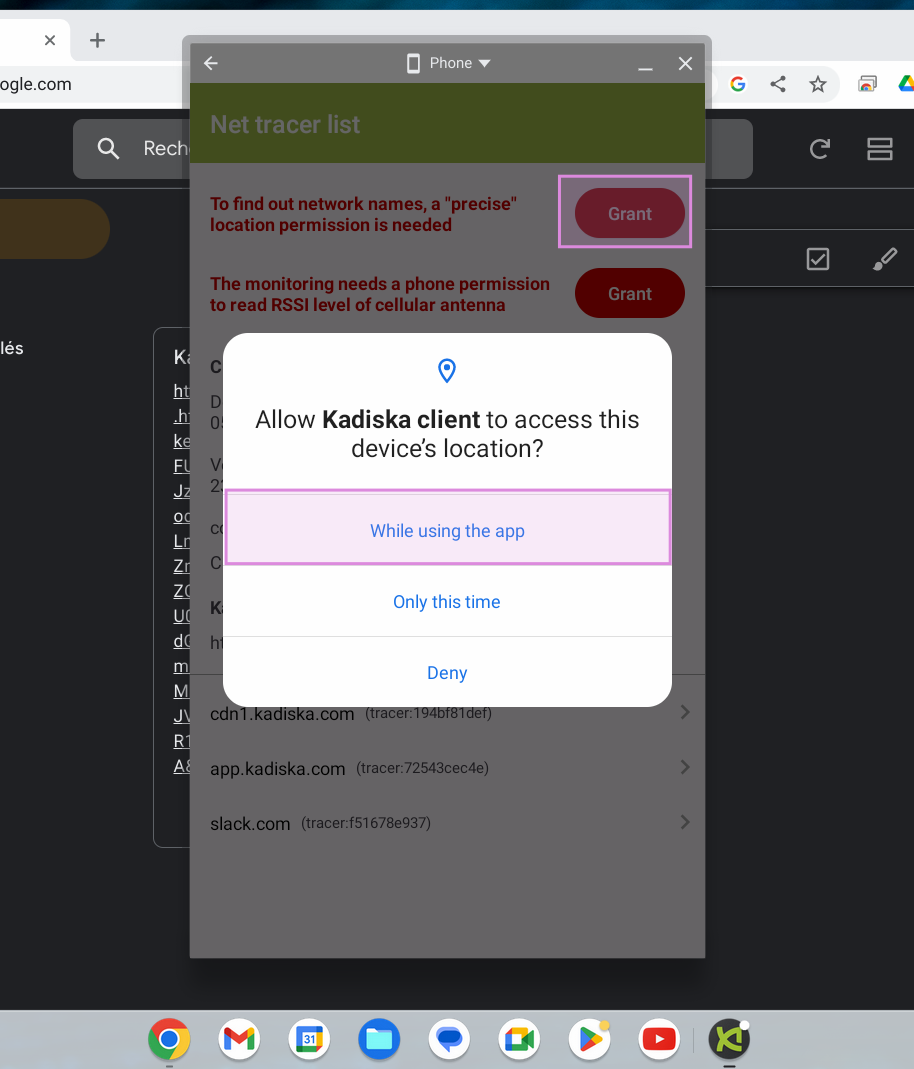
First you have to grant access to precise location.
Open the Kadiska Tester application and click on "Grant" button, then select "While using the app":
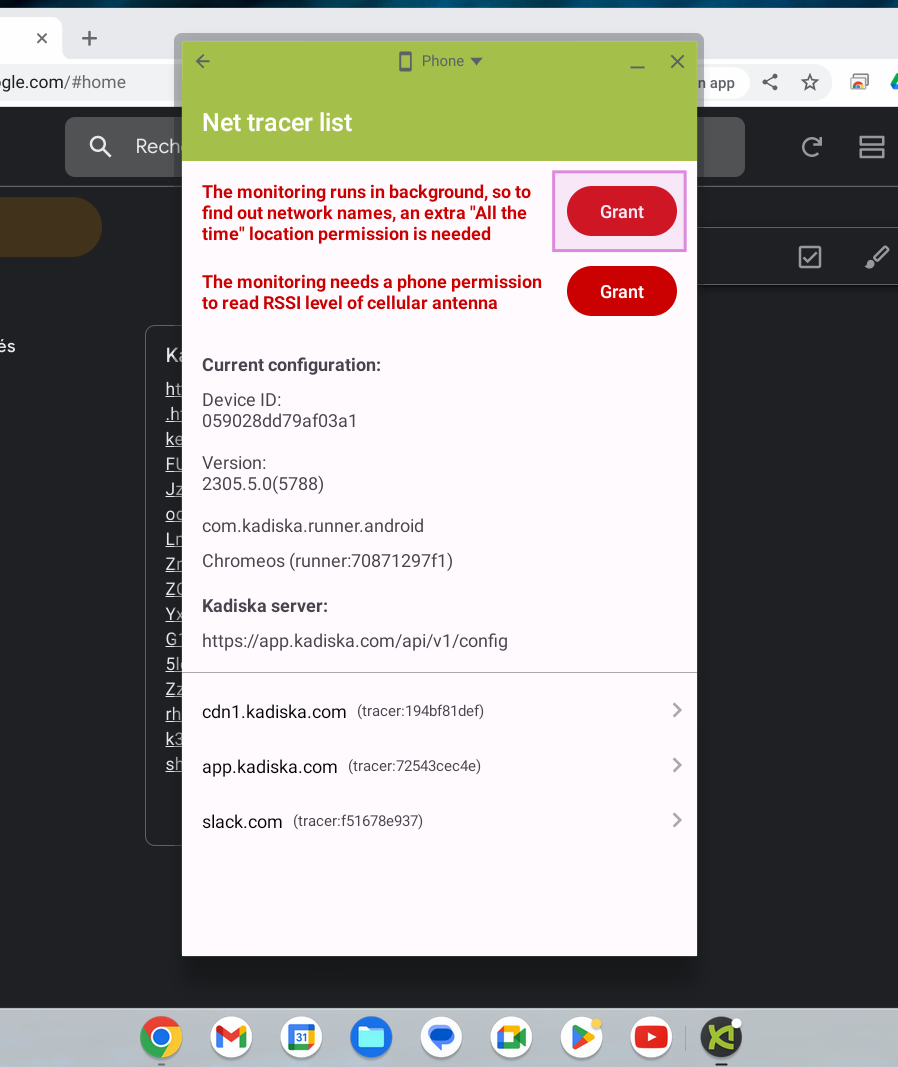
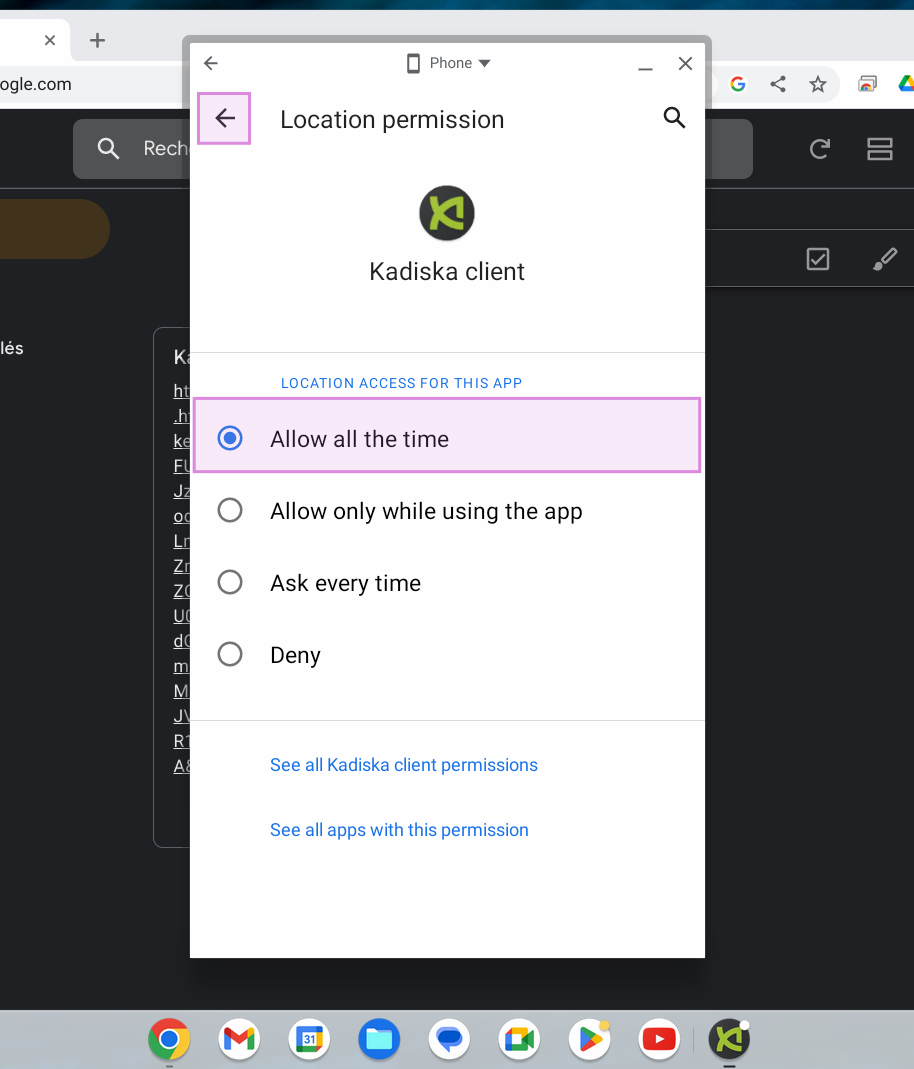
Next, you have to grant access to location all the time.
Click on "Grant" button:
Then select the option "Allow all the time":
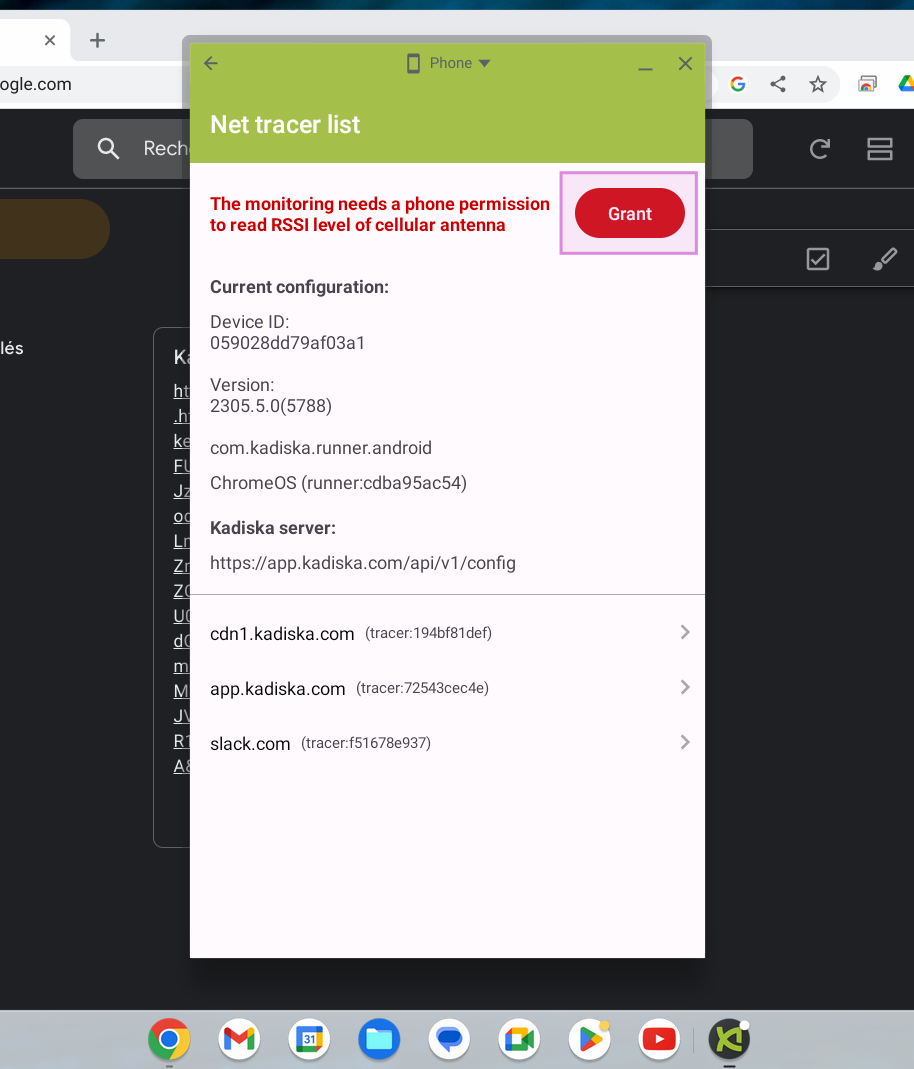
Finally, you have to grant phone permissions.
Click on "Grant" button:
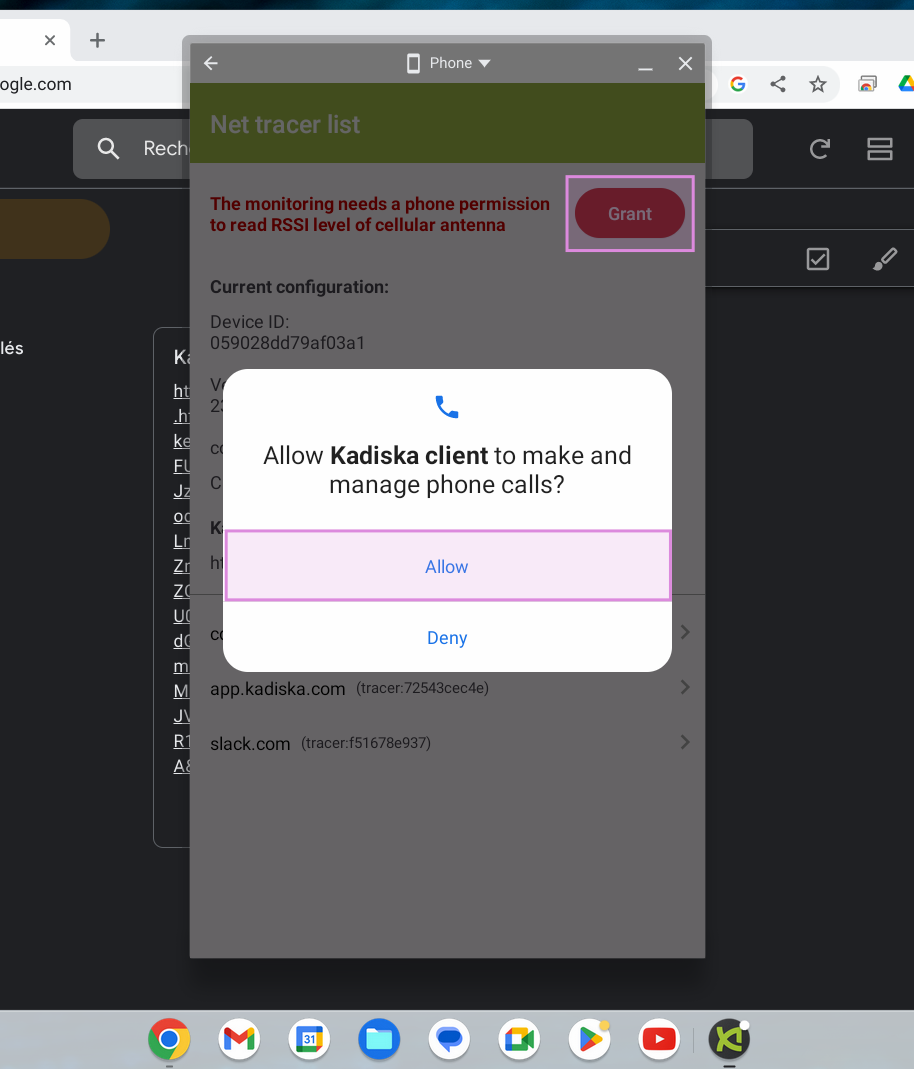
Then select "Allow":
You can now close the Kadiska Tester application, it will continue to run in the background.

Deployment through an Mobile Device Management (MDM) platform
The main principles are identical to those explained in the Android deployment.
Please refer to this section for more information.
You can also refer to the section Examples of deployments through MDM solutions in which we provide an example of ChromeOS deployment through the Google Unified Endpoint Management solution.