How to set up a Kadiska browser extension
The Kadiska browser extension is available for Google Chrome, Microsoft Edge and Mozilla Firefox browsers.
Browser extension manual installation & configuration
Chrome
The browser extension for Google Chrome is available on the Google webstore:
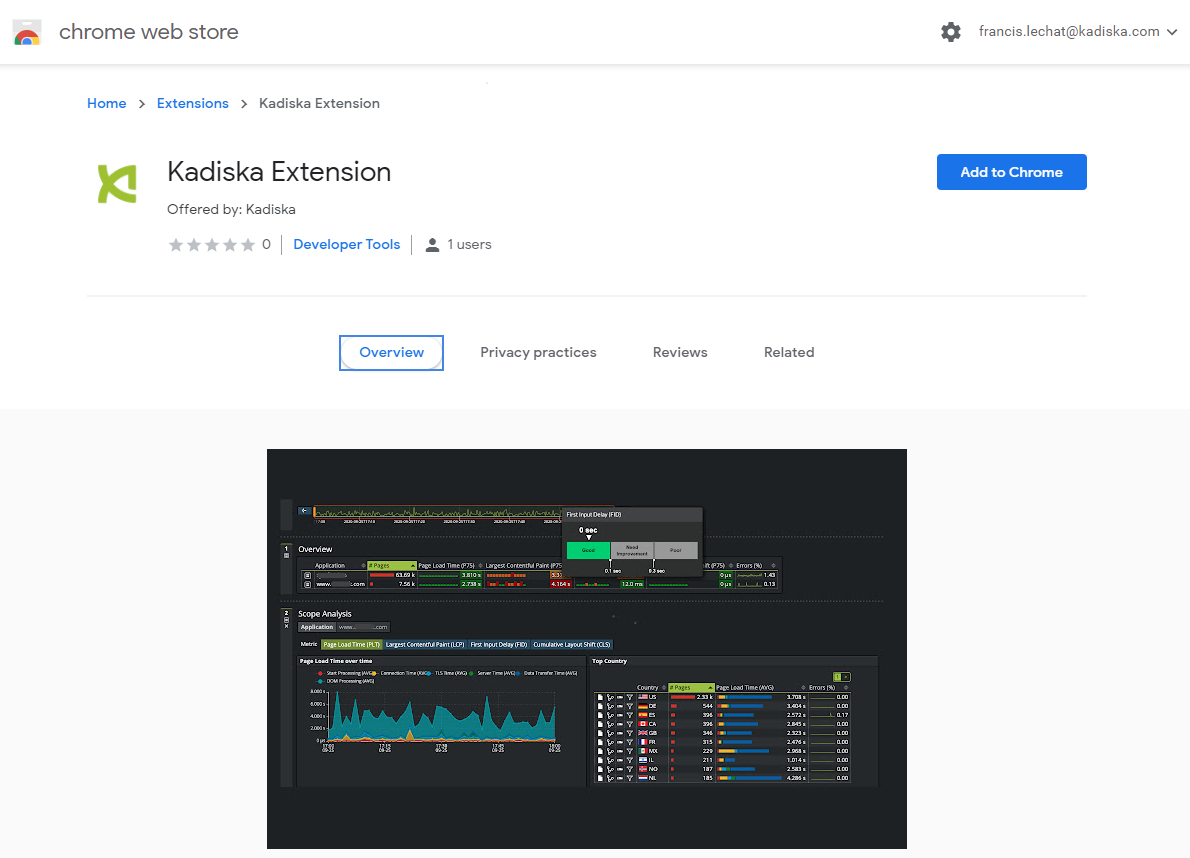
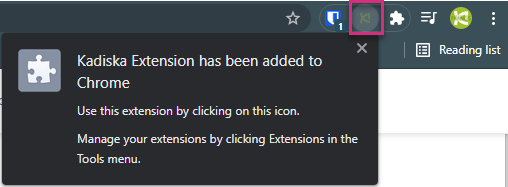
Click on the "Add to Chrome" button and confirm the installation. You should see a new extension logo appearing at the top right corner of your browser:
Edge
The browser extension for Microsoft Edge is available on the Microsoft webstore:
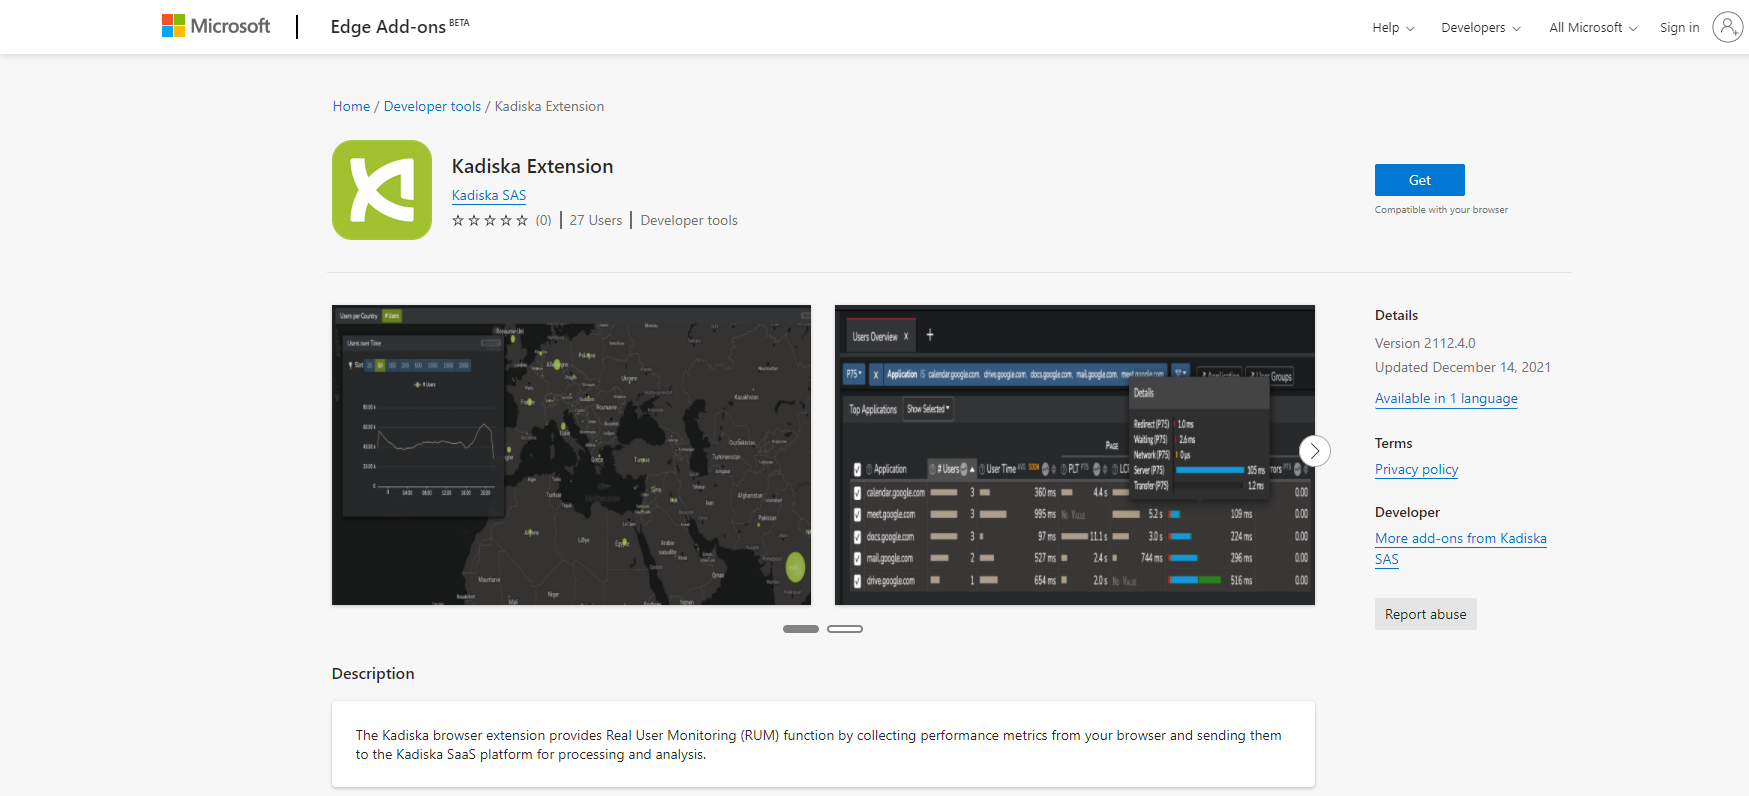
Click on the "Get" button. You should see a new extension logo appearing at the top right corner of your browser:

Firefox
The browser extension for Firefox is provided as a .xpi file that you can directly import and install in your Firefox browser. You can download it from this location.
Click on the link provided above. When prompted to allow Kadiska to install the extension, click on "Continue to Installation" and confirm the installation.
As for Chrome and Edge, you can see the installed extension at the top right corner:

Manual activation
So far, you have configured the application to monitor (Watcher) and you have deployed the Kadiska browser extension. The last step consists of linking the browser extension to the Kadiska Watcher. For this, you have to:
- Create a Watcher profile
- Add the Kadiska Watcher to the profile
- Link the browser extension to the Watcher profile
The goal of the Watcher profile is to allow the configuration of multiple monitored applications (multiple Watchers) per browser extension.
First, navigate to the "Watcher Profiles" configuration menu of your Kadiska platform and click on "Create":
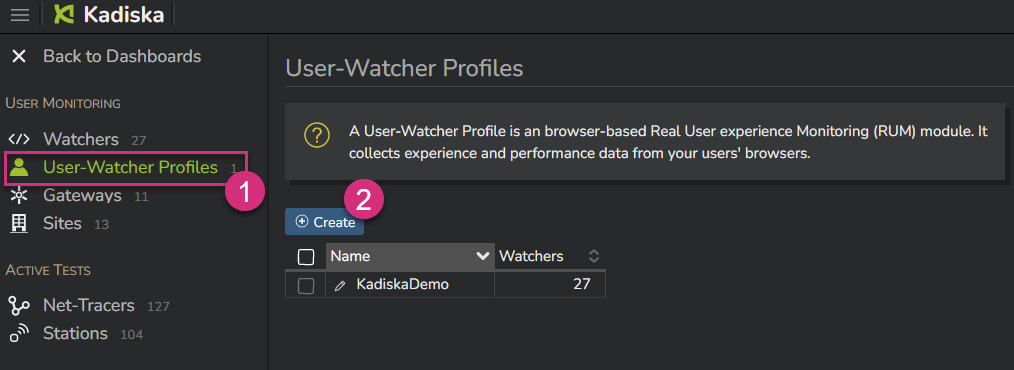
Simply give a name to the browser extension profile and confirm by clicking on "Create":

At this stage, the Kadiska Watcher profile is created but is not associated with any Watcher and is not linked to any installed user's extension. Click on the "Watchers" button, select the Watcher to link the profile to, and click on "Apply".
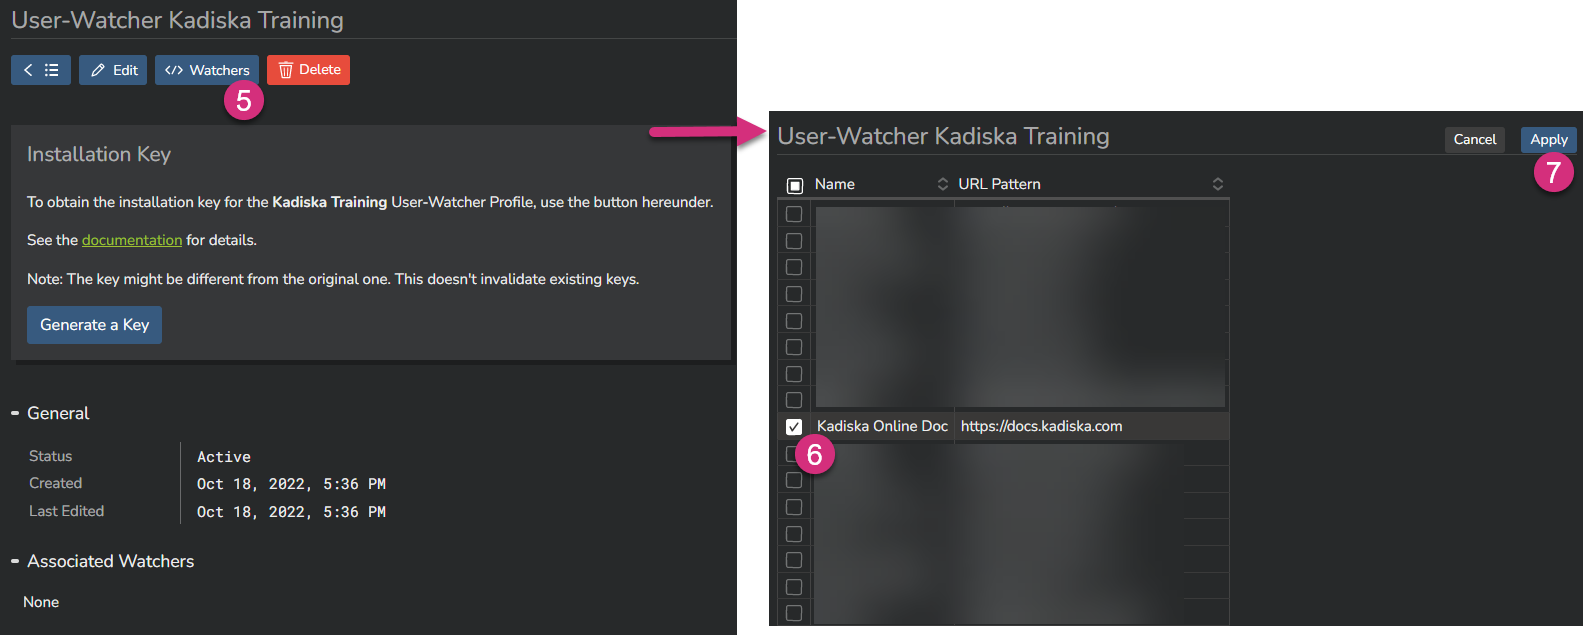
The very last step consists of linking the browser extension you have installed on your browser to the correct profile and related Watcher(s). For this, click on the "Generate a Key" button:
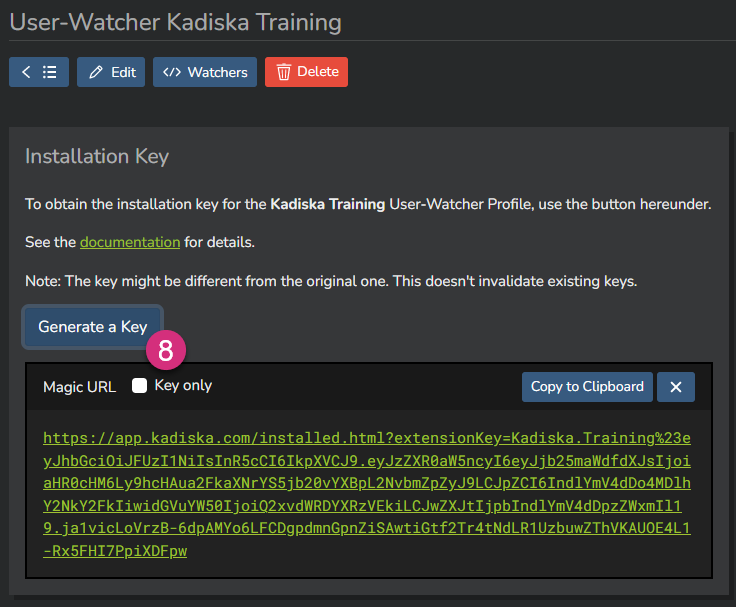
From the browser on which you have installed the browser extension, browse to the provided URL. Once this is done, you should receive the following confirmation message:
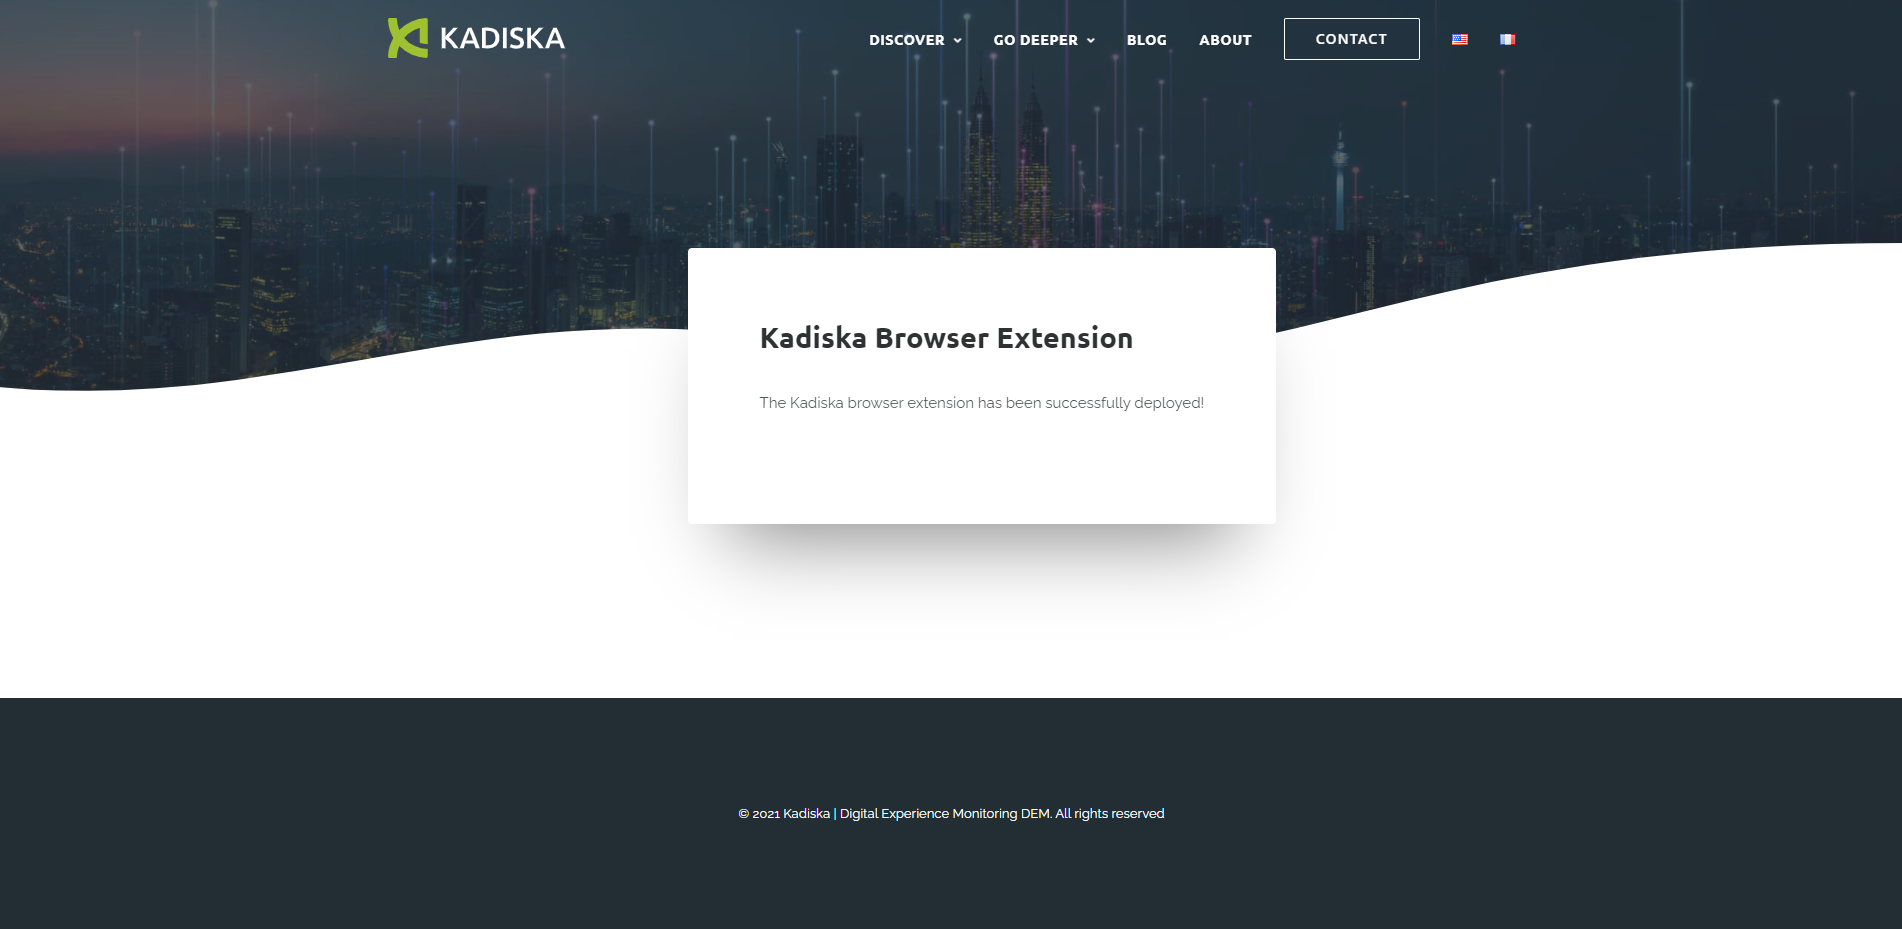
You are all set!
Important remark: For security reason, the API keys are not stored in the Kadiska platform. If, for any reason, you need to reuse a Watcher API key, you can simply follow the previous steps to generate a new one. Note that the previous Watcher API keys will still be valid!
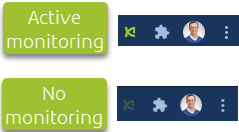
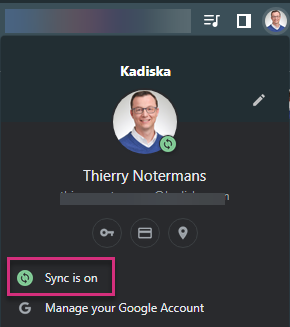
The user can check when the performance of an application is being monitored by looking at the Kadiska browser extension icon. When the icon is green, the application performances are being monitored. If not, there is no monitoring:
To operate properly, please ensure that your browser's profile synchronisation is activated.
You can check it by right-clicking on your profile icon at the top right of your browser.
Using Enterprise GPO
If you intend to deploy the browser extension at large scale on Windows machines, using an Enterprise GPO (Group Policy Object) will certainly be the way to go.
Deployment
Most of the browser vendors provide GPO templates you can use to deploy and configure extensions through the use of Enterprise GPO policies. They can be enforced at a device-level or a user-level.
The configuration details are provided hereunder, but the following table summarizes the vendor-specific configurations:
| Vendor | Policy | GPO template link | URL |
|---|---|---|---|
| Chrome | ExtensionInstallForcelist |
GPO template | nibcpadmgplbioagpknbbeabnidndcic;https://clients2.google.com/service/update2/crx |
| Edge | ExtensionInstallForcelist |
GPO template | dmlkdlmlodfmmfakghpnpkhmfbmjmdba;https://edge.microsoft.com/extensionwebstorebase/v1/crx |
| Firefox | Extension |
GPO template | https://static.kadiska.com/service/dem/firefox_extension.xpi |
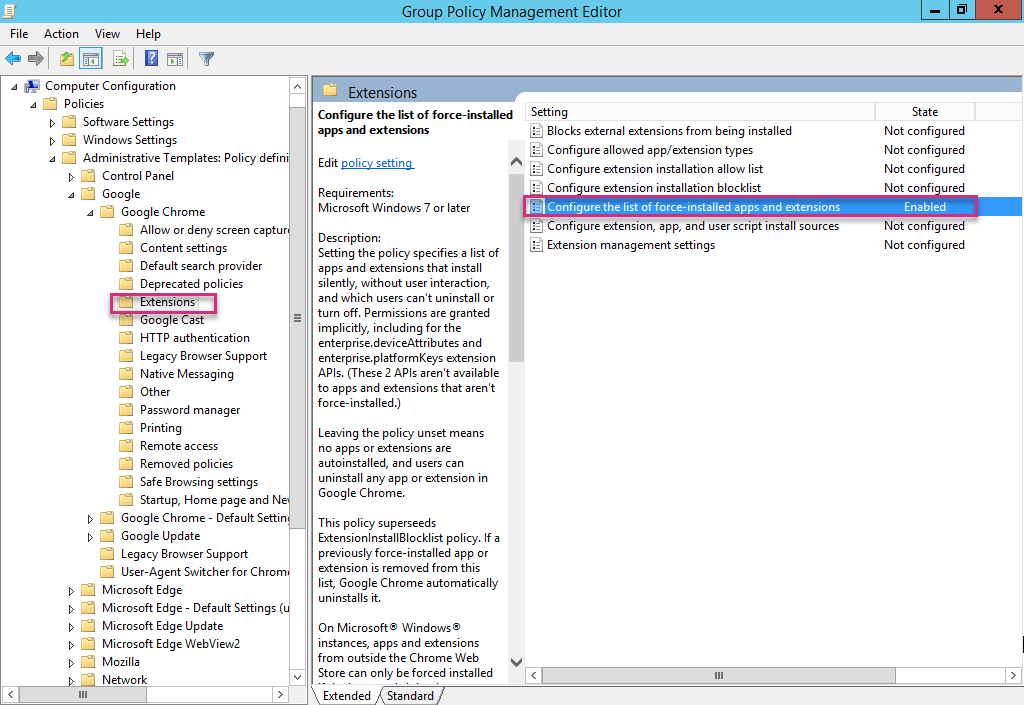
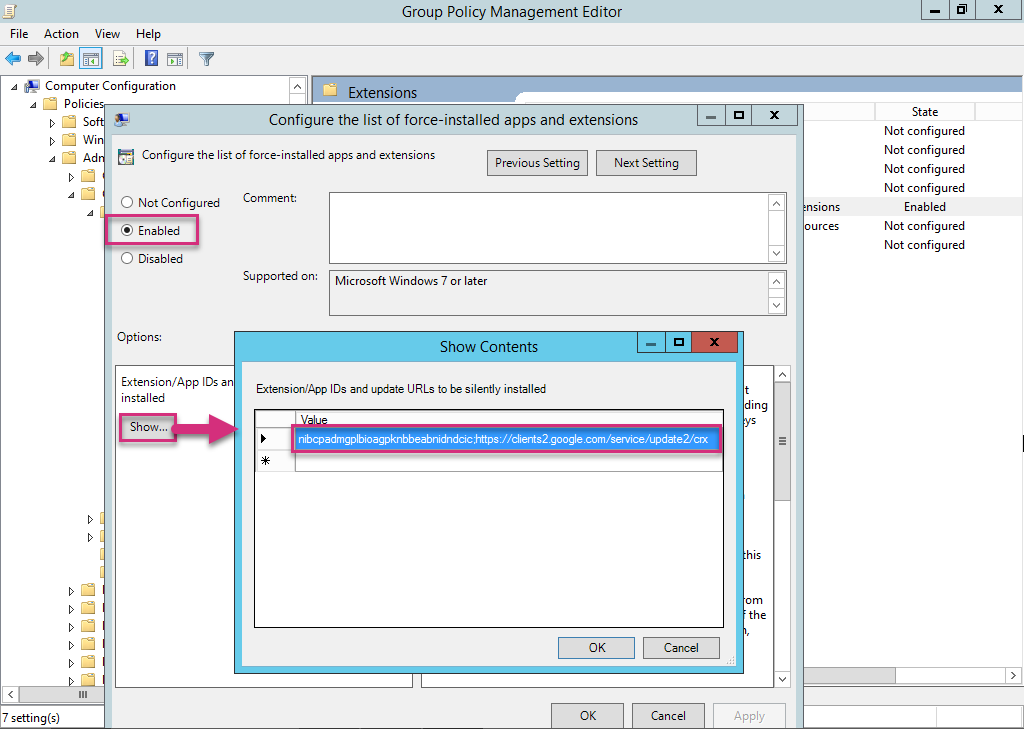
The example hereunder shows how to configure the ExtensionInstallForcelist policy at a device-level for Chrome from a Windows Server Group Policy Management Editor:
Activation
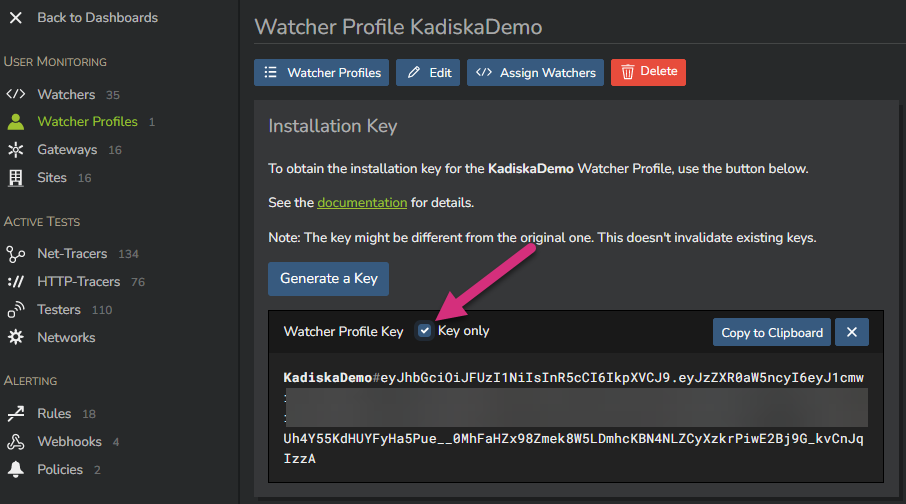
For a browser extension deployed on Google Chrome and Microsoft Edge, its profile can be automatically activated by adding a new Windows registry entry. First, go to the "Watcher profiles" configuration menu, select the profile you want to apply in the GPO , click on "Generate a Key" and select the checkbox "Key only". Copy the key to your clipboard.
The registry key entry to add in your GPO is the following (note that the path is specific to each Browser vendor)
| Field | Value |
|---|---|
| Action | Update |
| Path (Chrome) | HKEY_LOCAL_MACHINE\SOFTWARE\Policies\Google\Chrome\3rdparty\extensions\nibcpadmgplbioagpknbbeabnidndcic\policy |
| Path (Edge) | HKEY_LOCAL_MACHINE\SOFTWARE\Policies\Microsoft\Edge\3rdparty\extensions\dmlkdlmlodfmmfakghpnpkhmfbmjmdba\policy |
| Key | extensionKey |
| Value | your key you have copied in your clipboard |
| Value type | REG_SZ |

Firefox does not support the registry configuration. So please use the activation URL instead.
Username / computer name identification
By default, the Kadiska platform identifies browser extension users by their Google account email (when users' browsers are logged in). When this information is not available, the browser extension ID is used instead.
This ID can be found by right-clicking on the browser extension icon :
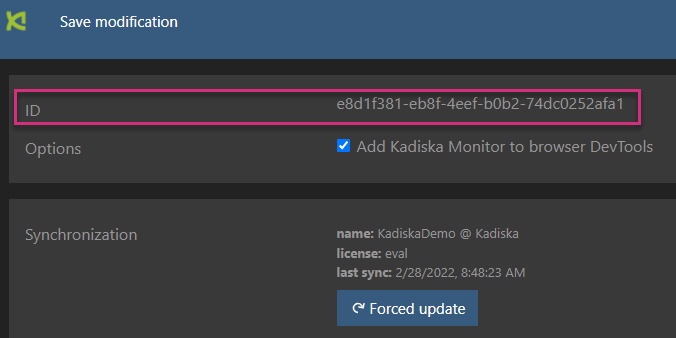
When deploying the browser extension through GPO, you can also add some registry keys so that the users can be identified by their username (the UPN - User Principal Name), typically configured in Active Directory, or their computer name (name of the user's device).
These registry keys are added in the Users Preferences:
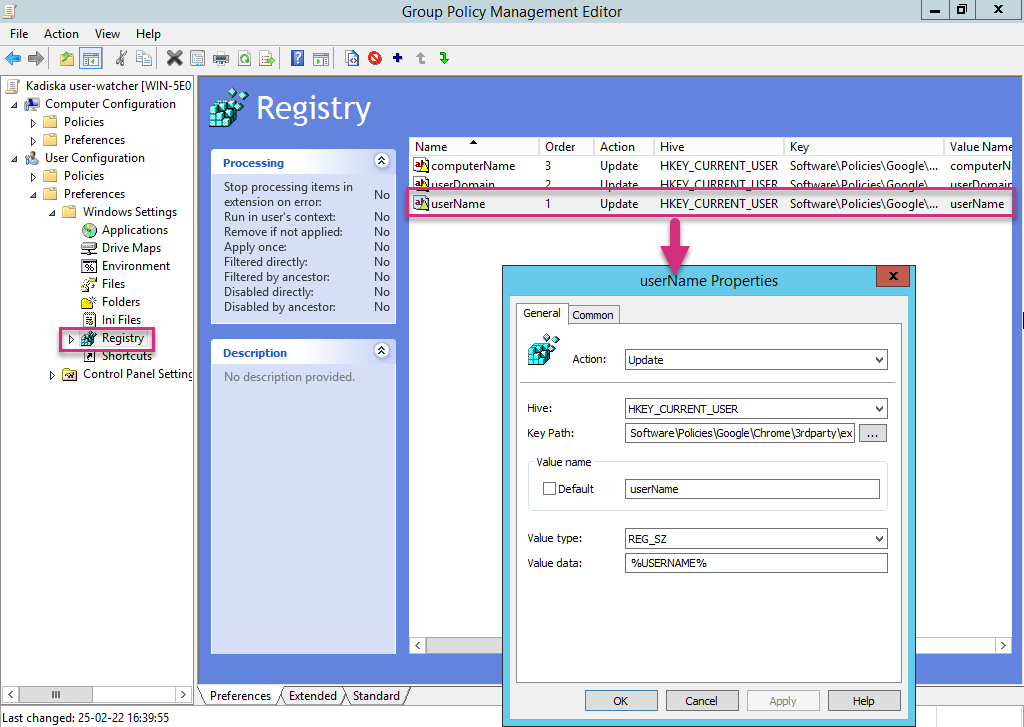
Go to the “User Configuration → Preferences → Windows Settings → Registry” menu and add the following registry entries:
userName:
| Field | Value |
|---|---|
| Action | Update |
| Path (Chrome) | HKEY_CURRENT_USER\Software\Policies\Google\Chrome\3rdparty\extensions\nibcpadmgplbioagpknbbeabnidndcic\policy |
| Path (Edge) | HKEY_CURRENT_USER\Software\Policies\Microsoft\Edge\3rdparty\extensions\dmlkdlmlodfmmfakghpnpkhmfbmjmdba\policy |
| Key | userName |
| Value | %USERNAME% |
| Value type | REG_SZ |
computerName:
| Field | Value |
|---|---|
| Action | Update |
| Path (Chrome) | HKEY_CURRENT_USER\Software\Policies\Google\Chrome\3rdparty\extensions\nibcpadmgplbioagpknbbeabnidndcic\policy |
| Path (Edge) | HKEY_CURRENT_USER\Software\Policies\Microsoft\Edge\3rdparty\extensions\dmlkdlmlodfmmfakghpnpkhmfbmjmdba\policy |
| Key | computerName |
| Value | %COMPUTERNAME% |
| Value type | REG_SZ |
The values "%USERNAME%" and "%COMPUTERNAME%" must be filled in as is. Do not modify these values!
The users identification process follows the following order:
- userName or computerName if configured in GPO
- Google email account if user logged in
- browser extension ID (if browser extension used)
- public IP address (if in-app JavaScript used)
Using an MSI file
As an alternative to the GPO method for a large scale deployment, you can also use an MSI file instead. The .msi file can be downloaded from the following locations:
To launch the file, use the following command:
msiexec /i "<PACKAGE PATH>.msi" /L*V "msilog.install.log" /QN EXTENSION_ID=1000 COMPUTER_NAME="%computername%" USER_NAME="%username%" EXTENSION_KEY="demo.key#eyJh[...]"
The parameters of this command are:
EXTENSION_ID(e.g. : 1000): you may choose whatever ID you want, but please make sure you do not reuse an existing extension ID you may already use for other extensionsEXTENSION_KEY(e.g. : demo.key#eyJh[...]): API key available in the Kadiska interface (see the Activation section)USER_NAME(optional) (e.g. : %username%, $env:username): username of the Windows sessionUSER_DOMAIN(optional) (e.g. : %userdomain%, $env:userdomain): domain of the user's windows sessionCOMPUTER_NAME(optional) (e.g. : %computername%, $env:computername): user's device name
To uninstall the package, simply issue the following command:
In the commands above, please make sure your replace
<PACKAGE PATH>.msiby the complete path to your .msi file.
Using the Google Unified Endpoint Management
If your organization uses Google Workspace and intends to deploy the Kadiska browser extension at large scale on Chromebooks for example, the Google Unified Endpoint Management solution may the best option.
The deployment process is the following:
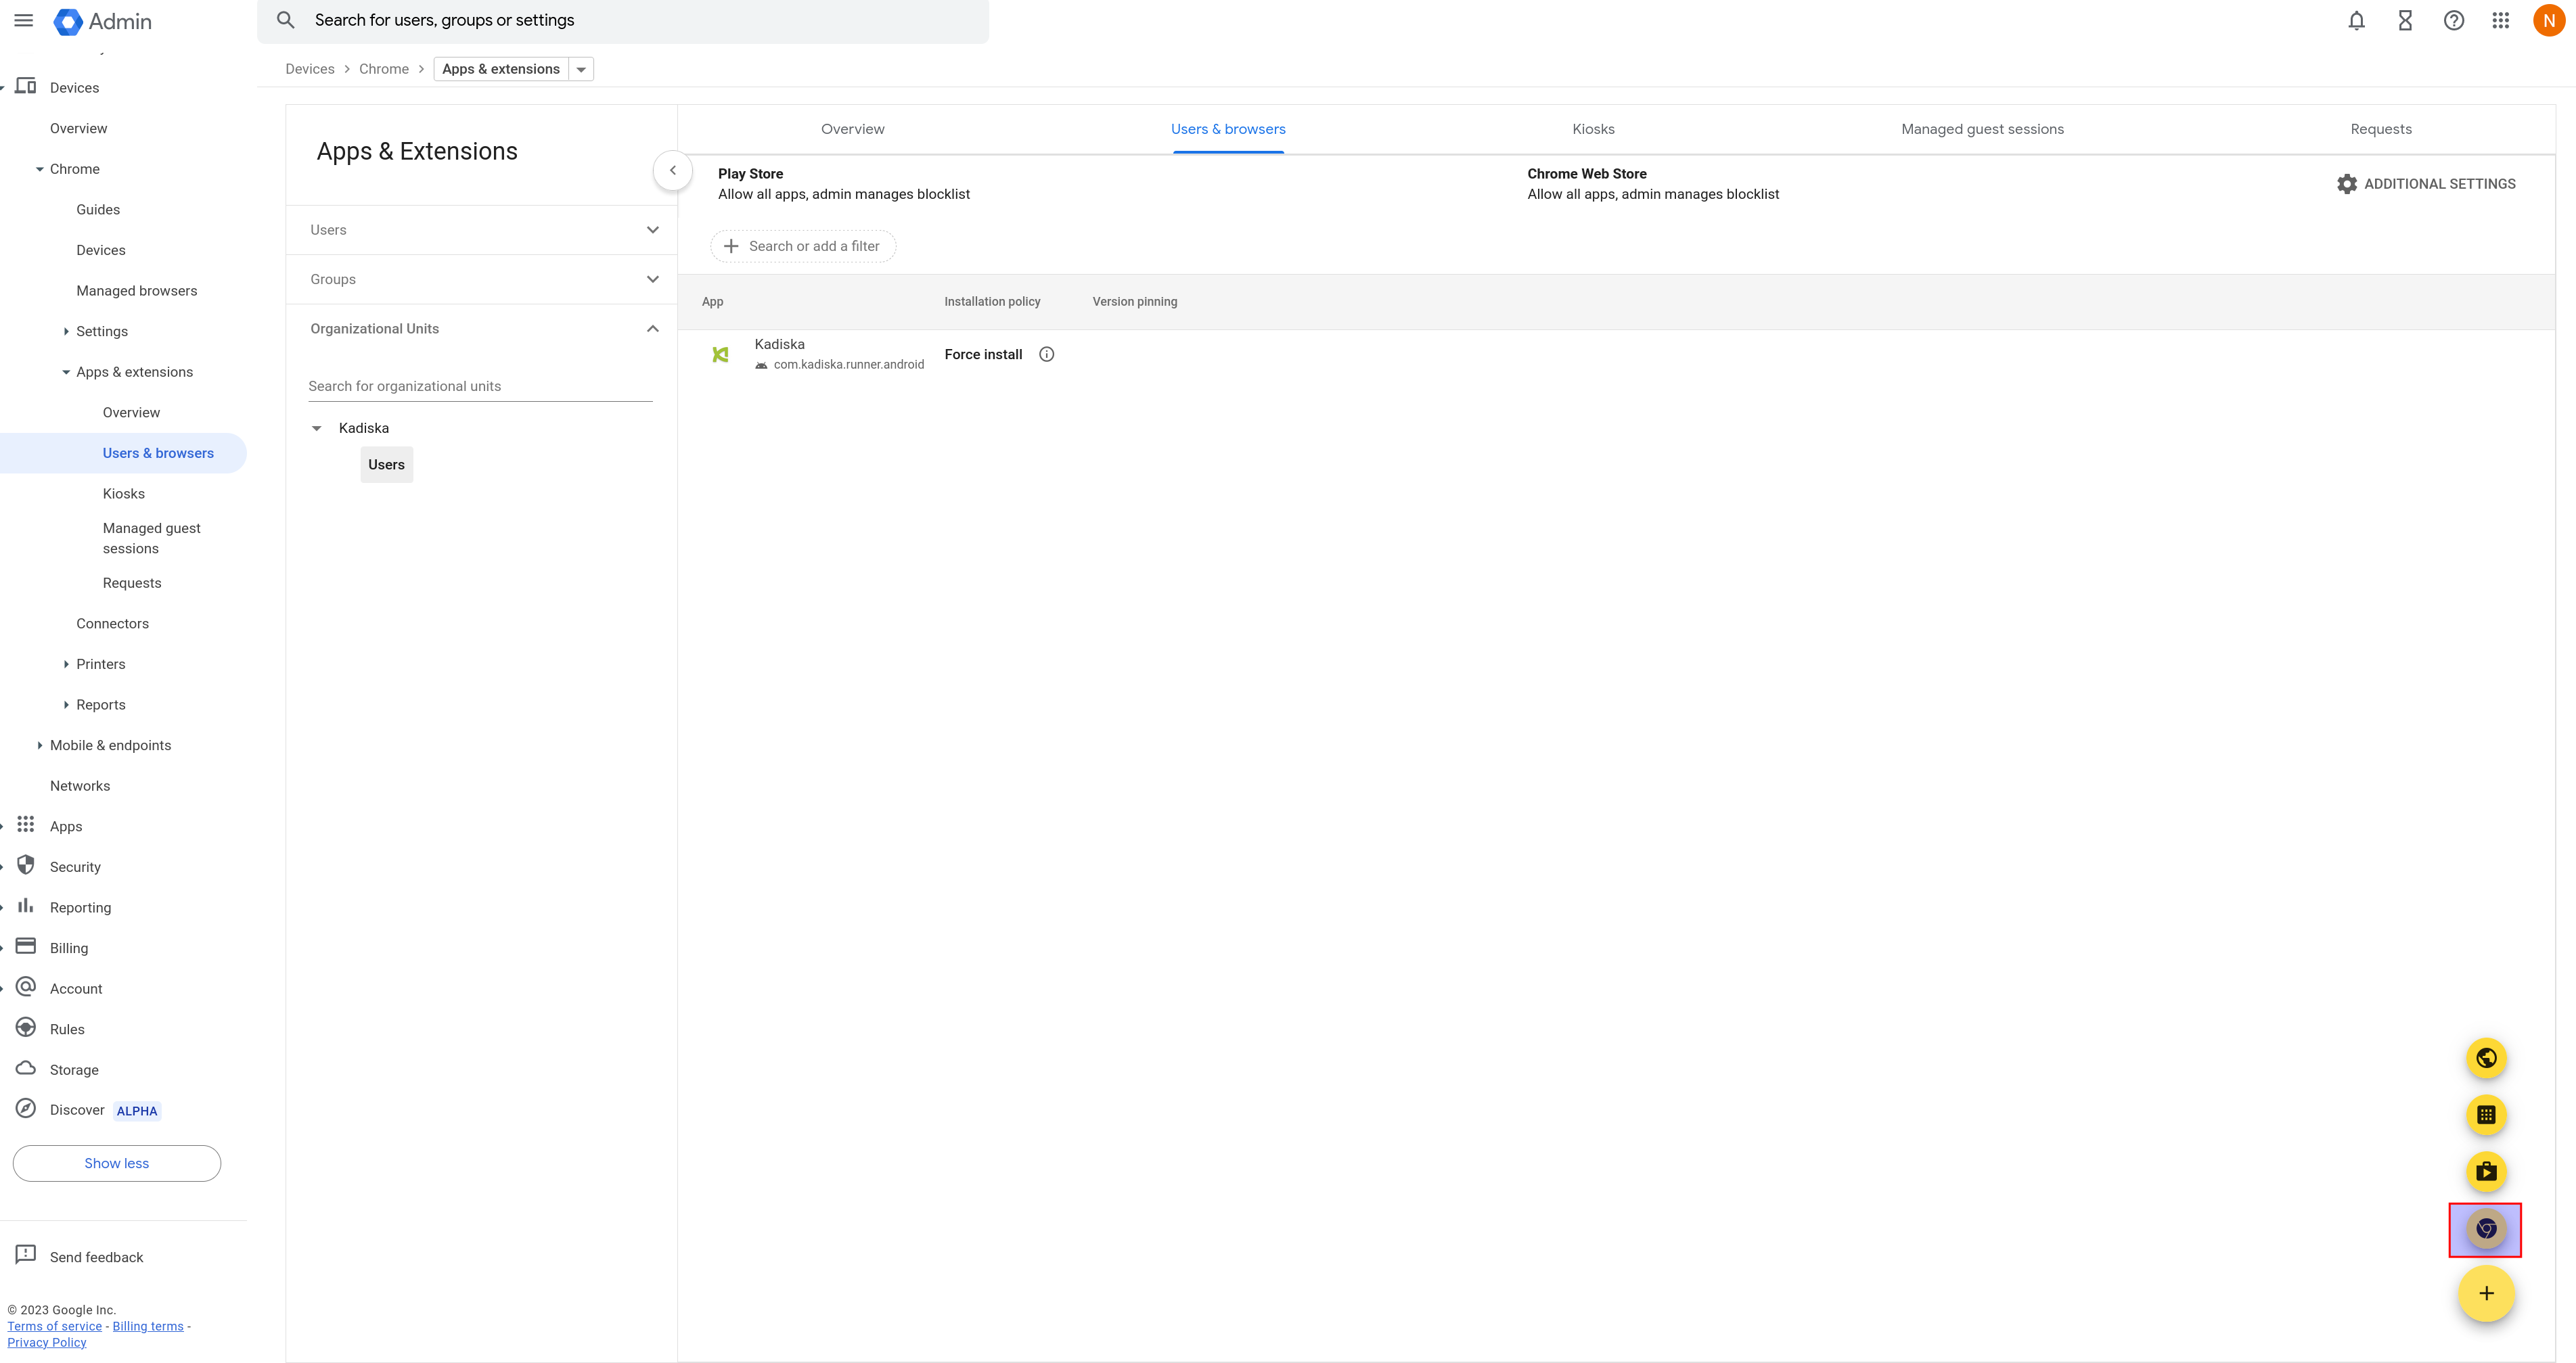
- Login to your Google administration console (administrative privileges required) at https://admin.google.com
- Go to Devices -> Chrome -> Apps & Extensions -> Users & Browsers
- Mouseover the rounded yellow "+" button, then click on "Add from Chrome Web Store"
- Search for "Kadiska" in search box and select "Kadiska Extension"

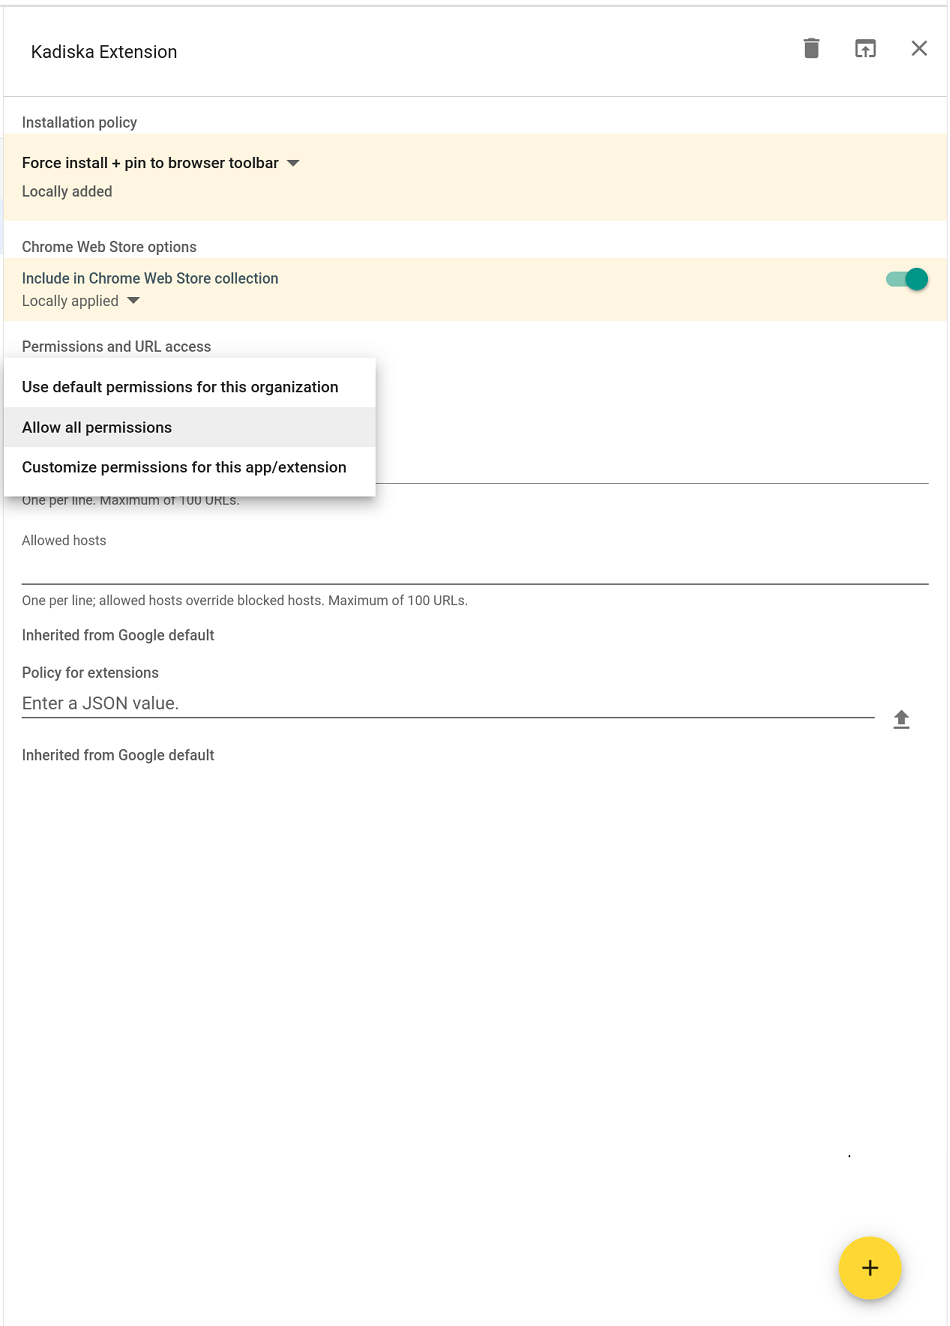
- If you want the Kadiska browser extension icon to be visible to the users, select "Force install + pin to browser toolbar". Just select the "Force install" option otherwise.
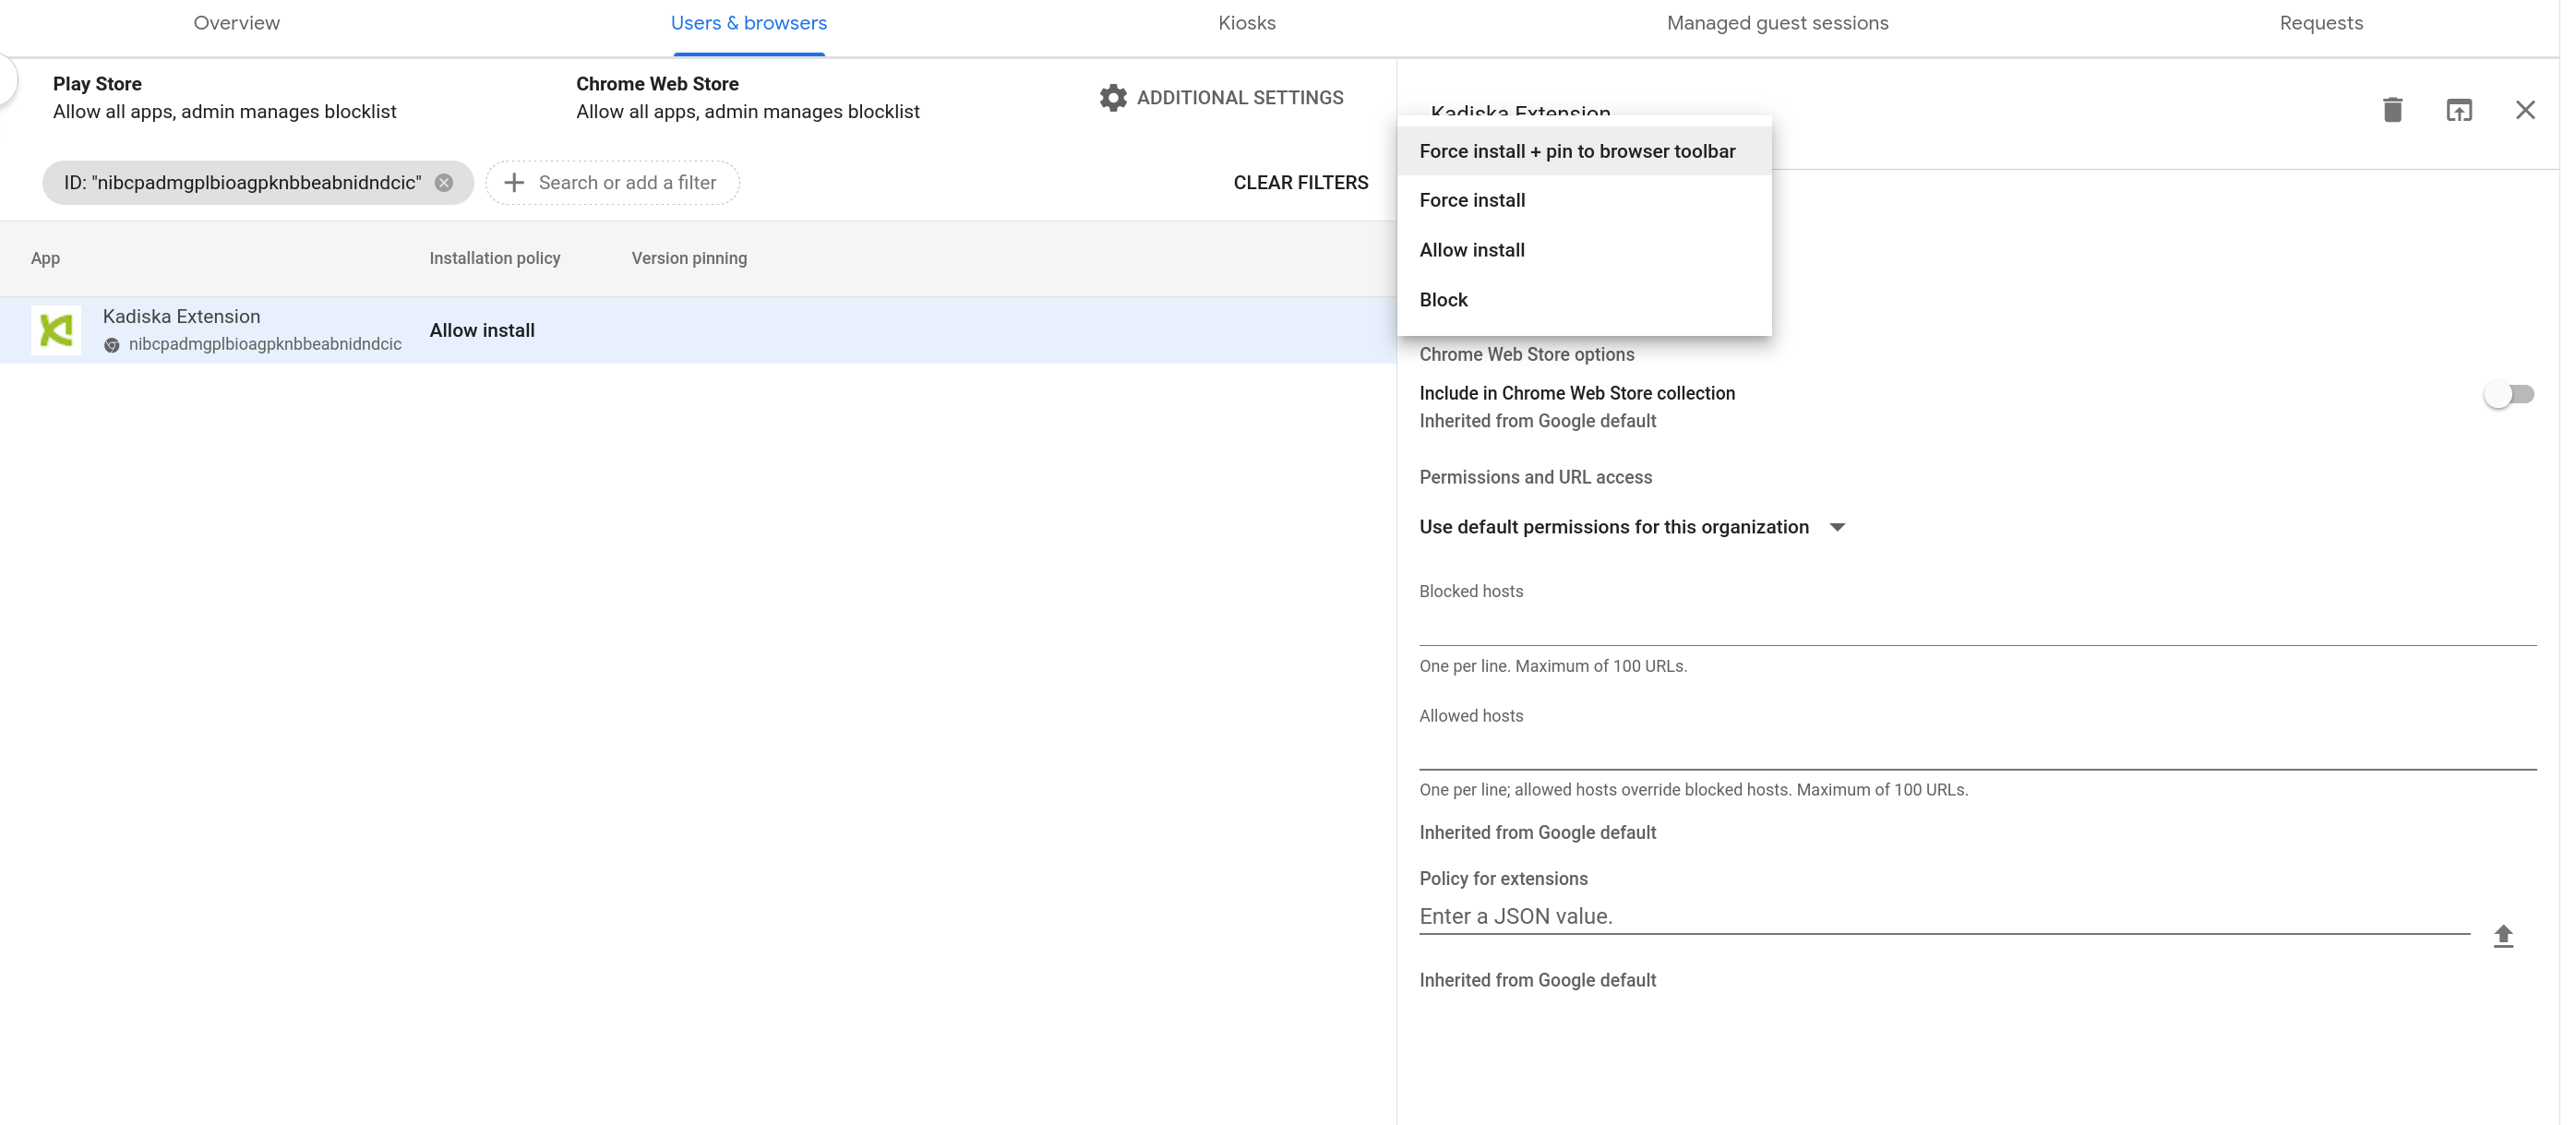
- You can (optionally) activate the switch button "Include in Chrome Web Store collection" if required
- Select "Allow all permissions"
- Fill in the following JSON code in the "Policy for extensions" section. Replace "..." with the browser extension profile key, as explained here
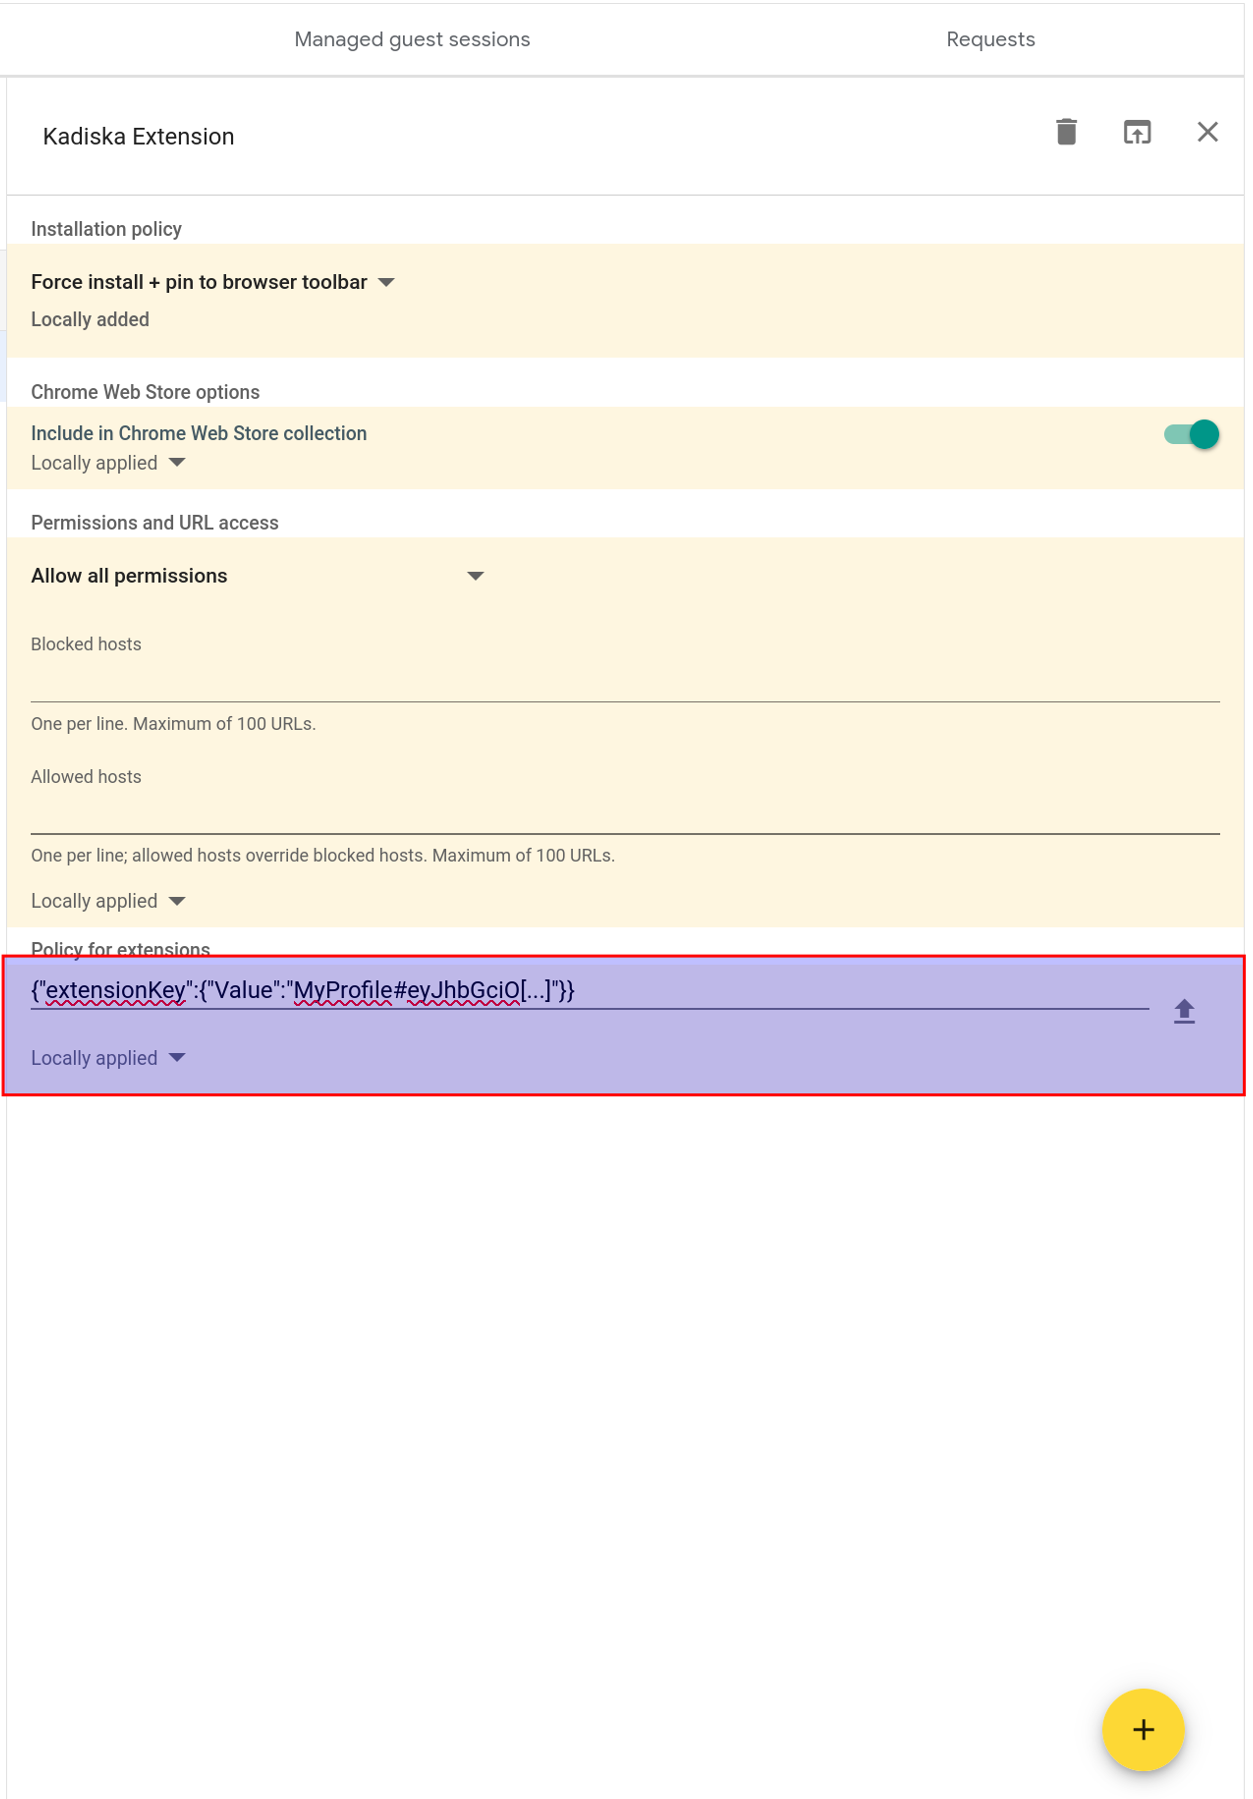
- Finally, click on "SAVE"